Quinoa cumin crackers with carrot hummus
Quinoa cumin crackers with carrot hummus
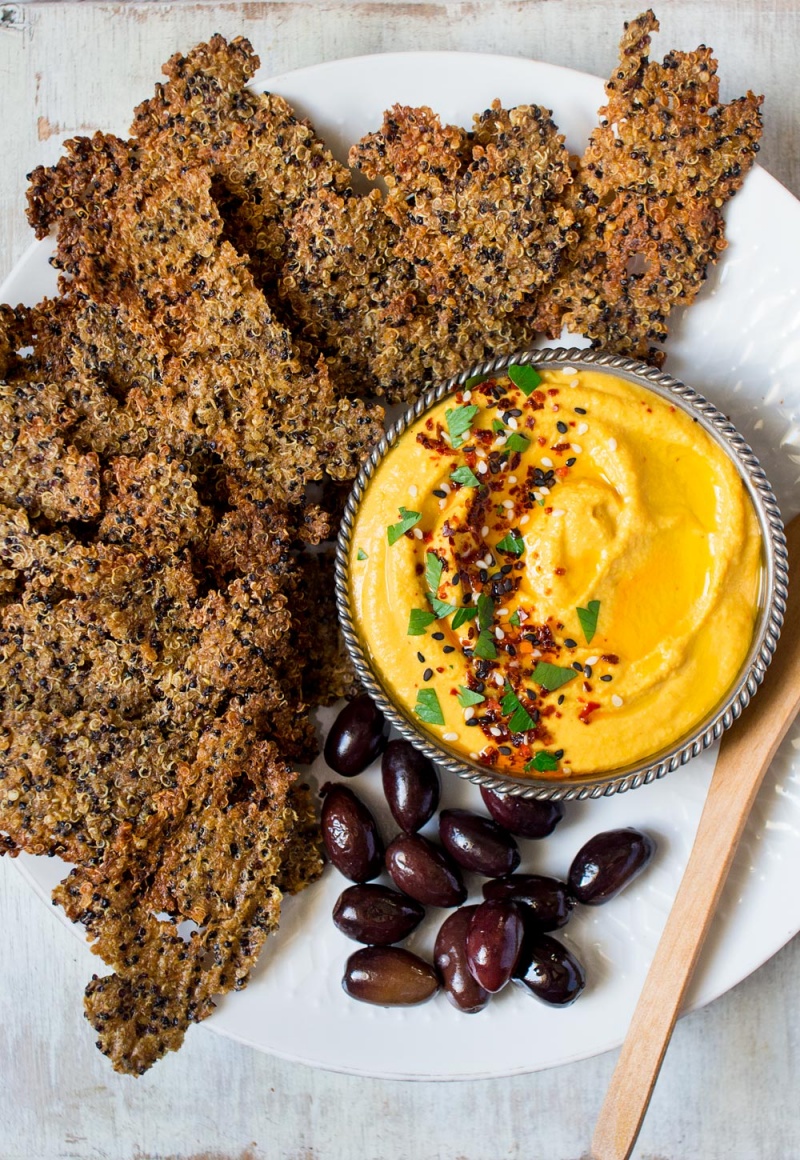
Apparently, last Friday was International Hummus Day, did you know that?
I don’t know if it is just me but I cannot ever keep up with all these International Food Days – every day appears to be celebrating something else and I always find out about these things too late. Who comes up with all these strange celebrations anyway? I have a sneaky feeling I know the answer to that…
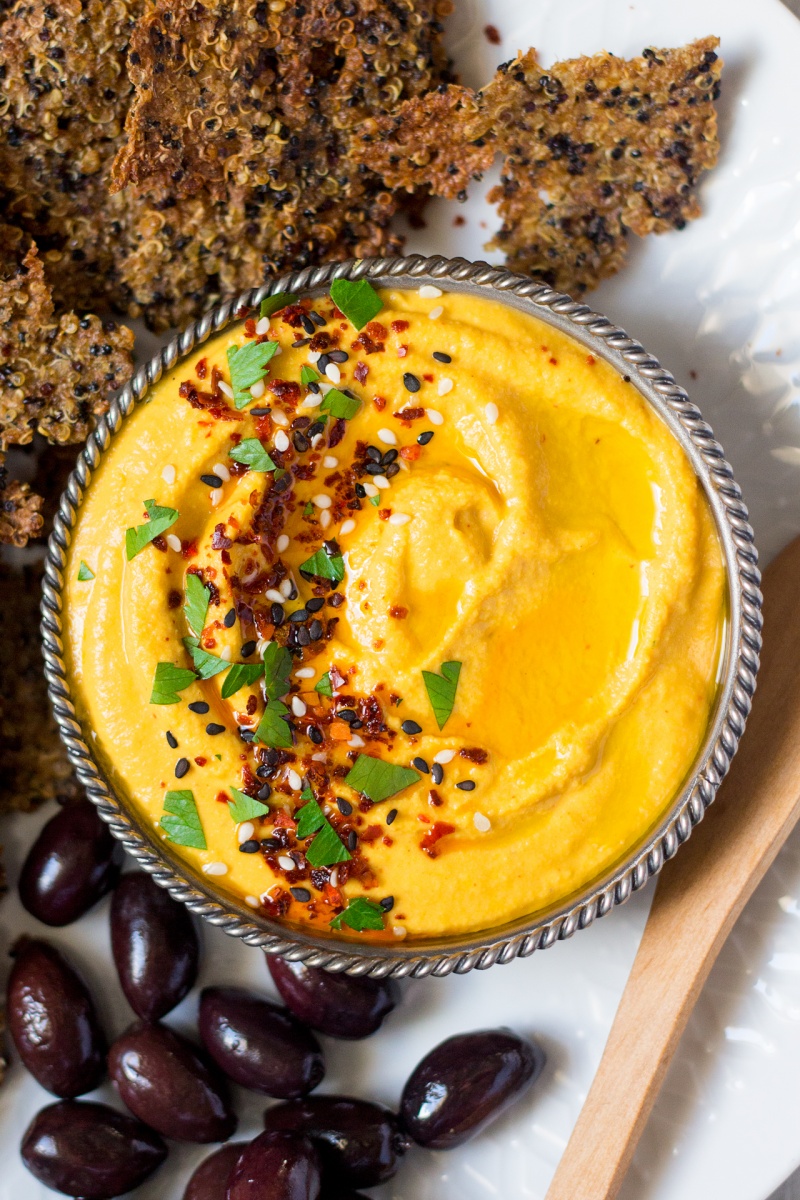
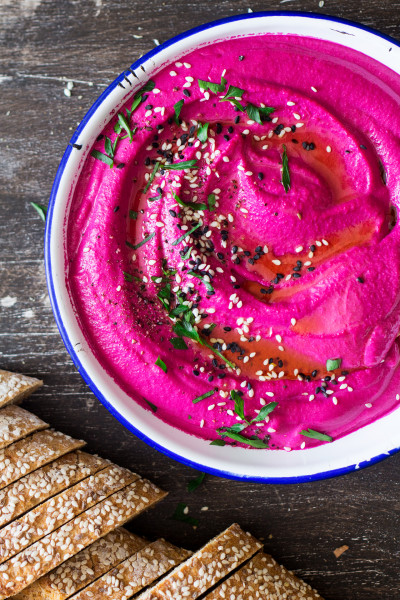
Anyway, for me almost every day is a hummus day so I don’t need much of an excuse. Inspired by Australian Masterchef, which I’m currently watching with passion (what a crazy way to relax for a food blogger, eh?), I’ve whipped up a bowl of creamy carrot hummus with a side of crispy quinoa cumin crackers.
The crackers are inspired by those I saw on said Masterchef. They looked really tasty and earned the maker of the dish, Olivia, a lot of praise so I thought I will try to re-create them in my own kitchen. Cumin and carrots make a great combo so carrot hummus it is.
HUMMUS (makes approx. 3 cups)
- 300 g / 10 oz carrots (4 medium carrots)
- 2 cups cooked chickpeas (I recommend peeling them)
- 5-6 tbsp / 75-90 ml lemon juice
- 1½ tsp coarse smoked salt
- 1 large garlic clove
- 1/3 cup / 80 ml tahini, hulled
- approx. ½ cup / 120 ml fridge-cold aquafaba* or water
- ½ tsp hot chilli powder
- 2 tsp olive oil
QUINOA CUMIN CRACKERS
- ¼ cup dry quinoa (I used a mixture of black and white)
- ½ cup wholewheat flour OR chickpea flour (for GF crackers)
- 1¼ tsp fine sea salt
- 2 tsp ground cumin
- Peel carrots and chop them into equal size pieces. Coat in a small amount of olive oil and roast in 200° C / 400° F oven until tender and caramelised. You can also steam or boil them until tender.
- Rinse your quinoa well and put into a small pot. Cover with water, place a lid on the pot and bring to boil. Once the water boils simmer for about 12 minutes – or until tender. Drain and set aside.
- Set an oven to 180° C / 350° F and line a baking tray with a piece of parchment paper or use a Silpat if you own one.
- In a medium bowl, mix flour, salt, cumin and drained and cooled quinoa. Add about 6 tbsp of cold water (if using chickpea flour you may need a touch more as it appears more absorbent) and mix well. If you are using wheat flour make sure you do not overmix or else crackers will be tough.
- Brush baking paper with a bit of oil and then spread the cracker mixture very thinly over the paper in several thin strips / blotches. Press it down with the spoon to make sure the layer is super thin with an occasional hole peeking out here and there – this will make your crackers light and crispy. Just make sure the cracker mixture is spread in the same manner everywhere or else it won’t cook evenly.
- Bake for 15 mins on one side and then flip over to the other side and bake for another 10-15 minutes, until crispy and golden. Remove from the oven and cool down.
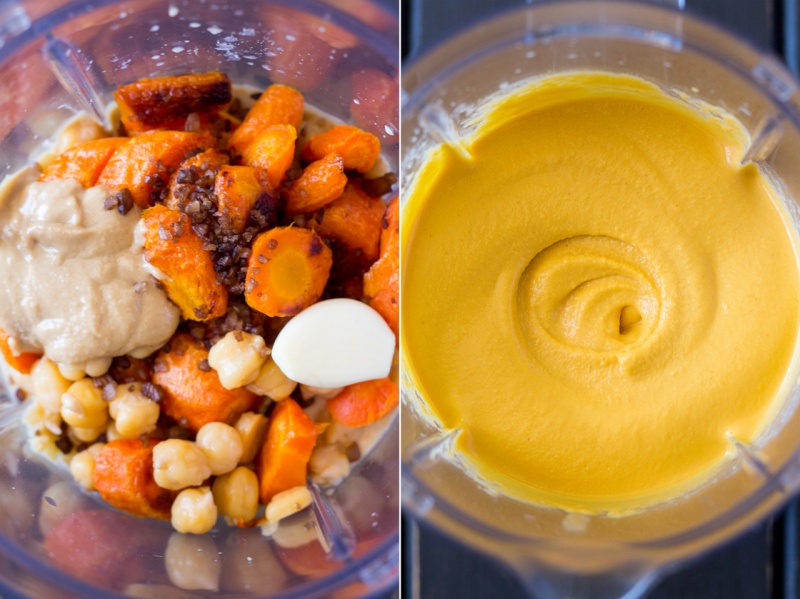
- Put peeled chickpeas (this will make your hummus smoother) into an upright blender together with roasted carrots, tahini, 4 tbsp of lemon juice, garlic and salt. Switch the appliance on and start trickling in cold aquafaba. You need to add enough to enable your blender to churn the mixture without any issues (hummus thickens as it rests so do not panic if it seems like a lot of liquid). In order to help the motor work the thick mixture, make small circles with the tip of your spatula/or a knife (in the direction of turning blades) on the surface of the revolving mixture (do not dip the spatula deeper than literally a few millimetres or else you will damage the blades). This will help to burst an air pocket under the surface and helps the motor to churn. You can also use a food processor but in my experience the hummus will be less smooth.
- Finally add chilli to your taste (I used ½ tsp for a bit of a kick) and more lemon juice (I used 6 tbsp in total) if you like.
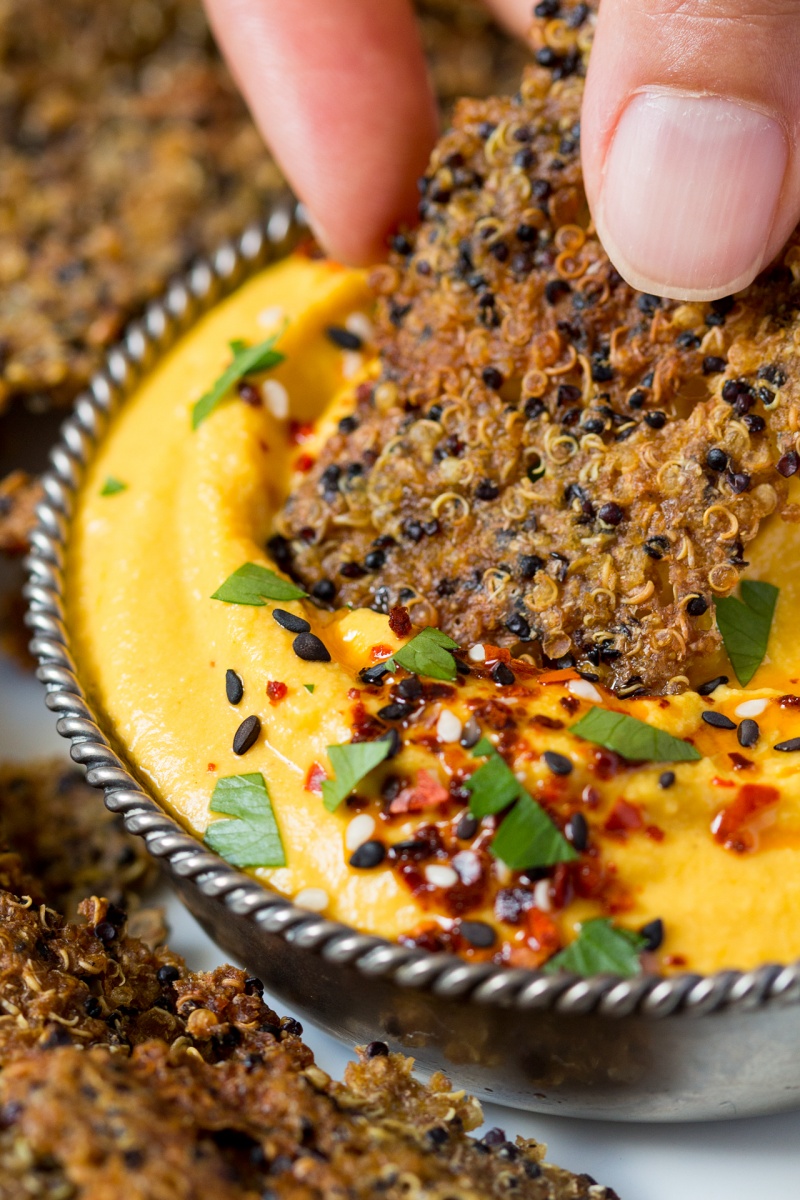
- Serve alongside quinoa crackers. Store leftover hummus in an airtight container in the fridge, it keeps for about 3-4 days.

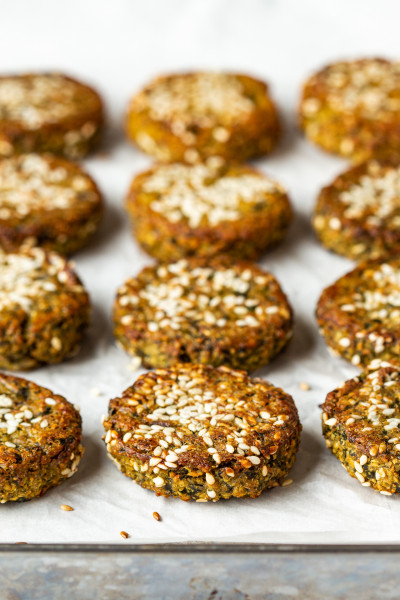
I think they are best fresh. They will absorb some moisture from the air when stored and lose their crispness a little, I am pretty sure. Ania
Can you please help what else could be done. Thank you.
I'm so sorry, but I have never tried making them in a microwave (I don't even own one...), but I would say that they simply need to be baked for longer at lower temperature. It sounds like your microwave runs a bit hot, which is why crackers are burning before getting cooked in the middle. It is normal for the edges to get browner than the middle, but the middle definitely should not stay raw while the edges are over. Hope that helps! Ania
I presume what you mean is when you should add carrots to the blender? Yes, together with chickpeas and yes, you are right I missed carrots in the instructions - corrected now. :)