Vegan mini cheesecake jars
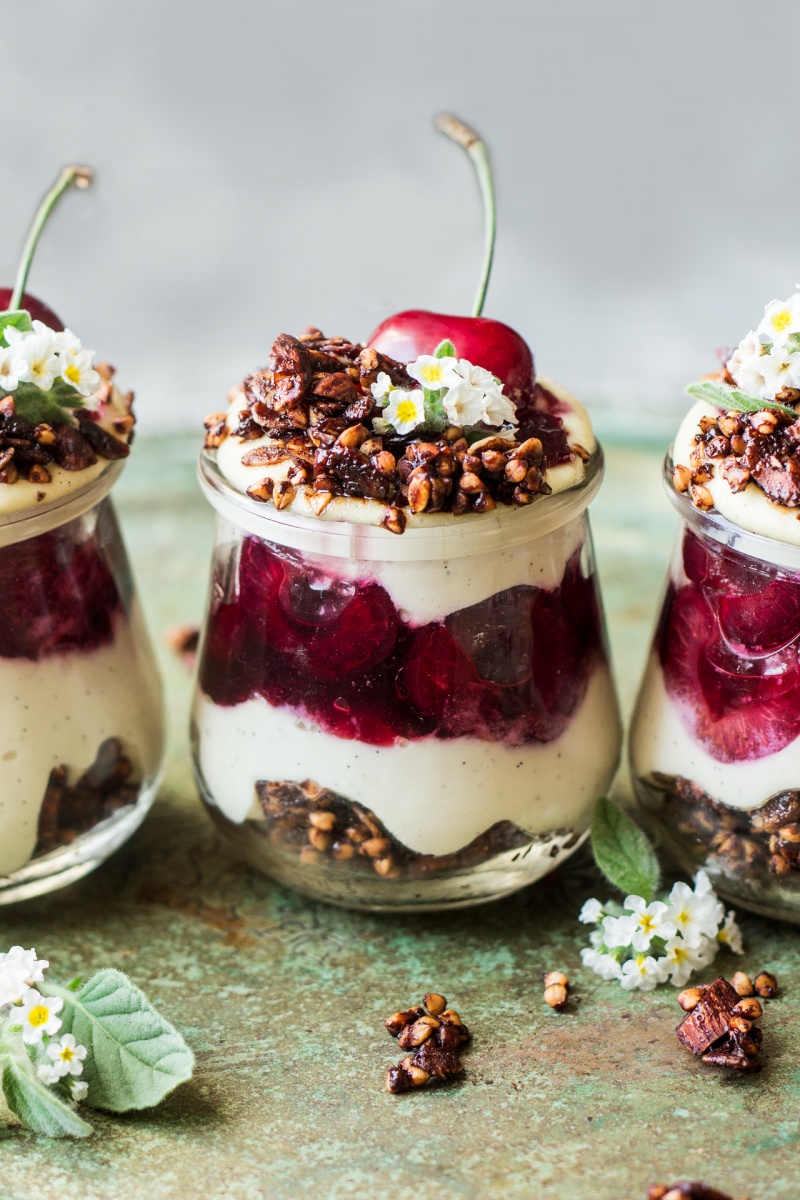
Today’s recipe is something I’ve kept under wraps for a few weeks now. As soon as cherries made a regular appearance in our local veggie shop, I went on a cherry blitz and kept on making one cherry thing after another, although sometimes I would eat way too many cherries while prepping them and there wouldn’t be enough left for my recipe – true story, that!
I was supposed to bake a cherry pie on Monday, but it was too hot to have the oven on (official excuse), PLUS I ate all of the cherries 😉 . As you can tell, I loooove cherries and I am saddened as their season here is coming to an end.
Before all the cherries disappear off the green grocer’s shelves in your neck of the woods too (it will creep up on you, I swear), let me introduce you to a ‘must make’ cherry dessert 🙂 .
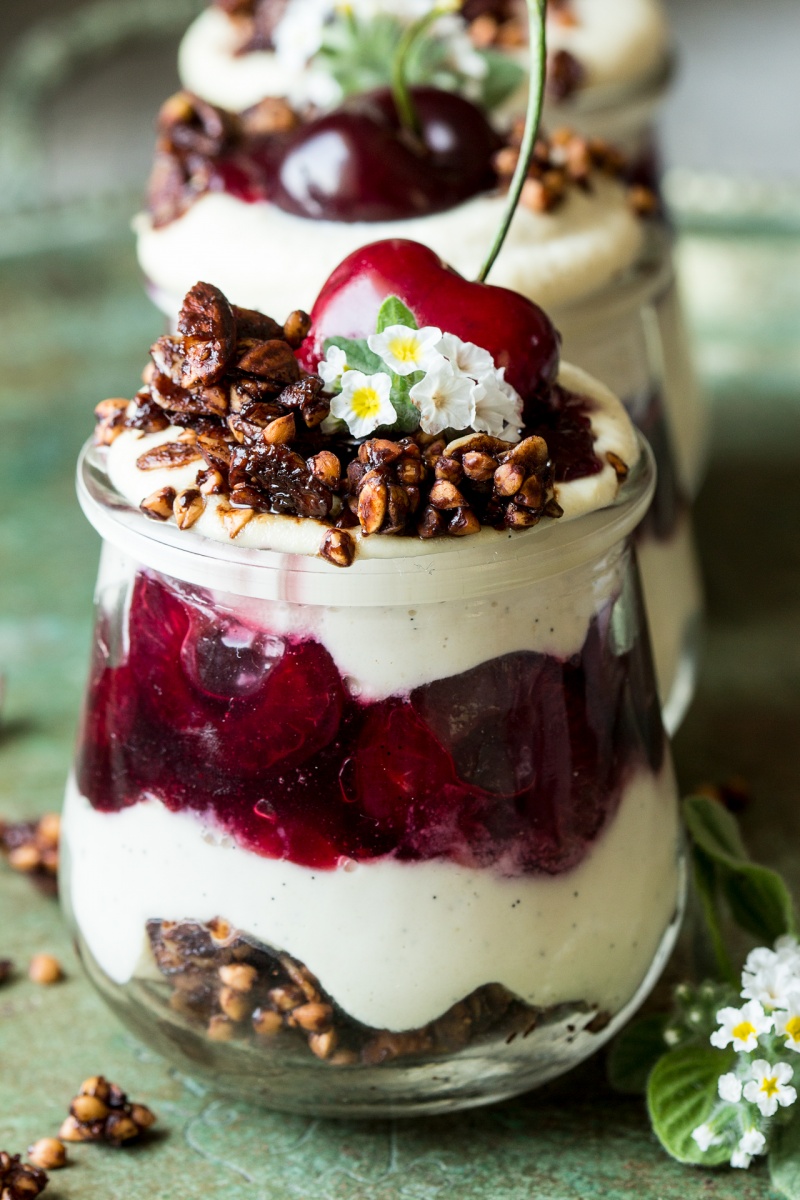
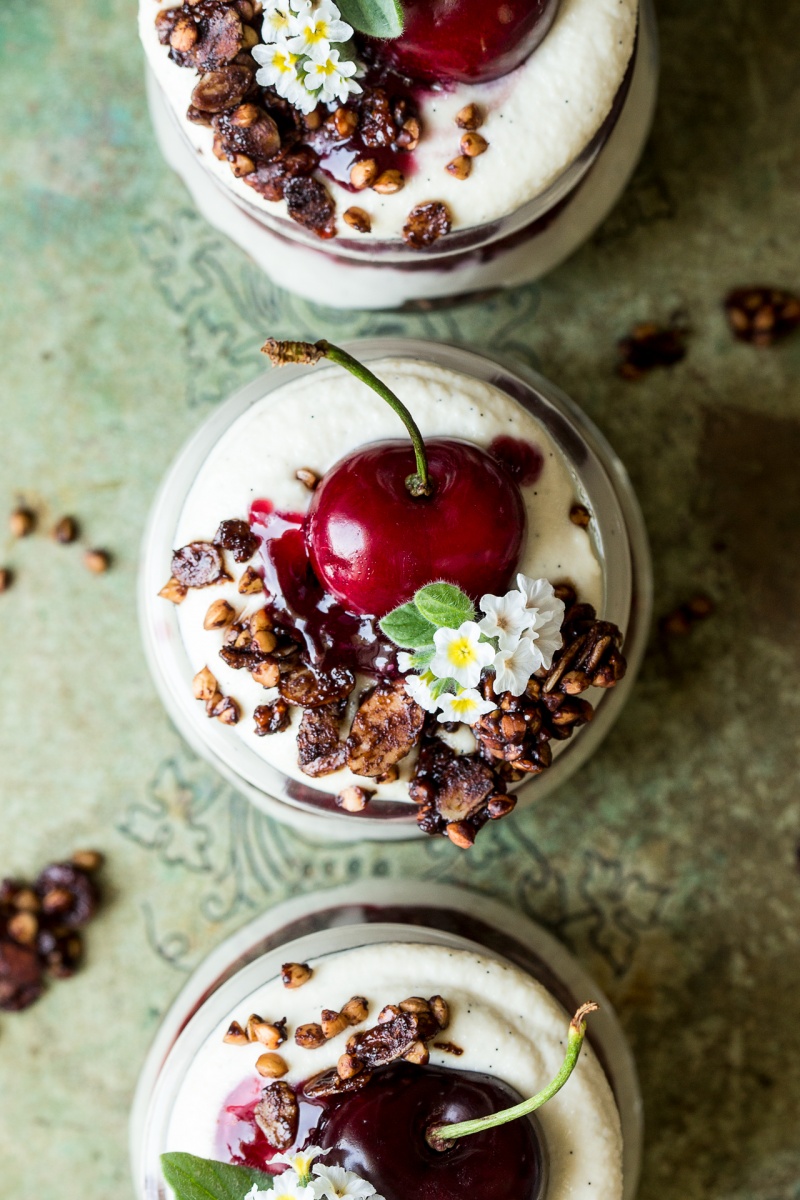
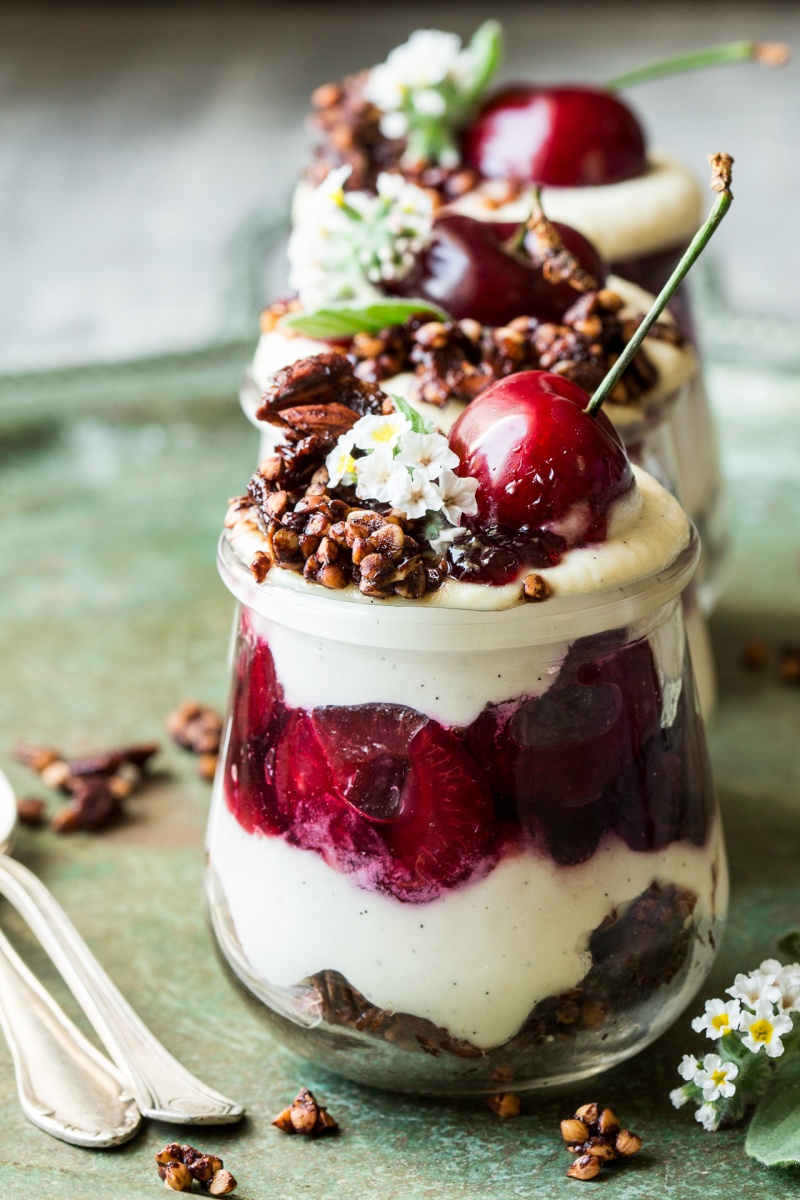
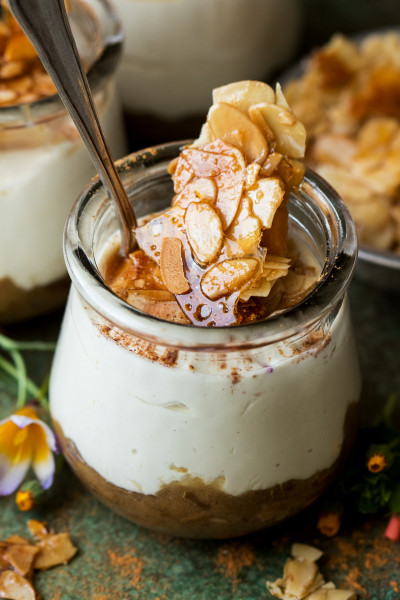
These cute vegan mini cheesecake jars are not very work intensive, yet they are beautiful to look at (thanks a bunch, wild flowers!!), delicious and not that bad for you as they are entirely made up of healthy whole food ingredients.
STEWED CHERRIES & CHERRY SAUCE
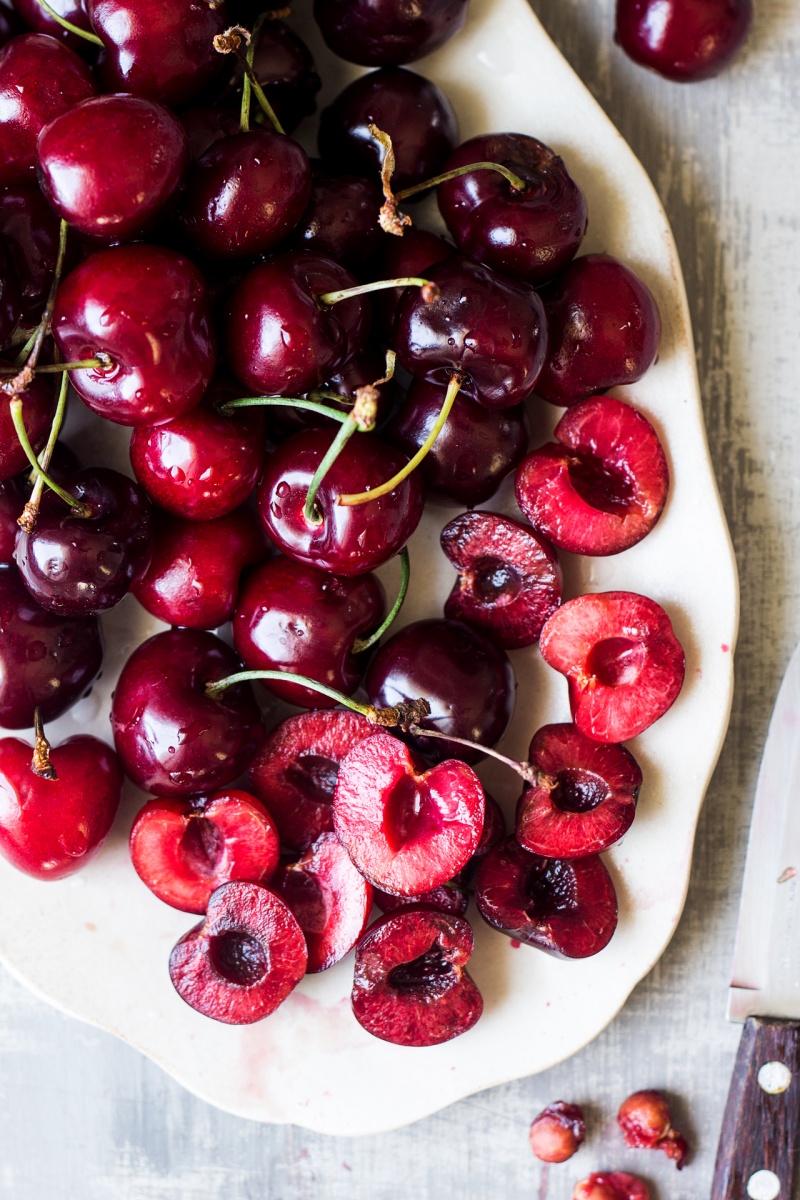
- 250 g / 9 oz cherries, pitted
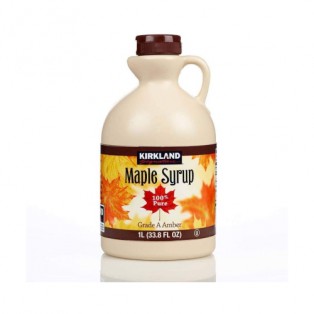
- 1-2 tbsp maple syrup
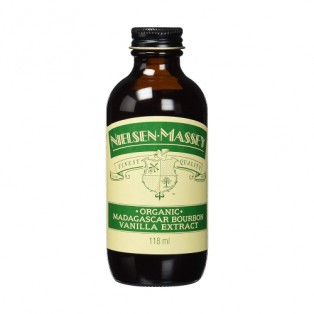
- ½ tsp vanilla extract
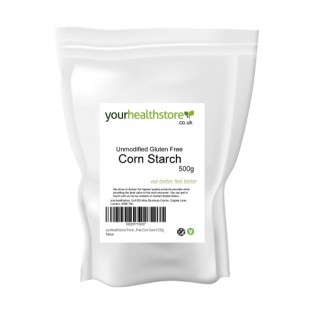
- 1 tsp cornflour / cornstarch
CHEESECAKE LAYER
- 1½ tbsp lemon juice, adjust to taste
- 3 tbsp maple syrup
- 225 g / 1½ cups raw cashews (soaked overnight)
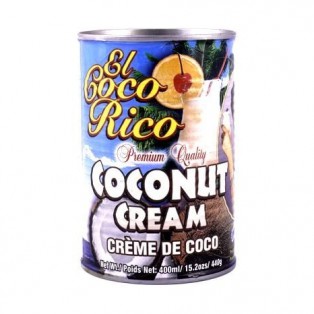
- 120 ml / ½ cup coconut cream (from a tin of full fat coconut milk, I use this brand)
- 1 vanilla pod, seeds scraped
CHOCOLATE GRANOLA
- ¼ cup raw buckwheat groats
- 2 tbsp jumbo rolled oats
- 2 tbsp almonds, roughly chopped
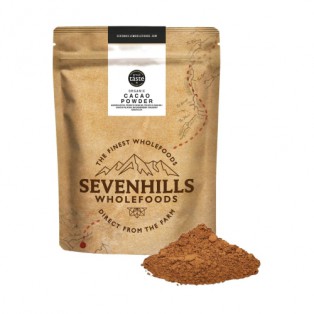
- 4 tsp cacao powder
- 1/8 tsp salt
- 2 tbsp maple syrup
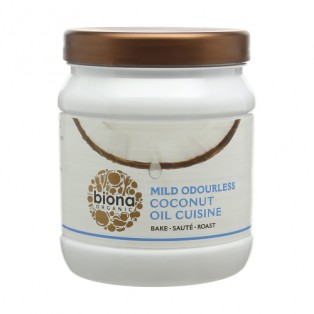
- 4 tsp refined coconut oil (melted) or other mild tasting oil
- Place pitted cherries in a small pot with maple syrup, vanilla essence and 2 tbsp of water. Bring to a very gentle simmer (I used setting 2 out of 6) and simmer for about 15 minutes, just until the cherries soften a little and release some of their beautiful juice. Don’t overdo it as you don’t want the cherries too limp and colourless.
- Remove the stewed cherries from the pot but leave all the juices in. Grab a very small bowl / cup. Place the cornstarch and a tablespoon of cherry juice from the pot and mix the two together to create a cornstarch slurry. Whisk the cornstarch slurry back to the pot and simmer for a few seconds until the juices thicken slightly. Allow it to cool.
CHEESECAKE LAYER
- Rinse the cashews and chop them roughly. If you own a very powerful blender (like a Vitamix or Blendtec) this step may be completely redundant, but with my low range (and fairly old) blender this is the only way I can achieve smooth consistency without adding too much liquid.
- Divide the chopped cashews into roughly six portions. Put maple syrup, lemon juice and coconut cream at the bottom of the blender. Next add in one portion of chopped cashews. Process until super smooth.
- Once smooth, add another sixth of the chopped cashews. Process until smooth and repeat until you’ve used up all of the cashews. Towards the end, the mixture will become very thick and heavy and your blender may struggle to turn. To remedy this, start making circles on the surface of your mixture (in the direction of the turning blades) with a spatula to prevent air pockets forming under the mixture’s surface. Be careful not to dip the spatula in too deep as you don’t want to accidentally touch the turning blades. If you follow the technique I’ve described above, there should be enough moisture in this recipe (from the coconut cream, lemon juice and maple syrup if using) not to have to use any water, which means you’ll end up with a smooth and creamy cheesecake mixture. Place in the fridge until you are ready to assemble.
CHOCOLATE GRANOLA
- Heat up the oven to 160° C / 320° F and line a baking tray with a piece of baking paper.
- In a medium bowl, mix buckwheat groats, oats, chopped almonds, cacao powder and salt. Mix very well.
- In another bowl, mix melted coconut oil and maple syrup together well. Pour this mixture over the dry ingredients and mix well.
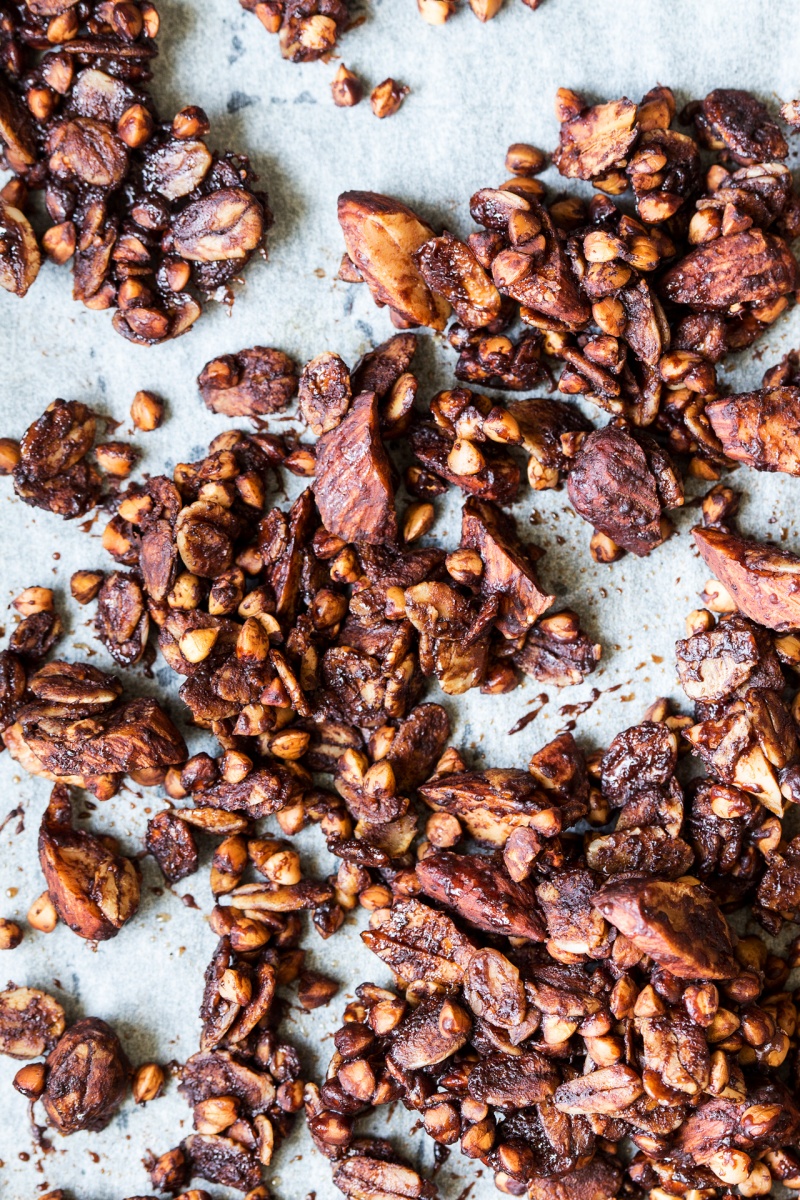
- Spread granola thinly on a prepared baking tray. Bake for about 15 minutes, give the mixture a stir and bake for another 10 minutes, until toasted and fragrant. Allow it to cool as the granola will become crispier as it cools.
ASSEMBLY
- Place a layer of granola at the bottom of each glass (leave a little bit for the topping).
- Top up with the cheesecake layer, a layer of stewed cherries and a bit of cherry sauce. Follow with another layer of cheesecake mixture.
- Pop in the fridge for about 2-3 hours for the cheesecake layer to firm up.
- Top with a raw cherry and leftover granola.

I made these at the weekend and substituted cherries with raspberries and made a raspberry coulis to drizzle over. I also used gluten free oats. The whole effect was stunning to look at and delicious to taste - even my dairy-loving friends enjoyed them! Thank for for another wonderful recipe.
Thanks for your comment. Correct me if I am mistaken, but oats do not contain gluten naturally so as long as they are labelled as gluten-free (which certifies that they haven't been cross-contaminated in the factory), they should be okay for you to eat, right? If not, simply sub them for more buckwheat groats (make sure they are GF certified too), quinoa or millet flakes or even coconut / almond flakes to make them nuttier. There are lost of tasty alternatives! Hope that helps! Ania
Where did you get those cute jars? I ask because they look exactly like Yoplait's Oui Yogurt containers. I had been keeping mine after the yogurt was gone to repurpose them into indoor herb pots...something craftsy like cutely attaching them to a board to be hung on the wall, instead of just recycling them...but your photos made me wonder if I could use them to cook in... :)
This recipe looks sooooo yummy!
I'm sorry to hear about your son's food allergies. It must be difficult for you! I haven't tried myself as they are very expensive here, but apparently macadamia nuts work in a similar way. Hope that helps! Ania