Vegan chilli chocolate raspberry cups
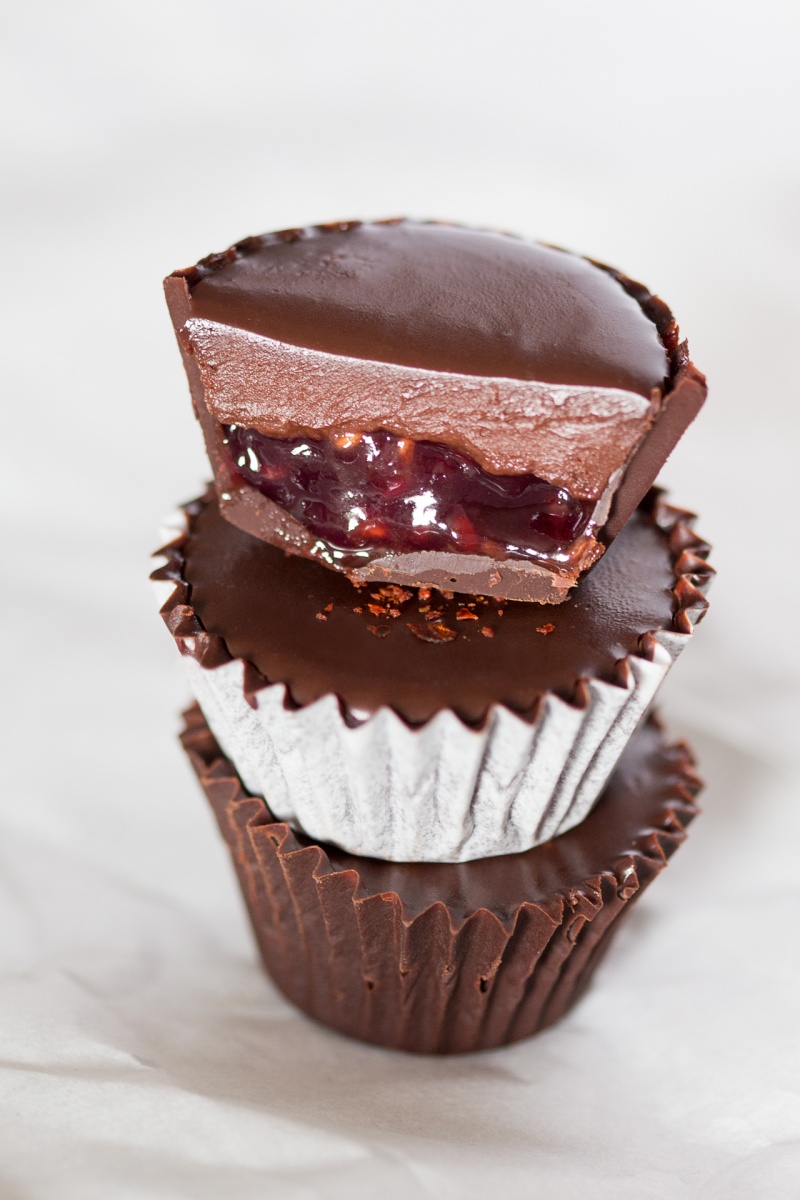
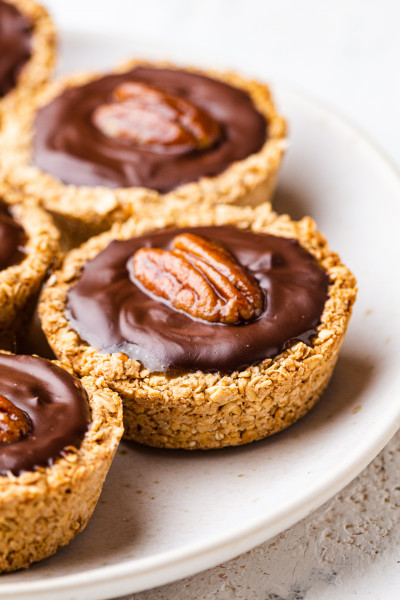
As promised, I have another treat for you today. This time, I have made a staggering amount (70 and almost all gone now…) of small but mighty vegan chilli chocolate raspberry cups.
A subtle, but detectable chilli kick gets a beautiful contrast from a sweet raspberry filling. Chocolate, chilli and raspberries are a match made in heaven as far as I’m concerned. I love raspberries almost as much as I love chocolate and always await their season with massive impatience. Unfortunately, I haven’t been in luck these past two summers as it is too hot for berries to grow here so I had to shelve my raspberry fetish until I go somewhere with a more a moderate summer.
When we left Greece in August, I descended on every market or roadside stall selling these little bumpy fruits and despite my best intentions devoured them before they were able to find their way into any dish of mine. I couldn’t get enough of these sweet-tart gems and the best ones, by far, were the raspberries plucked straight from a bush in my auntie’s garden.
Now that we are back in Greece and the season for these little beauties has gone anyway, I have had to use a good quality jam in these cups. It’s not all bad as it makes this recipe a little bit easier and quicker to make. Now, don’t be put off by the fact that I’ve tempered my chocolate before making chocolate cups. This step is totally optional and while cups made from tempered chocolate are nicer, it isn’t a make or break so do give these little treats a go. You’ll not regret it, that I can promise.
- 200 g dark (70%) chocolate, divided in half
- 40 ml full fat coconut milk
- 4 tsp maple syrup (optional)
- good quality raspberry jam
- ground hot chilli, to taste
CHOCOLATE CUPS
- You can simply make these by melting 100 g of chocolate very slowly over a bain marie and then spooning about a teaspoon of melted chocolate into each paper cup and spreading it inside the cup using the back of the teaspoon. Once you coat the insides of your cups, put them into the freezer for 15 minutes or so. However, you will get a nicer result – chocolate will not melt in your hands, cups will look glossier and have a nice crunch when you bite into them – if you temper your chocolate first. Below is how I did it – you’ll need a cooking thermometer and room temperature should not exceed 20° C.
TEMPERING CHOCOLATE (OPTIONAL)
- Chop 100 g of chocolate into small pieces. Set 25 g aside. Put 75 g of chocolate into a glass bowl set over a water bath and melt it very, very slowly (on the lowest hob setting).
- Once all the chocolate has melted, it will need to reach 115-120° F / 46-48° C. Keep an eye on it the whole time and take it off the simmering water when it is nearly at temperature – the temperature will continue to rise slightly due to temperature’s momentum.
- Now we need to reduce chocolate’s temperature to 81° F / 27° C. First, mix the remaining 25 g of chocolate in until it melts completely. Place the bowl full of melted chocolate in another bowl full of cold water with a few ice cubes in it. Take the bowl out of the cold water slightly before it reaches the desired temperature 81° F / 27° C as the temperature will continue to drop.
- Once the chocolate has reached 81° F / 27° C, it’s time to heat it up again. Return it to the pot with hot water and put the hob onto the lowest setting again. Warm the chocolate up until it reaches 88-90° F / 31-32° C, make sure you do not exceed 91° F / 33° C.
- Now your chocolate should be tempered and ready to create chocolate cups. Spoon about a teaspoon of melted chocolate into each paper cup, spreading it inside the cup using back of the teaspoon or a pastry brush. To double check if your tempering has been successful, pop one filled cup into the freezer for 5 minutes. The cup should come out crunchy, chocolate shouldn’t melt in your hands and look nice and glossy. Once you coat the insides of your cups, put them into the freezer for 15 minutes or so.
CHOCOLATE CHILLI GANACHE
- Melt the remaining 100 g of chocolate very slowly (I used setting 1 out of 6) over a water bath. Once melted, remove from heat, but keep the bowl with chocolate over the hot water. Start adding coconut milk whisking gently the whole time. At this point the chocolate may seem to have seized a little, don’t worry, keep on whisking gently and any lumps will eventually melt away. Once you have added all coconut milk, add 40 ml water gradually stirring the whole time.
- Once you have a smooth ganache, add maple syrup – this is not strictly necessary as I find that bitter chocolate provides a nice contrast against sweet raspberry jam, but that’s up to you.
- Stir chilli in. I used about ½ level tsp, but it all depends how much heat you like and how hot your chilli is. Best way is to taste it and fine tune the amount of chilli to your liking.
- Let the ganache cool off completely before pouring it into the cups.
ASSEMBLY
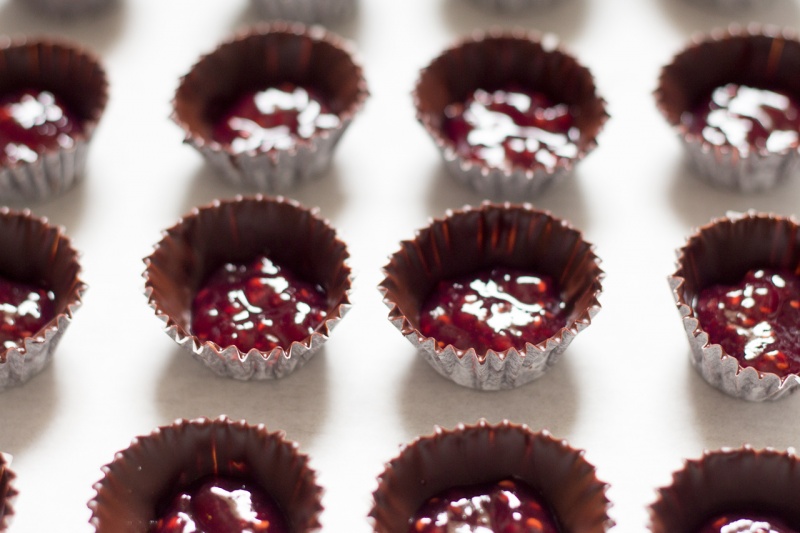
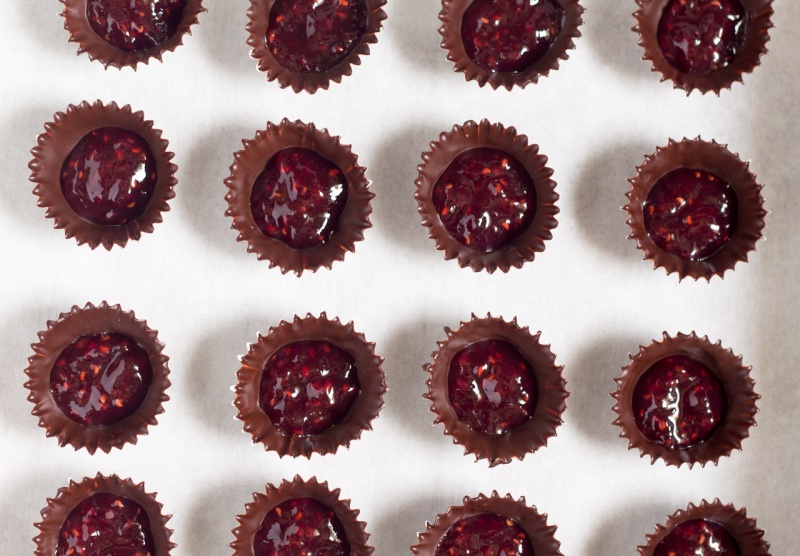
- Remove your chocolate cups from the freezer and put about a level teaspoon of jam at the bottom of each cup.
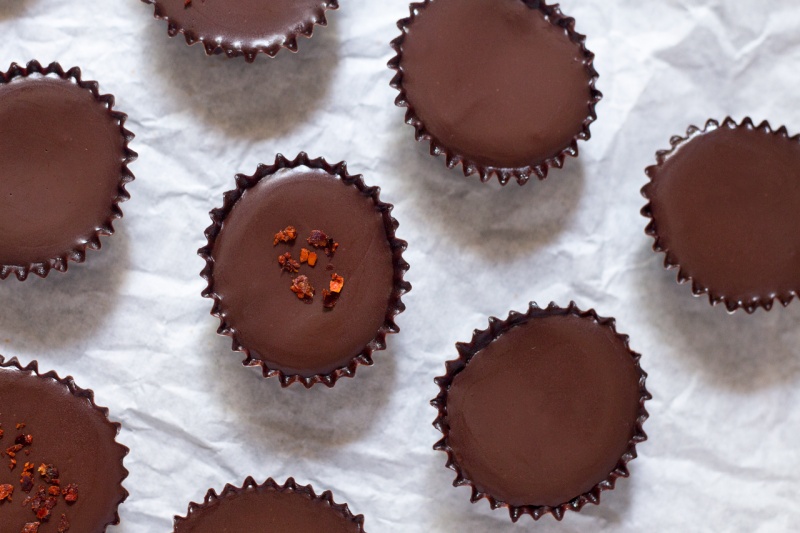
- Top the jam up with cool chilli ganache.
- Place assembled cups in the fridge for a few hours until the ganache has had a chance to set completely. Gently peel the paper cups off before serving/eating.

I'm sorry you are having trouble with coating the cups. Is your chocolate diluted with anything perhaps? It should be thick when melted...Unfortunately it was my husband who used to do videos for the blog and now that he has a full time job again, he doesn't have time to make videos for the time being. Sorry, but if you want to let me know about the chocolate you are using, I may be able to help! Ania
The one thing that didn't work out so well were the chocolate cups. Mine came out too thin when I spread them out into the cups, so it didn't really hold up. Any advice for next time?
So pleased to hear you love these cups! I agree chilli, chocolate and raspberry is such a great combo! :) As for the chocolate shells, you just need to be a bit more heavy-handed with the chocolate ;) - I use the back of a teaspoon and make sure I coat the walls with a decent amount of chocolate before chilling. You can even double-coat them to be sure the cups are strong enough. Good luck and please let me know how you get on next time you make them! :) Ania