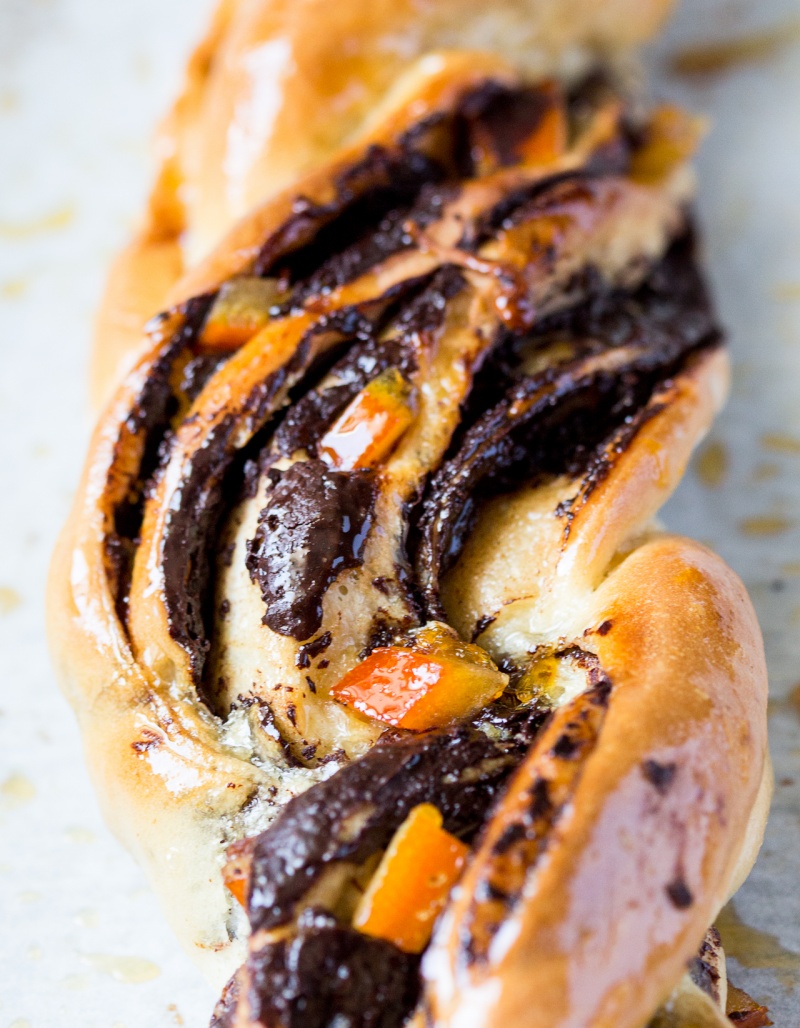
It’s been a while since Duncan’s buns (and other baked goods) made an appearance on the blog so I was very thrilled when he announced that he is willing to bake something again. He was like, ‘you know what I’m going to work on next? Chocolate and orange twists!’ As soon as I heard ‘chocolate and orange’ I tuned out.
It’s such a winning combination that whatever word was coming next, I knew I was going to be keen on it (well…maybe with the exception of a chocolate and orange risotto…).
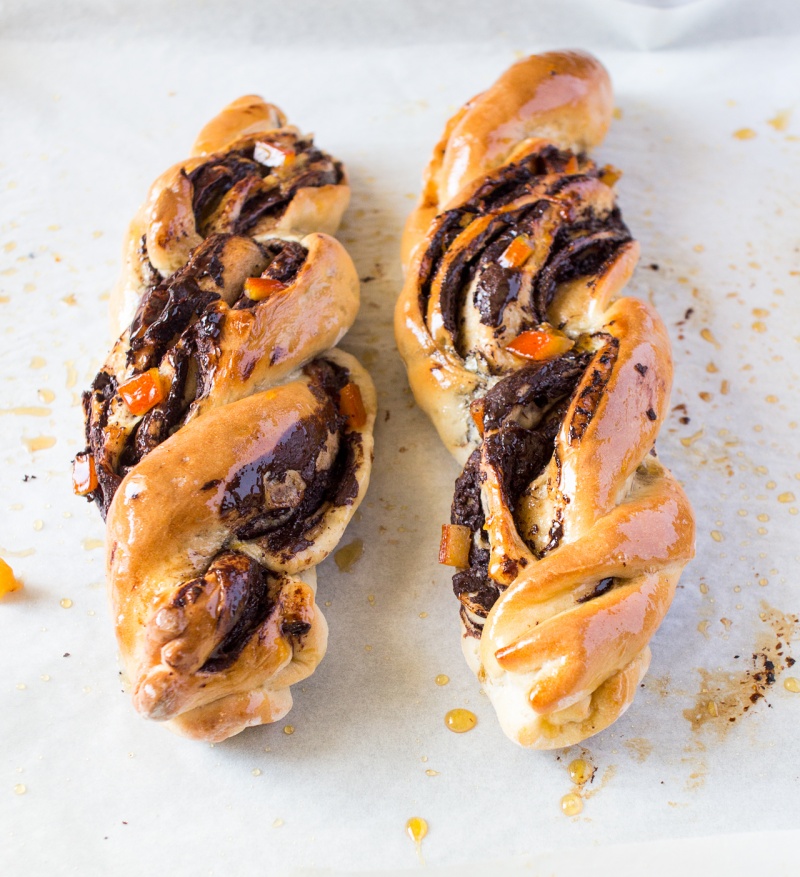
If you’ve ever eyed up our chocolate & walnut challah recipe but for some reason felt a bit intimidated by all the braiding involved, this recipe is the one I would suggest you try first. All you need to do here is twist the two strands of chocolate and orange filled dough around each other and that’s it. The more rustic the end result the better. It’s meant to look homely and oozing with chocolate…
These guys are so addictive that I suggest you invite some friends over to enjoy them with you or else you might catch yourself, little by little, hoovering up all four. Sure you can always blame the cat, but your hips will know the truth.
We managed to offload some to our trusted recipe tester who lives across the road, Suzie. She looked super happy to receive them but judging by her later Facebook message to me, she might have overdosed on them a bit – shame that her boyfriend seems to have no sweet tooth at all, lucky bugger 🙂 .
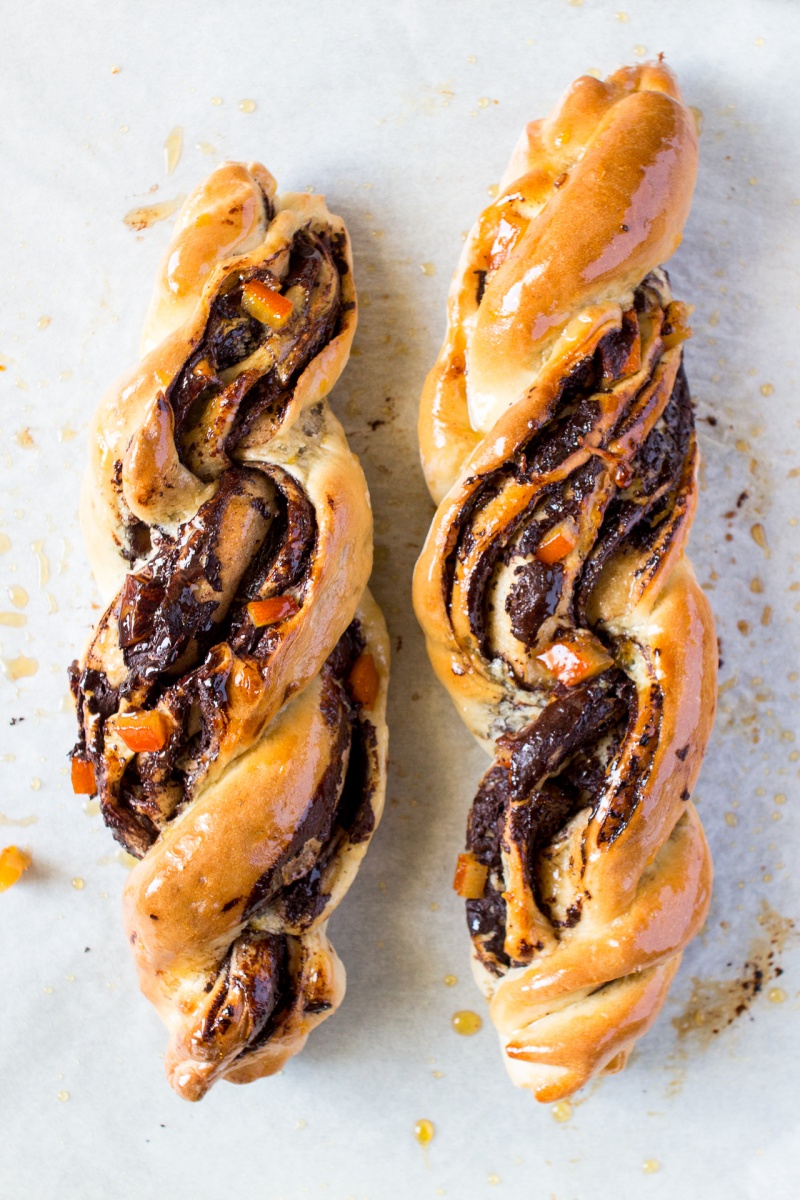
TWISTS
- 150 g of strong (=bread) flour
- 160 g of all-purpose flour
- 1½ tbsp brown sugar
- 7 g salt
- 7 g sachet fast-action dried yeast
- 200 ml of almond milk + a little extra for bread glazing
- 1 tbsp olive oil
- 150 g dark (70%) chocolate
- candied oranges, chopped finely (or homemade as per instructions below)
CANDIED ORANGES (OPTIONAL)
- 2 oranges
- 1 cup sugar (used brown)
- 2 cups water
- Mix the flour, salt, yeast, and sugar in a large mixing bowl.
- Pour in the lukewarm (not cold!) almond milk and stir everything together with a large wooden spoon. Then add the olive oil and combine.
- When the mixture has mostly stuck together turn the mixture out on to a work surface or breadboard. Knead the mixture by holding one end of the dough in one hand and stretching it out with the other hand. Reform the dough, turn it 90 degrees and start again. Repeat this for 10 minutes. See this recipe for photos on how to knead if you’re unsure.
- When the dough is shiny and smooth, put it in a large mixing bowl, coat in a thin layer of olive oil and cover the bowl with a tea towel. Leave it in a warm place (but not too warm – ie not next to an open fire!) for between forty minutes and two hours (until it has doubled in size).
- Gently melt dark chocolate over a double boiler / bain marie.
- Empty the dough out on to a work surface and push the air out with your fingertips.
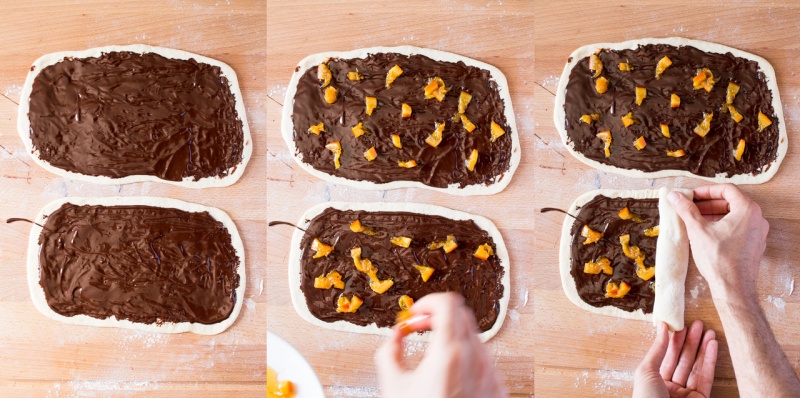
- Split the dough into four equal parts – best to use kitchen scales here. Roll one part of the dough into a rectangle approximately 30 cm wide and 20 cm high. Next, follow these 5 steps:
- STEP 1 Apply melted dark chocolate to the surface.
- STEP 2 Sprinkle it with small pieces of candied orange.
- STEP 3 Starting from the shorter edge, roll the dough into a cylinder.
- STEP 4 With a sharp knife, cut the cylinder in half lengthwise.
- STEP 5 Now twist two halves around each other sealing the ends well. I stuck a few more pieces of candied orange in between the chocolate covered layers too.
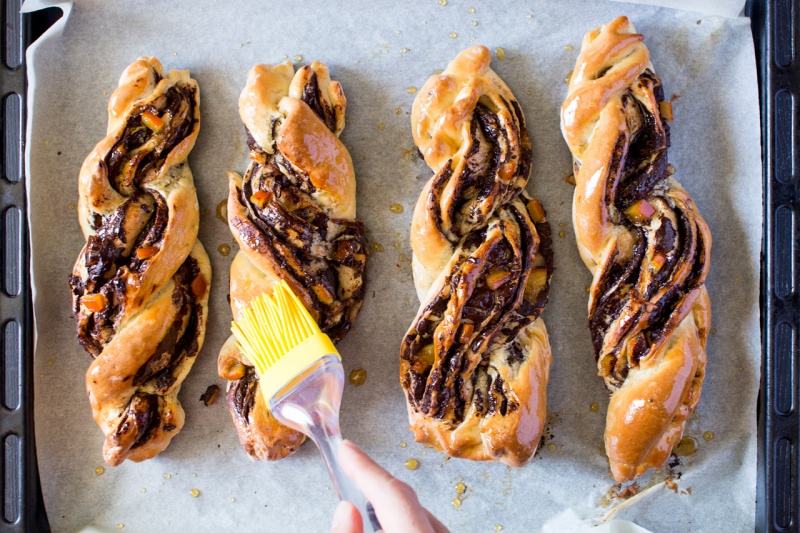
- Place the finished twists on a paper-lined baking tray, leaving space between them as they will expand in the oven. Cover them with a kitchen towel and prove for another 60 minutes. Before the hour is up, preheat the oven to 180° C / 350° F.
- Bake for 20-22 minutes or until golden brown.
- Glaze the still-warm twists with the orange-infused sugar syrup you prepared earlier.
CANDIED ORANGES (OPTIONAL)
- Scrub oranges clean and if they have wax on them, soak them briefly in boiling water to get rid of it. Slice them into ½ cm slices.
- Put sliced oranges into a small pot with 2 cups of water and 1 cup of sugar. Bring to the boil gently then simmer for another 45-60 mins until sugar syrup thickens and orange slices become translucent. Set aside to let them cool. Once cool, chop them up into small pieces.




I have not tried that, but I do that to pizza dough and the pizza comes out delicious and very fluffy (see this recipe) so I think it will work well. Ania
It is probably just me!
Lorna
Only gripe is a bit of a salty aftertaste! If I make them again, I might take a few grams of salt out and hope they still rise and make one large roll to cut into CHELSEA BUNS rather than the very large twists! I ended up cutting them into smaller pieces which spolit the look a bit.
I'm glad the were a success overall. I'm sorry that you felt that these were too salty. We followed a standard breadmaking formula for salt to flour ratio here, plus salt is known to reinforces chocolate flavour, but you are of course welcome to adjust the amount to your preference. Ania
I'm not sure why you are not seeing those, they are both there under a heading 'CANDIED ORANGES'. Please let me know if you are still having trouble! Ania
Shop bought puff pastry (make sure it is vegan, a lot of them are!) would do well here! Hope that helps! Ania
Yes! It can be refrigerated. This paragraph explains:
"All doughs can be refrigerated. Chilling dough slows the activity of the yeast, but it does not stop it completely. For this reason, it is necessary to punch down the dough a few times over the first few hours it is in the refrigerator. Once the dough has completely cooled, it needs to be punched down only once every 24 hours. A dough will last approximately three days in the refrigerator; however, it is best to use it within 48 hours."
And it says the best time to refrigerate the dough is straight after kneeding. Good luck with it!
It will work, but the dough will be a little bit different, less firm. Using half bread/strong flour is recommended but it's not a deal breaker if you only have an all-purpose one on hand. They will be just as tasty:)
Looks like your Duncan is as good at making breads as my partner is! :)