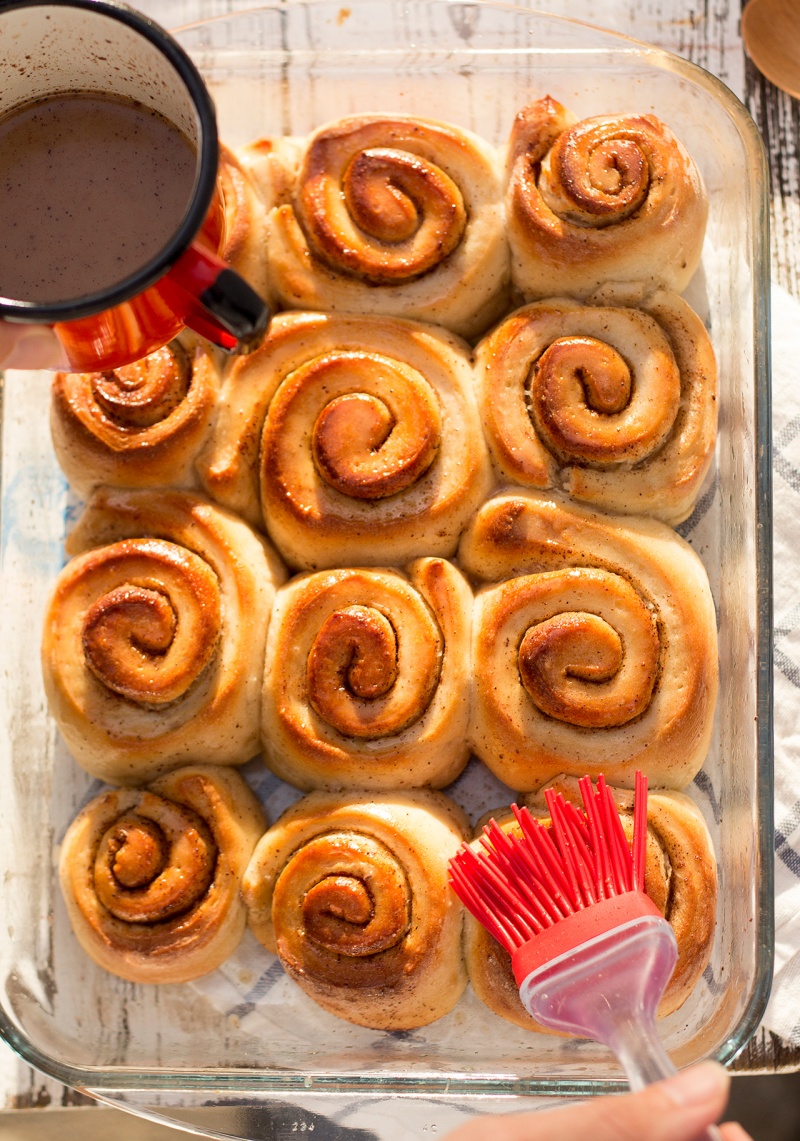
FOR AN IMPROVED & REFINE SUGAR-FREE RECIPE check out our most recent cinnamon buns post.
When we used to live in London, we lived 15 minutes from a Scandinavian bakery that served the most delicious vegan cinnamon buns.
London can be a very stressful place to live and work, but when you’re sitting in a little cafe with a warm vegan cinnamon bun (or two) in front of you and a cup of coffee in one hand, suddenly the world seems a far happier place.
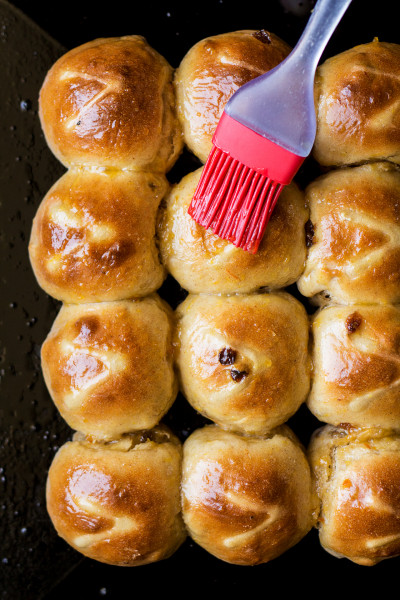
The British equivalent of the cinnamon bun is the Chelsea bun, which uses dried fruit (often sultanas) and slightly less cinnamon. Personally, I wouldn’t turn down either, but as a self-confessed “cinnamon fiend” and a great lover of all things Scandinavian, I prefer the original vegan cinnamon buns (which is what this recipe is for).
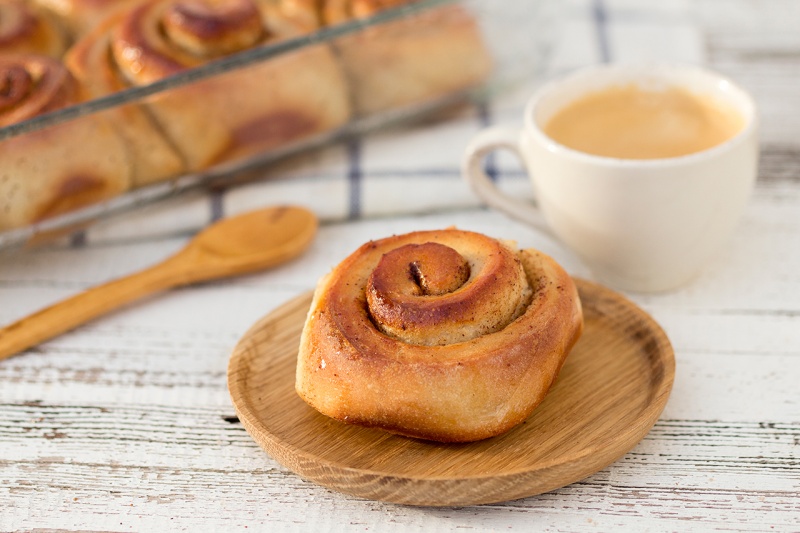
Despite this recipe being vegan (and containing no eggs or butter), these buns are light, fluffy and indulgent. Even though at first glance the recipe looks a little fiddly, these buns are actually surprisingly easy and satisfying to make and the perfect thing to get your kids involved in. Once you have turned what is fundamentally a standard bread recipe into these soft, white scrolls of Scandinavian delight, you’ll be wishing you had baked more than 12!

BUNS
- 220 g / 1¾ cup strong (bread) flour
- 250 g / 2 cups all-purpose flour
- 2 tbsp brown sugar
- 10 g / 1 tsp salt
- 7 g sachet fast-action dried yeast
- 300 ml / 1¼ cup almond milk
- 1 tbsp olive oil + a little for pan glazing
BUN FILLING
- 2 tbsp olive oil (enough to cover dough)
- 4 tbsp / ¼ cup brown sugar (enough to cover dough)
- 2 tbsp cinnamon (enough to cover dough)
GLAZE
- 2 tbsp almond milk
- 2 tbsp brown sugar
- 1 tsp cinnamon
- Mix the flour, salt, yeast, and sugar in a large mixing bowl.
- Pour in the lukewarm (not cold!) almond milk and stir everything together with a large wooden spoon. Then add the olive oil and integrate.
- When the mixture has mostly stuck together turn the mixture out on to a work surface or bread board.
- Knead the mixture by holding one end of the dough in one hand and stretching it out with the other hand. You then reform the dough, turn it 90 degrees and start again. Repeat this for 10 minutes.
- When the dough is shiny and smooth, put it in a large mixing bowl, coat in a thin layer of olive oil and cover the bowl with a tea towel.
- Leave this in a warm place (but not too warm – ie not next to an open fire!) for between one and two hours (until it has doubled in size).
- Empty the dough out on to a work surface and push the air out with your fingertips.
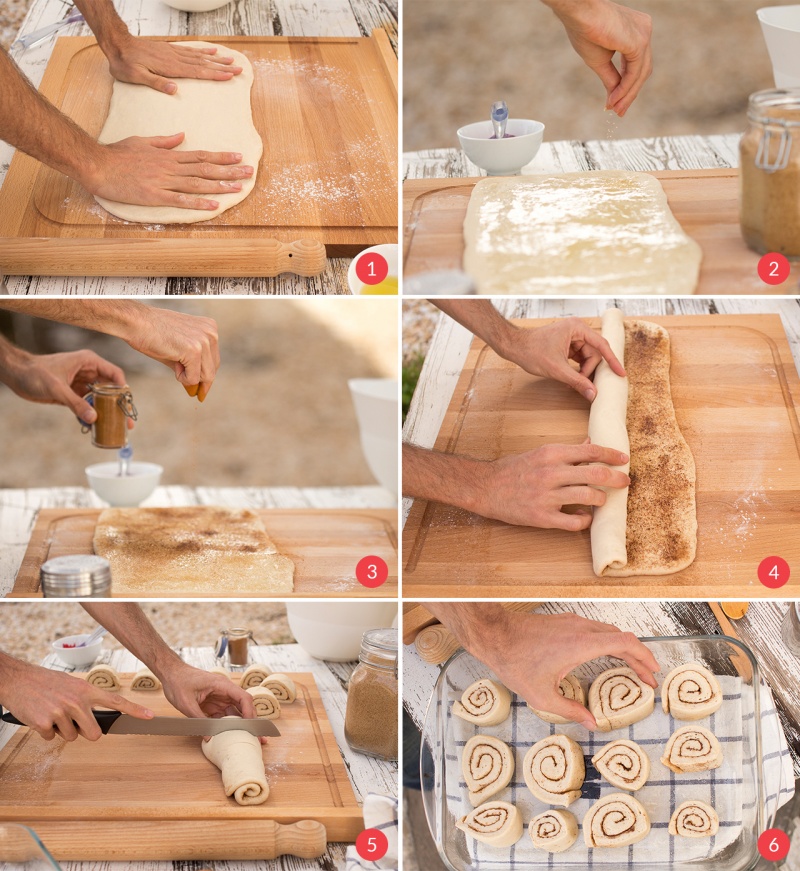
- Roll the dough flat until it is 40-45 cm wide and 18-20 cm high (photo 1).
- Coat the dough with olive oil making sure to cover the entire dough.
- Sprinkle a layer of sugar on the dough and then a layer of cinnamon – these will stick to the olive oil (photo 2 and 3).
- Starting from the bottom, roll the dough tightly so that at the end you have one horizontal “dough snake” (photo 4).
- Cut the dough into 12 segments, which comes out around 3-4 cm per segment (photo 5).
- Place the segments horizontally (like a tree trunk) on an oiled baking tray, leaving 1-2 cm between each bun. If you can fill the baking tray, this is ideal (photo 6).
- Leave the buns (covered with a kitchen towel) to prove again for another hour. During this time preheat the oven to 180° C / 350° F.
- Place the buns in the oven to bake for 18-20 minutes.
- While the buns are baking, create the glaze by warming the almond milk, brown sugar and cinnamon in a small saucepan.
- Take the buns out of the oven when they are lovely and golden, and glaze them while they are still hot. Try and use all of the glaze, and let it seep into the buns and the gaps between them.

Is it possible to make them gluten-free?
Regards,
Julia x
I haven't tried so while I'm sure it is possible, I haven't got a recipe for gluten-free yeast dough yet. Ania
Thanks for the recipe Guys
I have not tried that so I cannot advise with any degree of certainty. Having said that, I have frozen pizza dough in the past and that yielded very good result so you might be onto something! Let me know if you try! x
:) :)
Thanks,
Tara
This little chart is very useful:
Cake and pastry flour = soft flour
All-purpose flour = plain flour
Bread flour = strong flour, hard flour
Self-raising flour = self-raising flour
Whole-wheat flour = wholemeal flour
So, basically, strong flour = bread flour.
That's brilliant, we (Duncan made these) are so pleased to hear that! :) Ania
We are very pleased to hear that you like our recipe, thank you! Lazy Cat Kitchen's Baking Department (AKA Duncan:) has confirmed that it does not have to be dried yeast at all. We picked this type as it is easy for people to use, even if they haven't used yeast before. If using regular yeast, make sure you activate them as per instructions on the packet. Would be awesome if you could let us know how your buns have turned out!
Ania