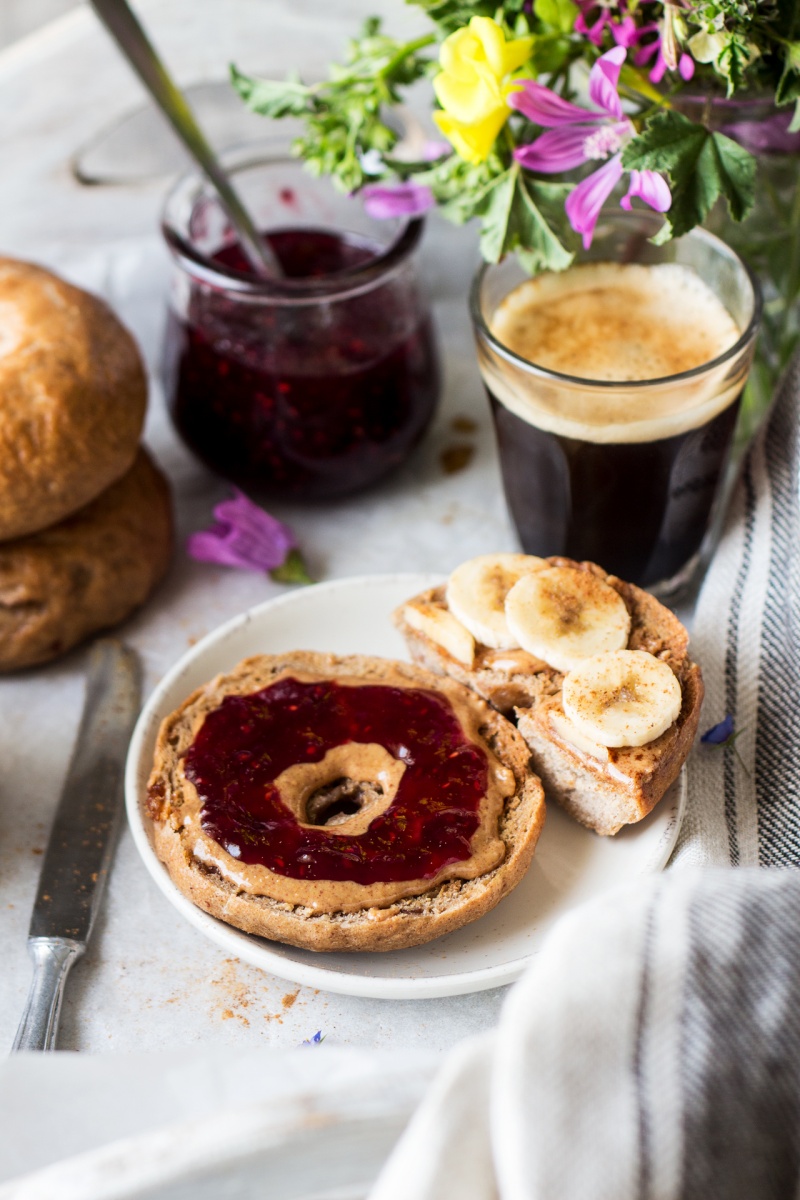
Strictly from the eating perspective, I’ve always absolutely loved bagels. When I was introduced to the cinnamon and raisin bagel, I couldn’t believe there could be anything with a nicer texture and flavour!
In the Australian suburbs where I grew up, one of the many slightly unhealthy breakfast options was a thing called “cinnamon toast”, which was a highly-sugared supermarket white bread with some added cinnamon and sultanas. I’d like to think that today’s recipe is the healthier, grownup version of everything that is good about cinnamon toast. It is the flavour of the cinnamon toast with the texture of a properly made bagel and a lot less added sugar.
The first time I tasted a properly made cinnamon and raisin bagel was on a holiday in New York. One of the best things about New York is that there are places that you can go at all hours and enjoy a freshly made bagel. That’s right, at 4am you can be eating a cinnamon and raisin bagel with freshly brewed coffee in a place with booth seating and full table service! I get the feeling that if I lived in New York I would be much larger than I am today…
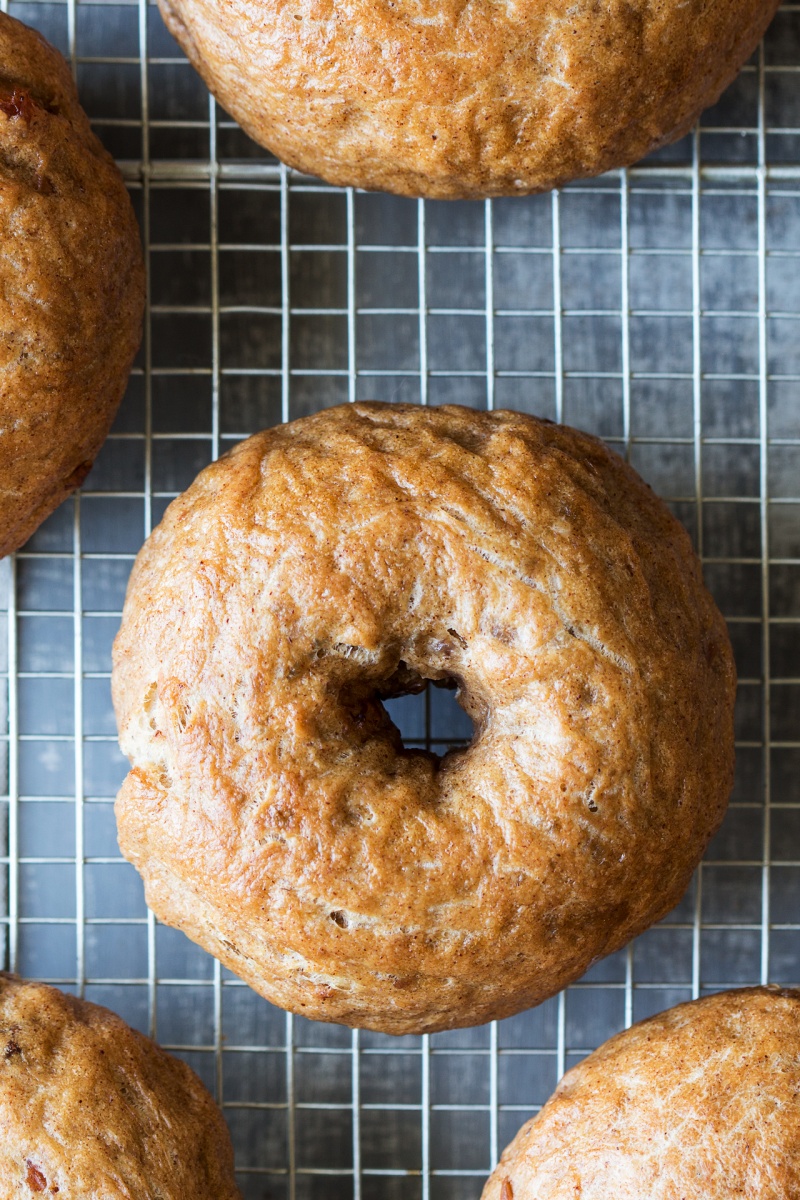
I can’t put my finger on what it is about bagels that makes them taste unique. They really aren’t just “bread rolls with a hole in them”, they have a very distinctive chewy texture that is really satisfying to eat. This is mostly created by ‘poaching’ the bagels in simmering water for 1-2 minutes, which is the only time I’ve ever seen dough dipped in water before baking. Apparently the professional bagel places use a lye solution and soak the bagel in that for only a few seconds. I decided not to do this because:
- It is almost impossible to get lye unless you are a chemist.
- Lye is so toxic that you have to wear protective gloves and a protective mask.
- Lye can fully dissolve a human body in around 3 hours (Walter White would approve) and I’m not putting my bagels in that!
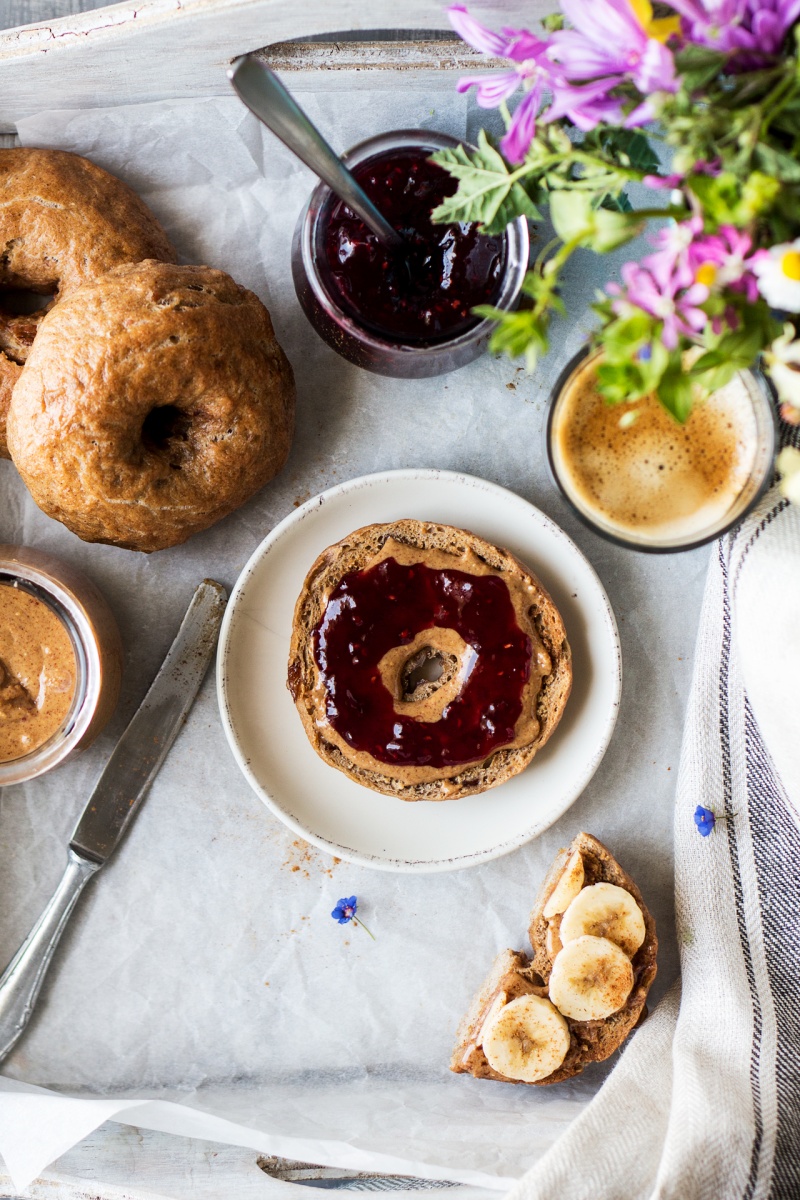
I went with the alternative, which is to simmer the bagels in boiling water which contains a little bit of baking soda and I was totally blown away with the taste and the texture of these bagels. Ania and I just sat there all morning, eating one bagel after another shaking our heads and going “I can’t believe we’ve made proper bagels”. I hope you enjoy them as much as we have!
- 500g / 4 cups of strong / bread flour
- 4 tsp caster sugar
- 1½ tsp salt
- 7 g sachet instant dried yeast
- 250 ml / 1 cup + 1 tbsp of lukewarm water
- 50 ml / 3 tbsp + 1 tsp of vegetable oil (I used mild olive oil), plus extra for coating
- 2 tbsp cinnamon
- 115g / ¾ cup raisins
- ½ tsp baking soda
- Mix the flour, salt, yeast, sugar, cinnamon and raisins in a large mixing bowl.
- Pour in the lukewarm (not cold!) water and stir everything together with a wooden spoon. Then add the oil and combine.
- When the mixture has mostly stuck together turn the mixture out on to a work surface. Knead the mixture by holding one end of the dough in one hand and stretching it out with the other hand. Reform the dough, turn it 90 degrees and start again. Repeat this for 10 minutes. See this recipe for photos on how to knead if you’re unsure.
- When the dough is shiny and smooth, put it in a large mixing bowl, coat in a thin layer of oil and cover the bowl with a tea towel. Leave it in a warm place (but not too warm – ie not next to an open fire!) for between one and two hours (until it has doubled in size).
- Empty the dough out on to a work surface and push the air out with your fingertips.
- Split the dough into twelve equal parts – best to use kitchen scales here.
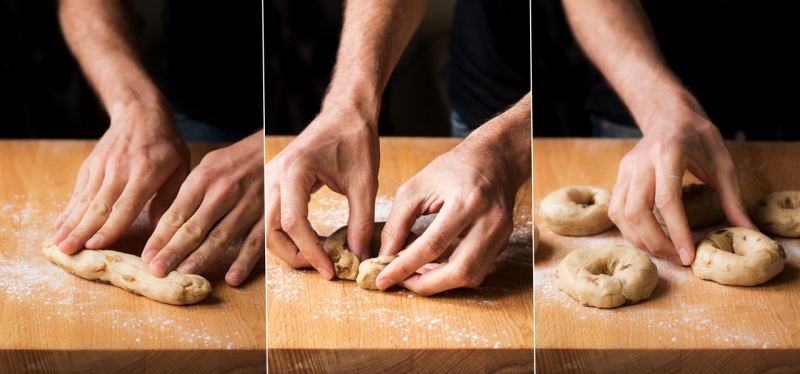
- Shape the dough into the classic bagel shape of a circle with a hole in the middle in one of two ways:
- METHOD 1 – Roll the dough into a “snake” approximately 18 cm / 7 inches long, loop into a circle and join it with itself (using a bit of water to seal the join). This gives you a nice round bagel with a larger hole but it can potentially come apart in the future poaching step.
- METHOD 2 – Form the dough into a circle (like a flattened bread roll) and poke a hole through the middle with your thumb. This usually gives you a slightly “fatter” bagel with a smaller hole, but is highly unlikely to break apart in the future poaching step.
- Leave to prove, covered on a lightly oiled baking sheet.
- Pre-heat the oven to 200° C / 390° F, put a large saucepan (largest diameter possible) of water (at least 10 cm / 4 ” depth) to boil, and lightly oil a couple of baking sheets.
- When the bagels are about 50% bigger or have proved for around 30 minutes, they are ready for the poaching step. Note that I usually 2nd prove bread for twice as long as this, but I do a half proving time with bagels as I find the poaching step expands them too much if I give them a full prove.
- Turn the boiling water down to a simmer, add ½ tsp of baking soda to it and place as many bagels as comfortably fit in the saucepan for 90 seconds on one side, then turn them over and do them for 90 seconds on the other side before removing them from the water. You can do 1 minute on each side for “breadier” bagels, or 2 minutes on each side for chewier bagels. Place them on the paper towel to dry for a few seconds before placing them on the lightly oiled baking trays.
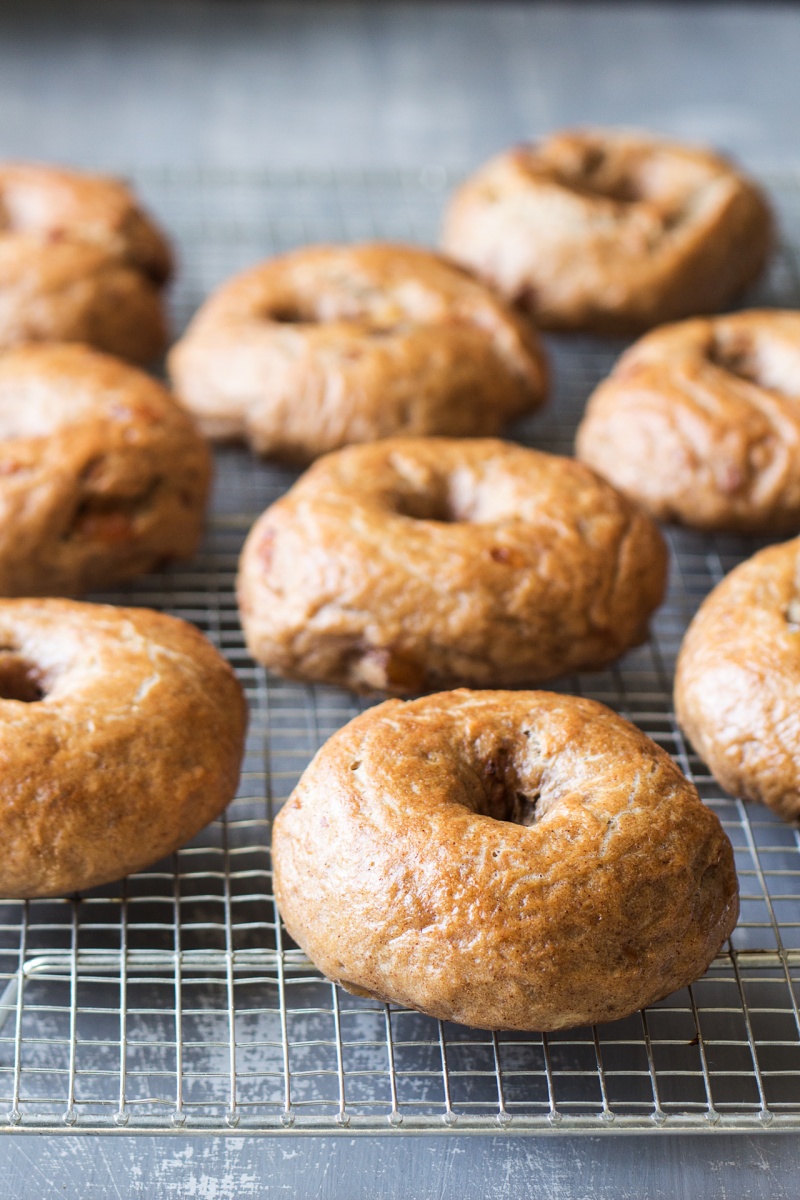
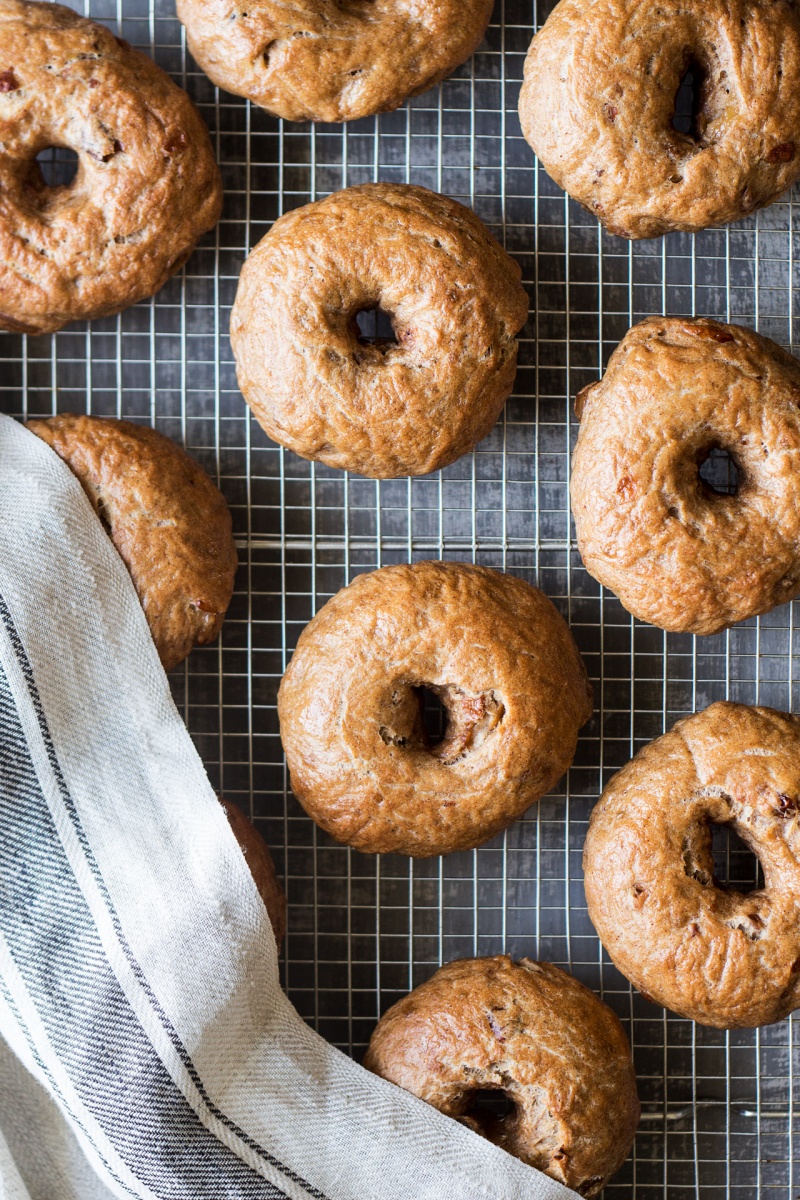
- Glaze the top of the bagels with oil (this gives them a golden colour) and put them in the oven to bake for 15 minutes or until golden brown.

I have not tried myself so I am not 100% sure. Their absorbency level is for sure different so you will need to adjust the amount of liquid added. These need gluten for their texture and given that both rye and spelt flours are low in gluten, I think, this may be a problem. I would maybe recommend 50% rye/spelt and 50% wheat flour? Hope this helps! Ania
You can though leave it to "proof" 😀
Any neutral tasting vegetable oil will work, including mild olive oil. Hope that helps! Ania
thanks they look delicious!
Thanks, we are pleased to hear that you are planning to make our bagels. Duncan used approximately 6 cups / 1.5 l of water for 1/2 tsp of baking soda. Hope you'll like them as much as we do! Ania