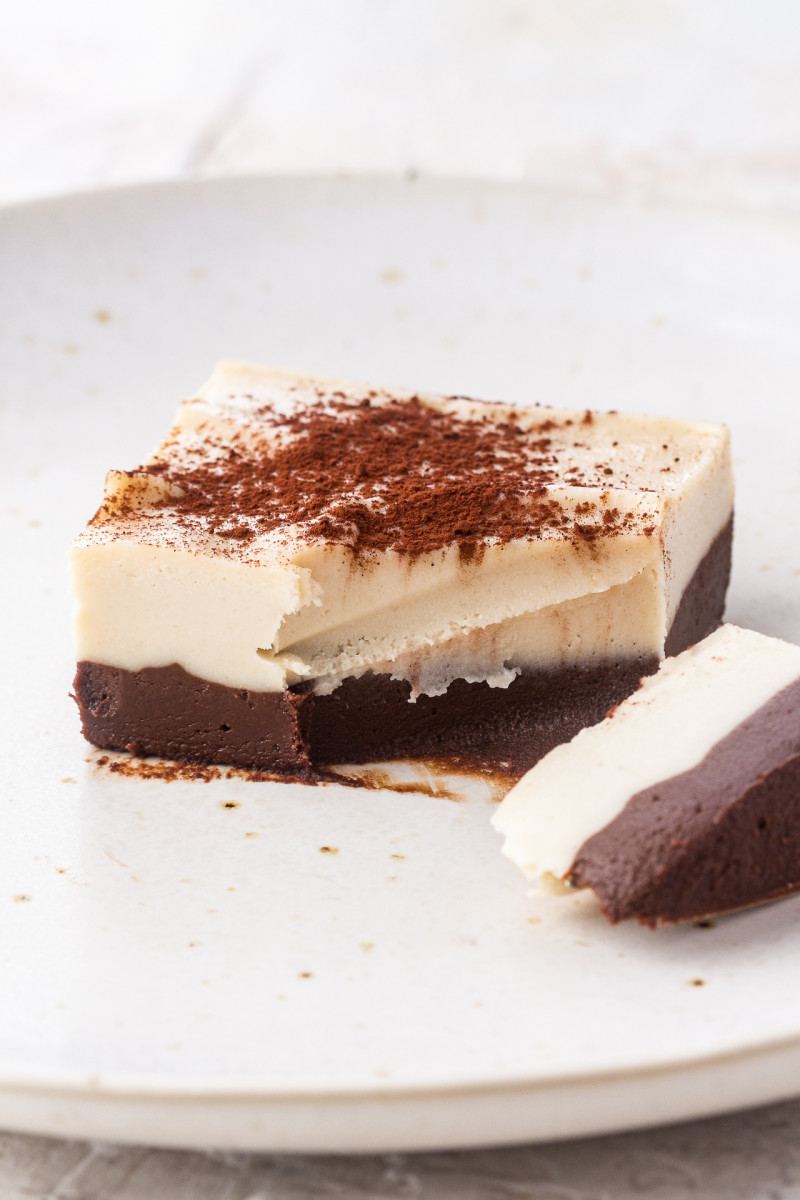
Fridge tiramisu slice (vegan)
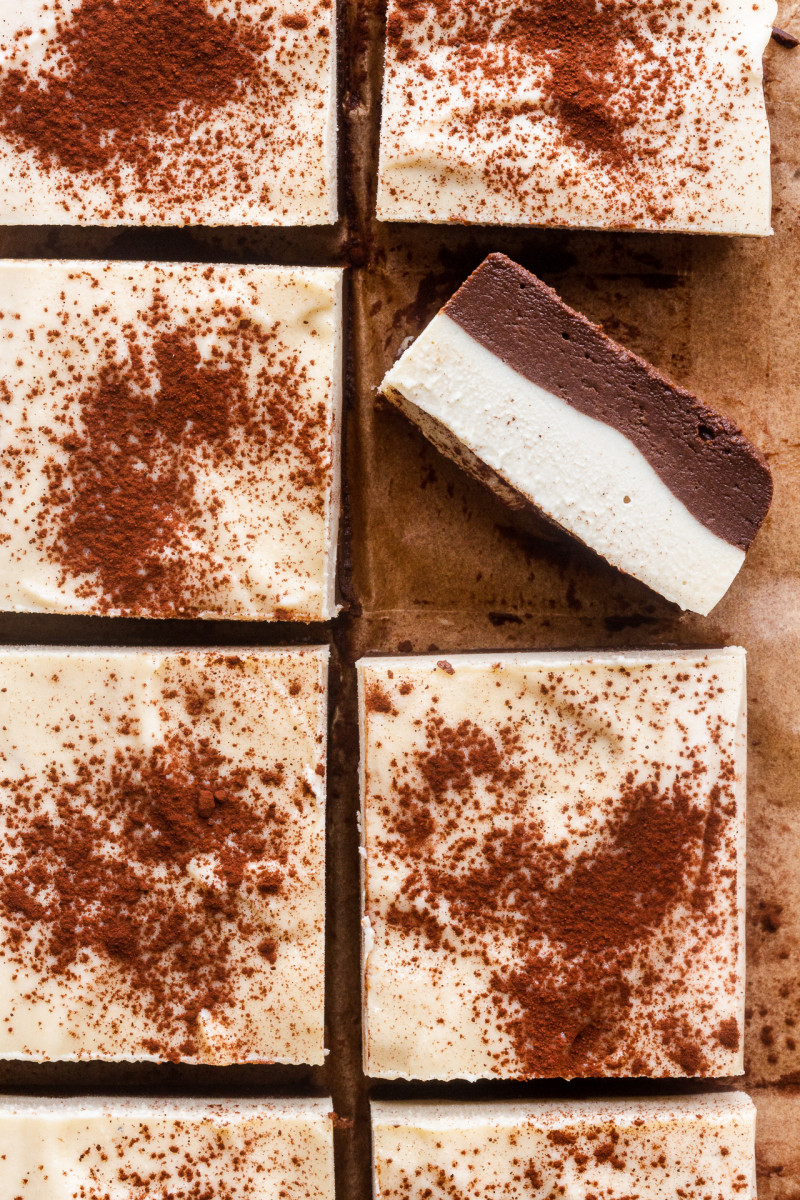
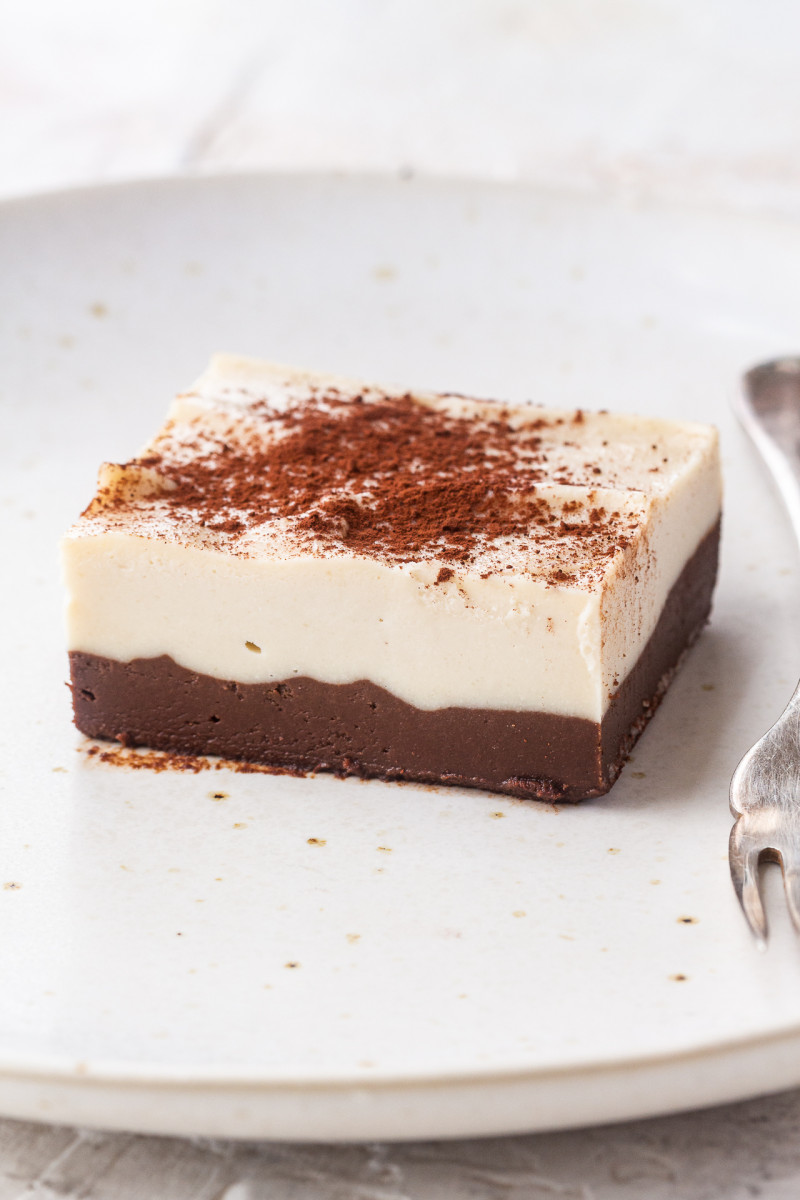
Finally, we were lucky to experience some proper summer heat this week! Yesterday was really glorious, the skies were blue and it was hot with a nice, cooling breeze. I spend the day in my deckchair (my hammock is broken) with a good book in hand and heaps of delicious summer food – iced coffee, fresh strawberries, massive salad for lunch and a piece of this very fridge tiramisu slice for afters.
Even though it was too short-lived for my liking (it’s raining again today), it was really nice to chill in the sunshine and not to do any work for once. I generally have trouble taking time off for myself and even when I manage to steal some my mind gets inexplicably pulled towards work, chores, things I should be doing instead…can you relate? It’s not healthy so I am trying my hardest to set some work life boundaries for myself and stick to them without feeling guilt. It’s work in progress, I won’t lie.
So this fridge tiramisu slice is absolutely delightful on a hot summer day. It’s super quick and easy to make and it’s beautifully creamy and refreshing to eat. If you don’t like coffee but are on board with the general idea, skip the coffee and keep this slice plain or flavour the chocolate with a little orange zest and a few drops of orange extract, for example. I hope you’ll enjoy it as much as we do.
MORE ABOUT THE INGREDIENTS
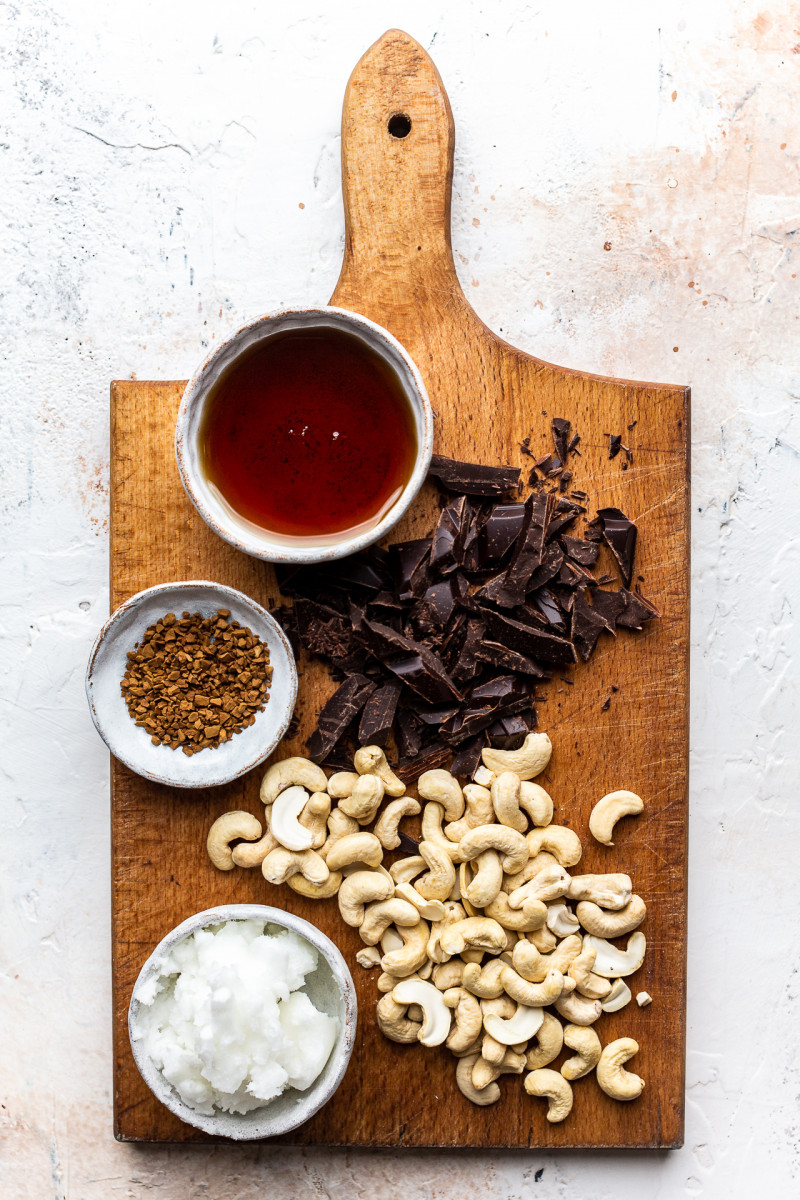
CASHEWS – cashews form the base for this creamy dessert. They work perfectly as they contribute a rich base and nice mouthfeel yet their neutral flavour doesn’t take over. If you are allergic to cashews or would rather use something cheaper, soaked sunflower seeds work similarly and their flavour, although more prominent than cashew flavour, won’t come through in the white layer if you flavour it with a little coffee too.
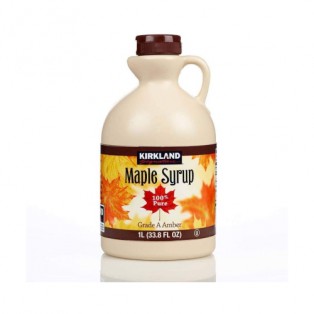
MAPLE SYRUP – I used maple syrup to sweeten this dessert, but you can use any type of sweetener you like. A different liquid sweetener like golden syrup or rice syrup would work the same, but if you would rather use icing (confectioner’s) sugar that’s fine too – just make sure to use some plant milk to compensate for the lost moisture.
INSTANT COFFEE – instant coffee is a best ways to infuse desserts with coffee flavour. I used 3 tsp of instant coffee in the chocolate layer and none in the vanilla layer as I wanted both flavour and colour contrast, but you could flavour both layers with coffee to your taste, if you prefer. If you don’t like coffee at all, skip it and perhaps add some orange zest and a few drops of orange extract to the top layer to create chocolate orange slice or keep it plain.
DARK CHOCOLATE – dark chocolate forms the bottom layer of this simple no bake dessert. Chocolate and coffee work really well together, providing both heaps of flavour and richness of texture. I used just shy of a whole standard bar (100 g / 3.5 oz) of chocolate leaving a little bit for decoration or taste testing 😉 .
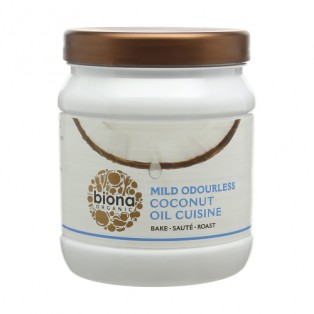
COCONUT OIL – coconut oil gives firmness and richness to the top layer of this dessert, without it the layer would be too soft once thawed. I recommend using a flavour-free coconut oil that has been steamed to remove coconut flavour. Failing that good vegan butter (I like Naturli) will render similar results.

CHOCOLATE-COFFEE LAYER
- 100 g / 3.5 oz (heaped ¾ cup) raw cashews, soaked
- 60 ml / ¼ cup maple syrup or other sweetener
- 60 ml / ¼ cup plant milk (I used almond)
- ¼ tsp salt
- 2-3 tsp instant coffee, more to taste
- 90 g / 3.2 oz vegan dark chocolate
VANILLA LAYER
- 100 g / 3.5 oz (heaped ¾ cup) raw cashews, soaked
- 45 ml / 3 tbsp maple syrup or other sweetener
- 10 ml / 2 tsp vanilla extract
- 50 g / ¼ cup coconut oil, melted
- ½-1 tsp instant coffee, optional
- cocoa powder (or chocolate shavings), to decorate
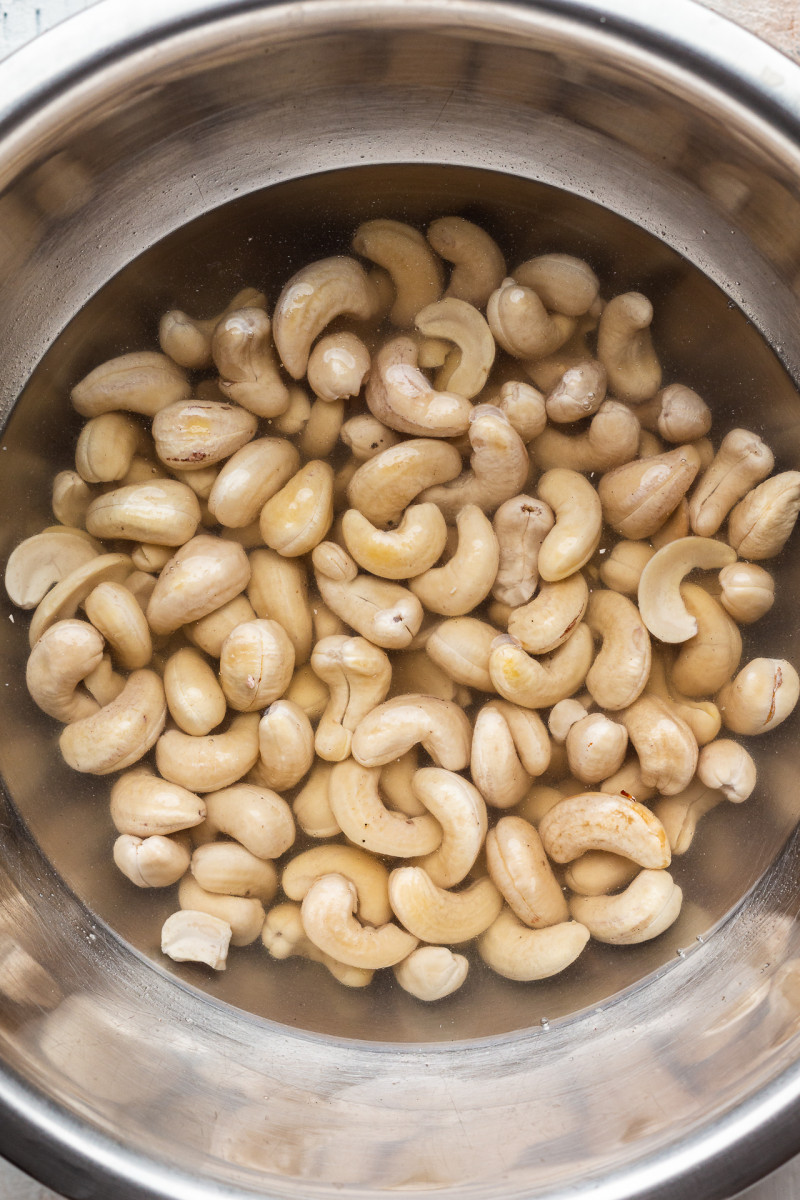
- Soak cashews for both layers overnight in cold water or in boiling water for at least 30 minutes. Drain really well.
- Line a 10 cm / 4″ by 20 cm / 8″ tin (I used my 2 lb banana bread tin) or food container with a strip of baking paper.
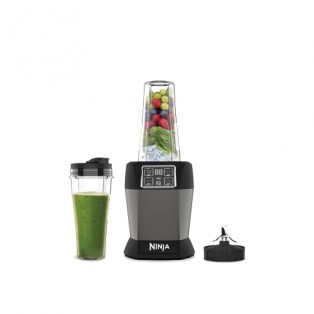
- Put half of the soaked cashews, 60 ml (¼ cup) maple syrup, 60 ml (¼ cup) plant milk and salt in a small blender (I used my Ninja for this). Blend until super smooth.
- Transfer ¾ cup (180 ml) of this mixture to a metal or glass bowl, leaving the rest in the blender*.
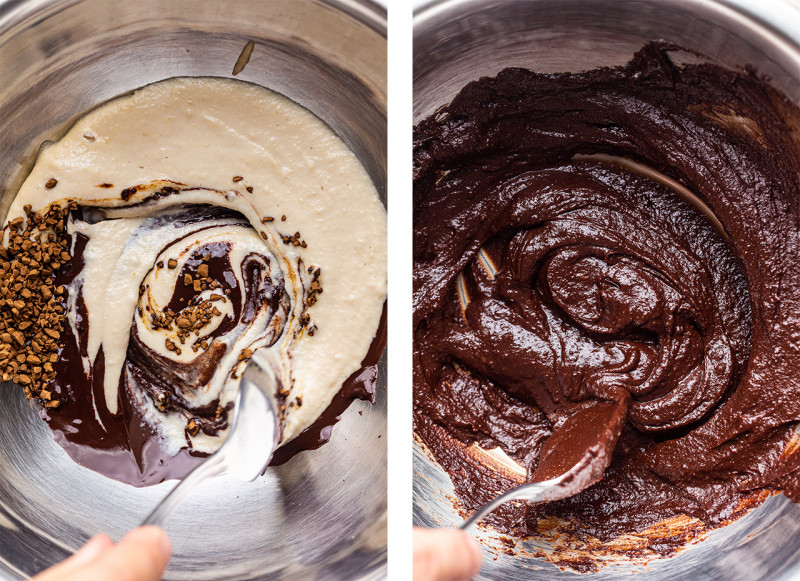
- Add broken up chocolate and 2-3 tsp instant coffee to the bowl and place the bowl over a pot filled with water (bain marie) making sure the water does not touch the bottom of the bowl.
- Bring the water to a gentle simmer and once it’s at that point, switch the heat off and allow the chocolate to melt in the residual heat.
- Gently and slowly stir melted chocolate and coffee into cashew cream next to it until fully combined. Take the bowl off the pot with steaming water, make sure to wipe the bottom of the bowl.
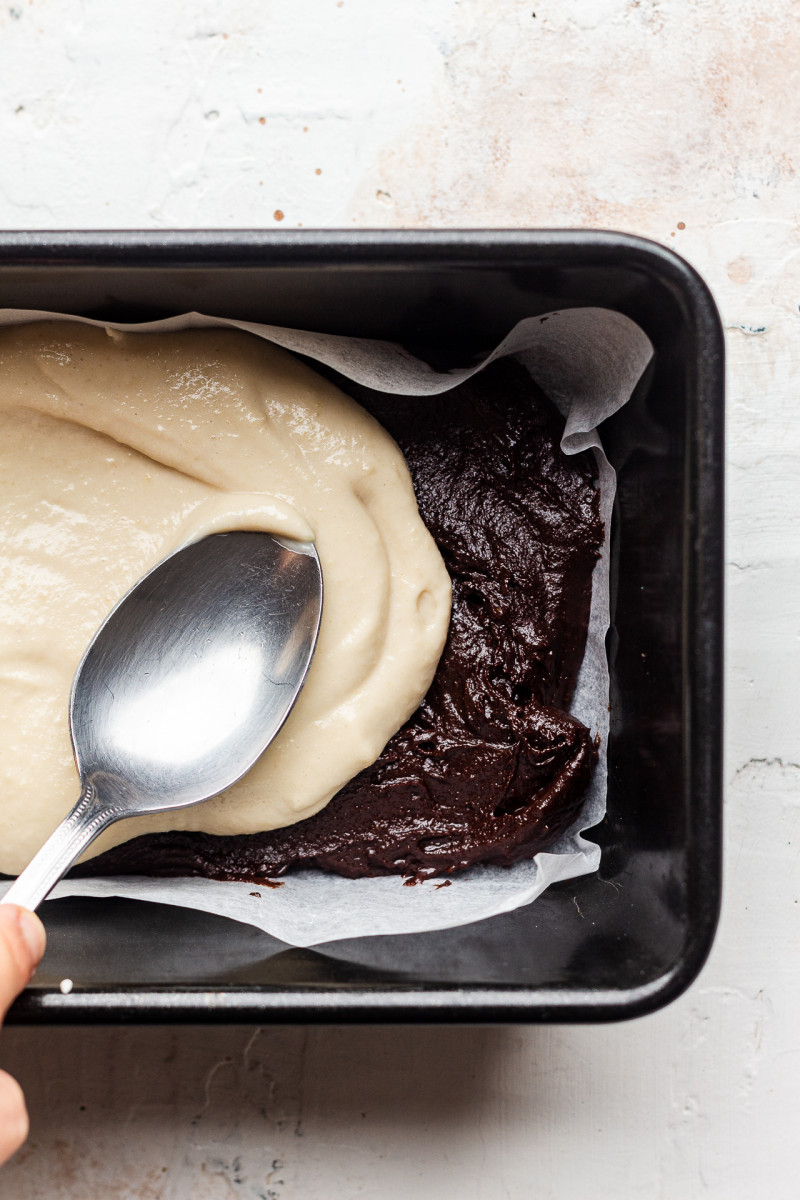
- Spread coffee layer at the bottom of the lined tin.
- Add the first four vanilla layer ingredients into the blender with the leftover cashew mixture. Blend until smooth. Add a little instant coffee if you like, I kept the top layer coffee-free.
- Spread vanilla layer over the coffee layer (use a silicone spatula to get it all out!) and place in the freezer for a few hours to set.
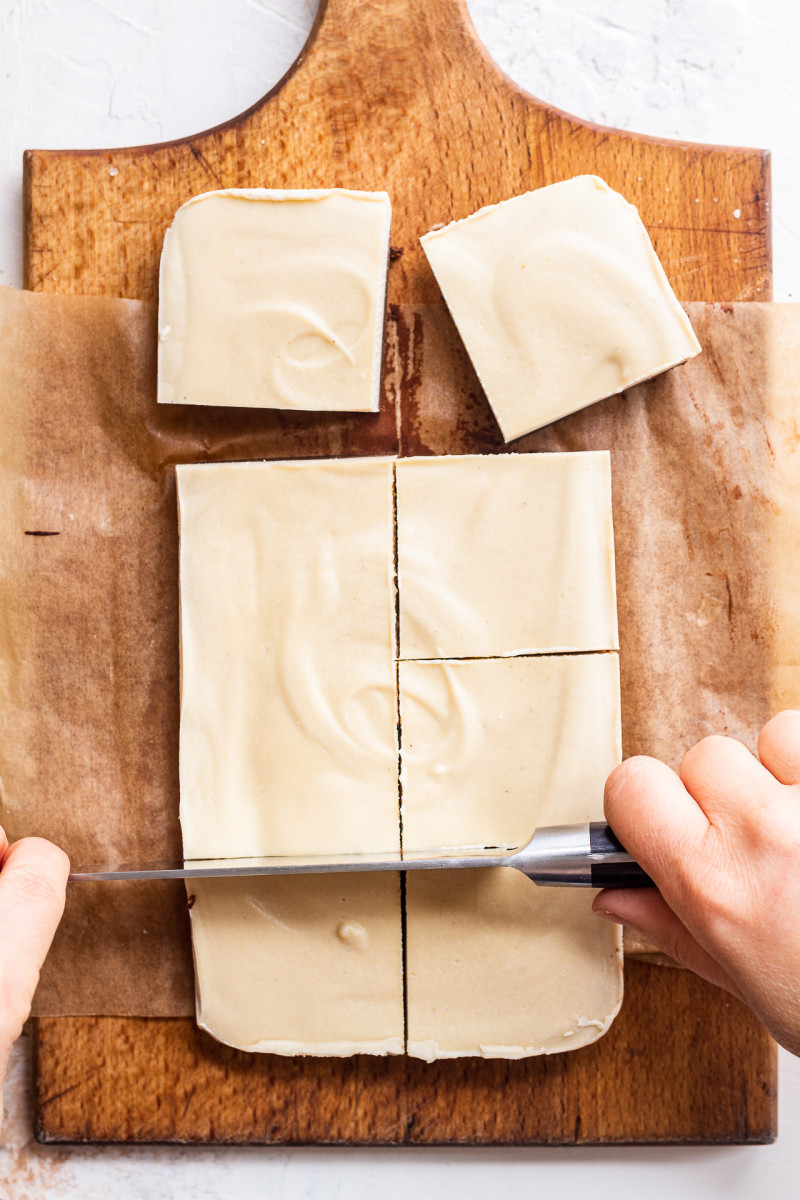
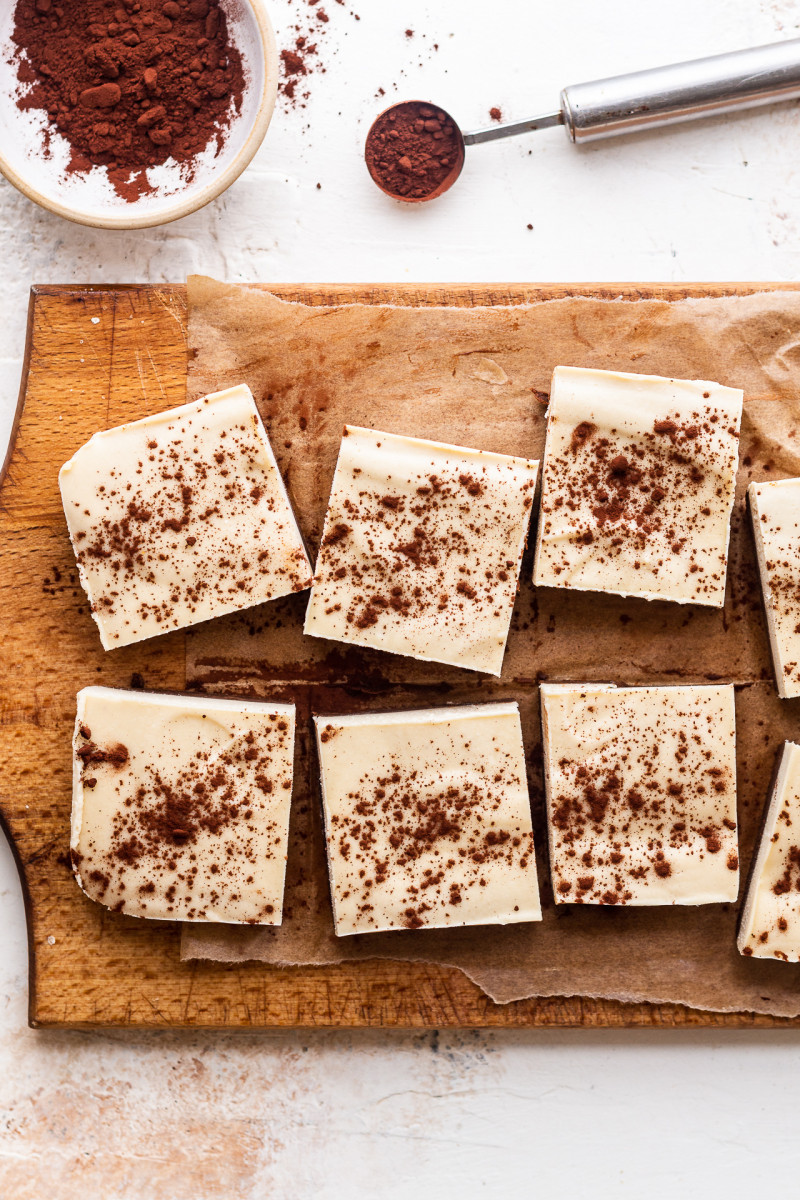
- Decorate with cocoa power (or chocolate shavings) once set, cut into 8 squares or 16 half-squares (it’s rich) and let it rest for 10 minutes at room temperature to soften. Store in the freezer or fridge, in an air-tight container.
This recipe is adapted from my earlier recipe for these coffee cups.

Wishing you a gourmet vegan feast and thankyou for all the fabulous recipes you shower upon your doting admirers! I have made this delightful dessert for christmas and took some to friends last night. It was off the scale gorgeous! I did add a little decaff coffee to the vanilla mixture too and also used an extra 50 g cashews....... Thankyou ever so much for establishing yet another firm favourite!
Best wishes, Fiona (Top fan!)
The one that comes in a solid block (like Naturli or Flora here in the UK) sure, but not the spreadable kind. Hope this helps! Ania
Keep the rest of the first cashew batch in the blender, add the vanilla ingredients to it and blend well again - this will form the top (vanilla) layer. The reason I did it like that is that I find that there is a certain minimal amount of ingredients to get the blender started and to get the mixture blended really smoothly. Hope this makes sense, Ania