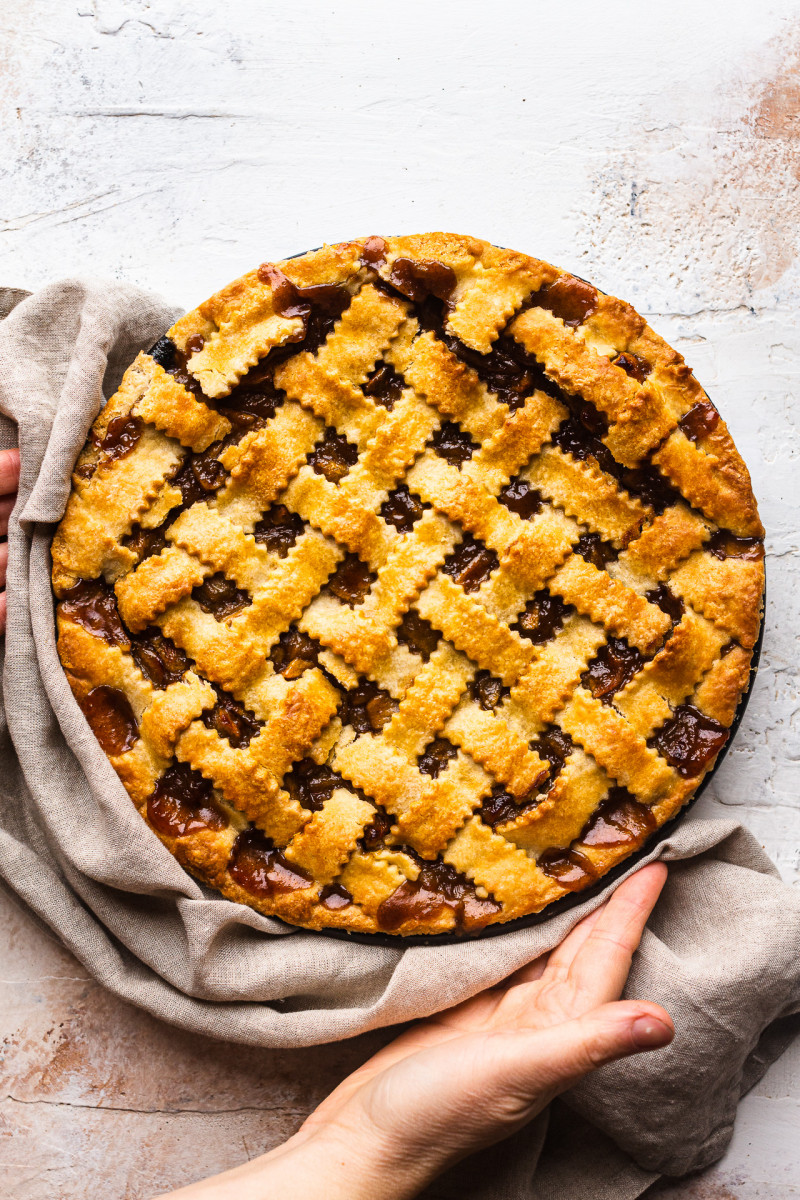
I don’t know how this happened but I realised that one of my all favourite autumn things is missing from this blog. I have not yet published a recipe for an apple pie, which I love. I don’t know how I missed that, my sincere apologies and I am rushing to recitify this oversight with today’s recipe.
My apple pie is a simple affair of crispy shortcrust pastry and sweet and sour cinnamon scented apple filling. It’s really not that hard to make, especially if – like me – your rope in your food processor to make the pastry for you. The pie does not require a blind bake and I pre-cook the apples only just for a few minutes to ensure there are no gaps underneath my pastry once they shrink in the oven.
MORE ABOUT FILLING INGREDIENTS
APPLES: I really like a bit of a tang in an apple pie so I’ve opted for Bramley cooking apples – the most popular cooking apple variety in the UK – in mine. Bramley apples are rather sour and cook fast so by the time the pie has fully baked they tend to melt into each other – there are no distinct apple pieces left. I happen to like that, but if you don’t use an eating variety that does not disintegrate quite so easily. My second apple choice would be Granny Smiths.
CORNFLOUR / CORNSTARCH: a small amount of cornflour (or cornstarch if you live in the US) is needed to absorb apple juices and to thicken the filling. You could replace it with tapioca starch or arrowroot in theory, but I haven’t tried either of them in this context.
CINNAMON: I love the combination of apples with cinnamon in an apple pie so I’ve opted to use cinnamon on its own, but you could add other spices too if you prefer. Ginger, all spice, cardamom, nutmeg, cloves would all work really well. I personally only like a touch of cloves as they tend to overpower easily but use your judgement.
LEMON: my apples were really quite sour so I didn’t feel the need to add any lemon juice, but if yours are sweet add a tablespoon or two to balance the sweetness and to brighten up the filling. I did add a small amout of lemon zest for a pop of citrusy flavour though.
SUGAR: I used a combination for caster sugar and light muscovado sugar, which add a delicate caramel like flavour, but you can use any sugar your like.
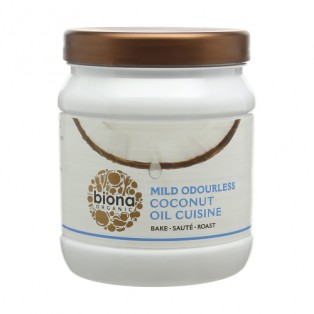
VEGAN BUTTER: a small amount of vegan butter keeps the filling moist and indulgent. I used a vegan butter block Naturli, but coconut oil (I like to use fragrance free type ) works well too.
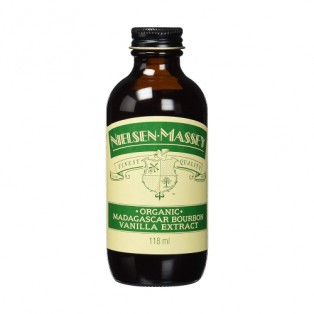
VANILLA: a touch of vanilla is always nice to add to a dessert but as there is cinnamon and lemon zest here already, you can skip if you don’t have any on hand.
MORE ABOUT PASTRY INGREDIENTS
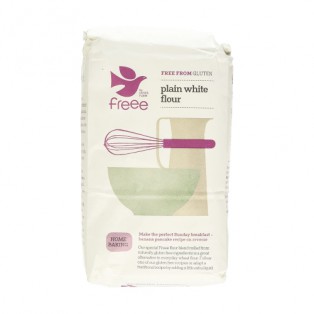
FLOUR: I used all purpose (also known as plain) flour to make the pastry. If you wish to make the pastry gluten-free, use a reliable gluten-free flour mix that has a good portion of starches, which help to keep gluten-free flours supple.
XANTHAN GUM: a small amount of xanthan gum is needed to keep gluten-free pastry flexible.
SUGAR: I used superfine white sugar (known as caster in the UK) as its small particles melt into the pastry easily during baking. A good alertnative would be icing sugar / confectioners sugar – you’ll need 50 g or 1/3 cup of it.
VEGAN BUTTER: good quality vegan butter that comes in a solid block (not the spreadable kind, in a tub) is key to a good vegan shortcrust pastry. I used Naturli, which is salt free. You can also make a great vegan pastry with coconut oil if that’s what you prefer (I like to use fragrance free coconut oil )
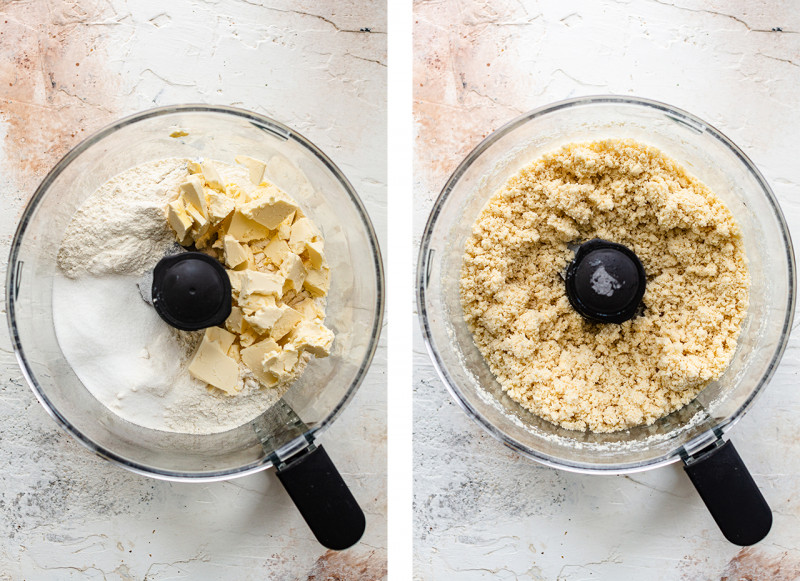
Pulse all pastry ingredients (apart from water) a couple of times until the mixture looks pebbly, i.e. there are no chunks of butter left. Next, pulse the mixture whilst trickling in ice cold water until the mixture starts to resemble breadcrumbs – add as little water as you can get away with, the less water the better your pastry will be. The photo on the right was taken after water has been added.
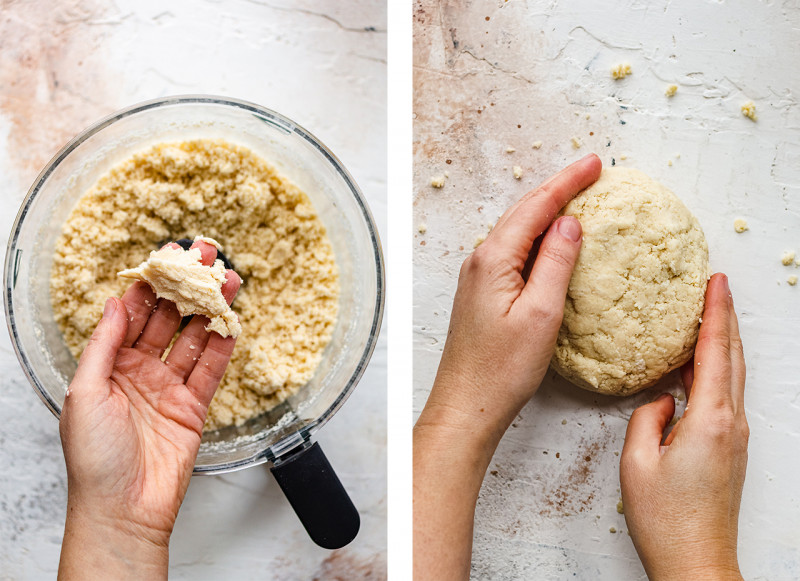
Once the mixture is just moist enough (without feeling wet) to clump up in your palm, transfer it to the counter and gently bring it together with your hands into a disc – do not knead! Refrigate for at least 60 minutes to relax the gluten and keep the pastry tender.
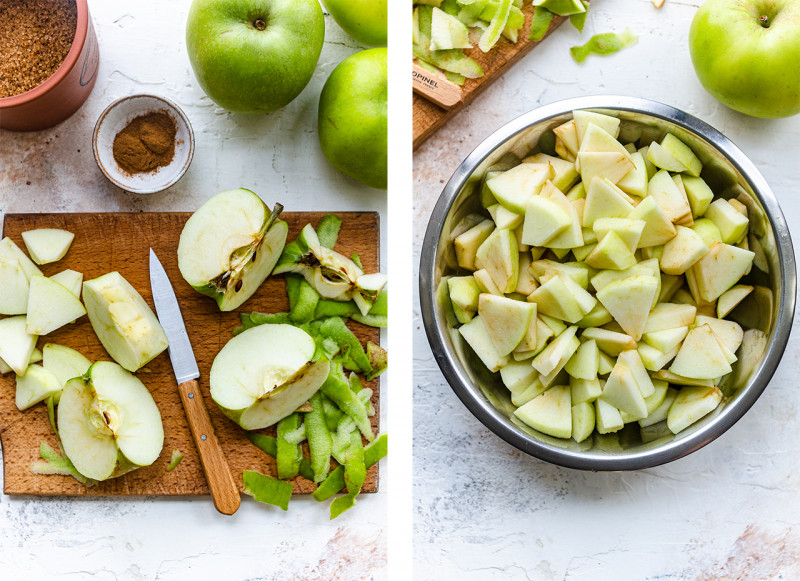
Peel, quarter or cut into eights (if your apples are really big like mine) and core your apples and slice into thick slices.
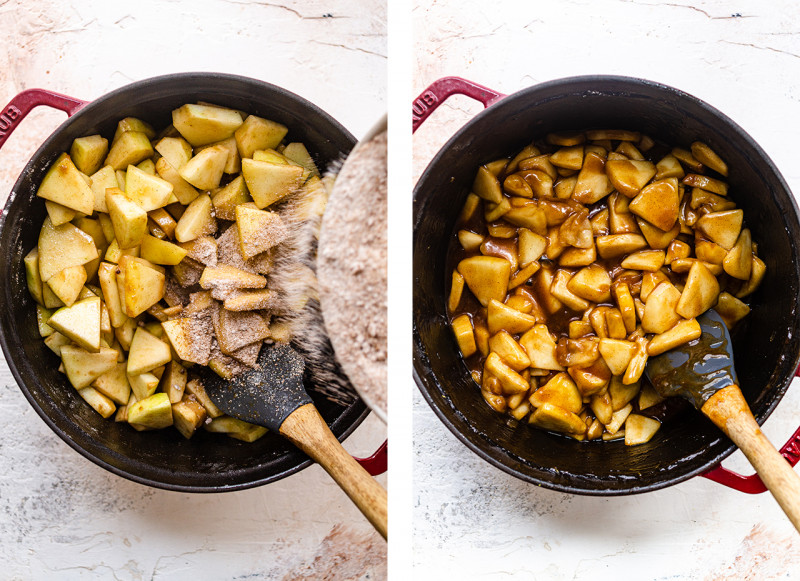
Add apple slices to some melted butter, then stir dry ingredients into the apples using a spatula. Cook for about 8 minutes, until the apples have softened and the sugar and butter turned into a gooey caramel-like sauce.
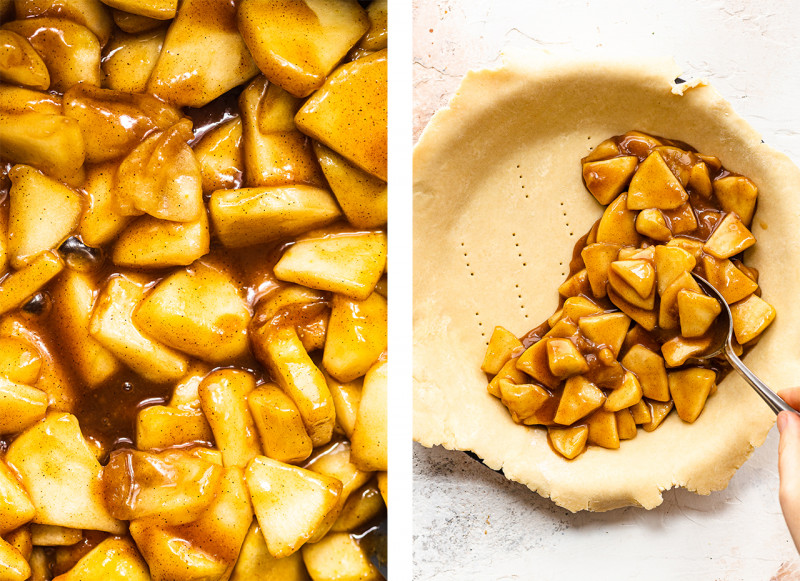
Roll 2/3 of the pastry into a round slighly bigger than your pie dish, line the pie dish with the pastry then fill with cold apple filling.
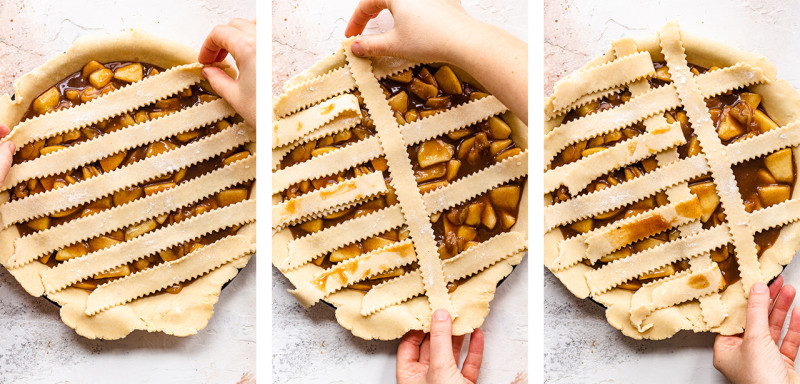
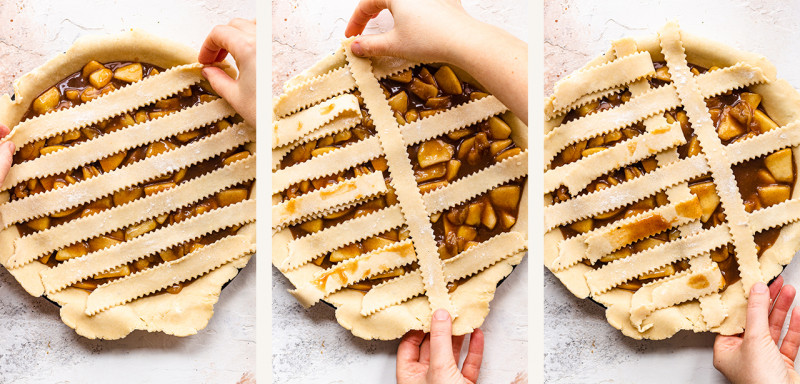
Roll of the rest of the pastry and cut fourteen 2 cm / 0.75″ wide strips out of it. Arrange the first seven on top of the pie the weave the remaining seven between them – see method.
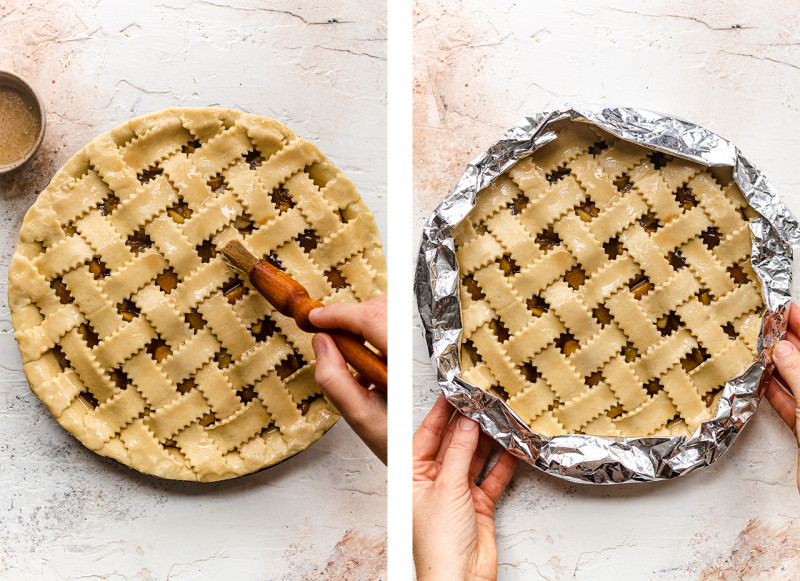
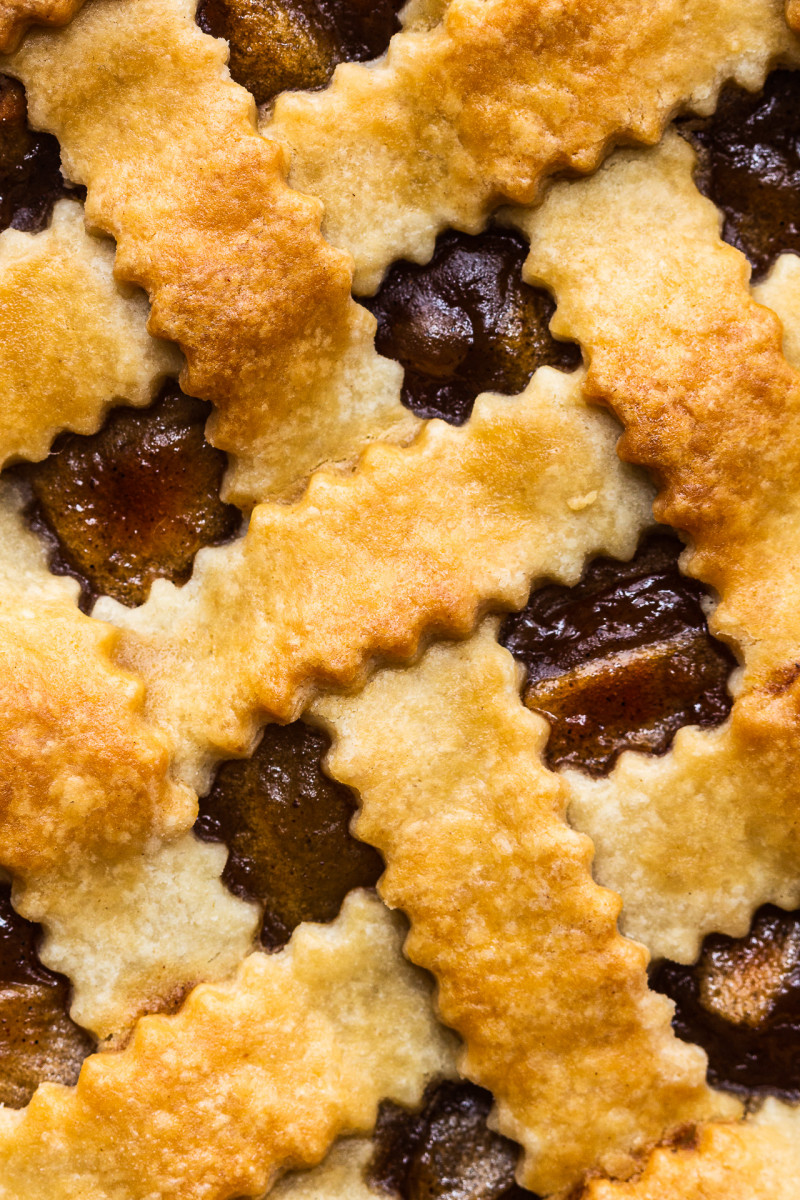
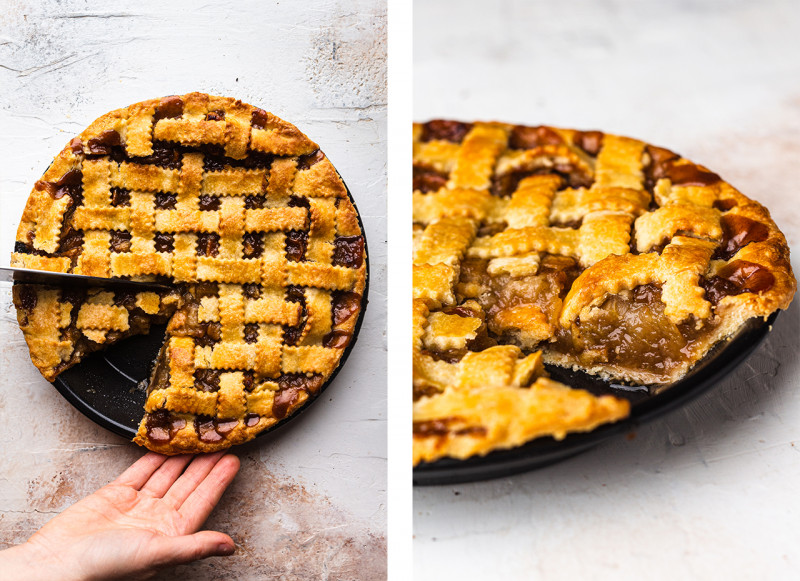
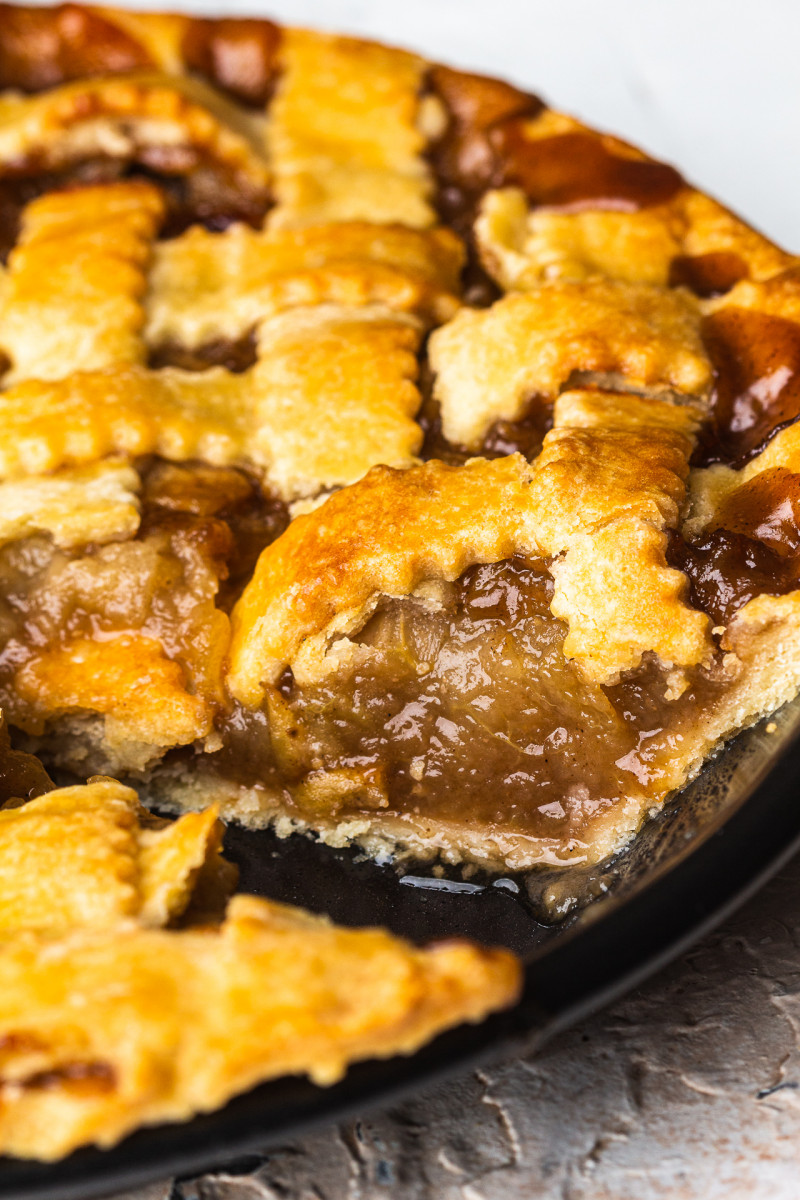
Glaze the lattice top, protect the edges with a strip of tin foil and bake until the pastry is golden and the apples are bubbling happily in their juices.
APPLE FILLING
- approx. 1.2 kg / 42 oz Bramley (or other sour) apples*
- zest of ½ lemon
- 20 g / 2½ tbsp cornflour / cornstarch
- 2 tsp cinnamon
- a good pinch of salt
- 50 g / ¼ cup caster sugar (or other sugar)
- 100 g / ½ cup light muscovado sugar (or other sugar)
- 2 tbsp / 25 g vegan butter (or coconut oil)
- 1 tsp vanilla extract (optional)
PASTRY
- 375 g / 3 cups all purpose flour or GF flour mix
- 2½ tsp xanthan gum (only if using GF flour mix)
- ¾ tsp fine salt
- 50 g / ¼ cup caster (superfine) sugar
- 200 g / 7 oz (1 cup) vegan butter (or coconut oil)
- 75-90 ml / 5-6 tbsp ice cold water
- GLAZE: 8 g / 2 tsp light muscovado dissolved in 30 ml / 2 tbsp plant milk & 5 ml / 1 tsp oil
- Peel your apples, cut into quarters (or eights if your apples are big like mine), core and slice into 0.5 cm / 0.25″ slices. If using sweet apples, sprinkle them with some (1-2 tbsp) lemon juice.
- In a small bowl combine cornstarch, cinnamon, salt and both sugars – this is especially important if using wet sugar like muscovado, which tends to clump up – using a fork work the ingredients into each other well.
- Add vegan butter to a heavy bottom large pot and melt it on a low heat.
- Add apple slices and vanilla extract (if using). Using a wide silcone spatula gently mix the apples into the melted butter, then stir dry ingredients into the apples.
- Cook on a low heat while stirring gently the whole time so that the sugar does not catch.
- Cook until the apples are only just softened (about 8 minutes for Bramley apples) and the dry ingredients and butter turn into a thick caramel-like sauce. Cool down completely.
PASTRY
- Combine the flour, icing sugar, salt and xanthan gum (if making GF pastry) in the food processor bowl. Alternatively, you can make the pastry by hand – see photos here.
- Chop vegan butter (or coconut oil) into small pieces and add it to the dry ingredients. Pulse the machine a few times to cut the fat into the flour.
- Gradually trickle in ice cold water while pulsing the mixture. You’ve added enough water when the mixture starts to resemble breadcrumbs and clumps together in your hand when squeezed but does not feel wet – you want to add as little water as possible.
- Transfer the pastry mixture out of the food processor. Gently press the dough together with your hands into a disc, but do not knead – handle as little as you can or else your pastry will be tough.
- Wrap the pastry in a piece of cling film and chill in the fridge for at least 60 minutes or as long as you need.
- Remove the dough from the fridge, cut one third of the dough off and return to the fridge.
ASSEMBLY & BAKING
- Pre-heat the oven to 200° C / 390° F and place a pizza stone or an old-fashioned metal tin in the middle of the oven. Prepare a long double strip of kitchen foil to wrap around the edges of the pie to prevent them from browning too quickly.
- Roll bigger portion of the pastry out on a lightly floured surface until the pastry is about 3-4 mm / 1/8″ in thickness and slighly larger then your pie pan. Line the pan with the rolled pastry so that there is a small overhang. Pierce the pastry with a fork all over.
- Fill the pie with cold apple filling, distribute them evenly to avoid gaps.
- Roll out the remaining pastry into a 24 cm / 9.5″ long rectangle on a lightly floured surface, using a knife or a pastry cutter cut fourteen 2.5 cm / 1″ wide strips.
- Arrange the the first seven strips of pastry on top of the filling in one direction. Make sure the strips aren’t streched to allow the filling to rise and fall (during and after baking).
- Pull back every second strip half way and place one strip perpendicular to the rest. Return the pulled back strips to where they were.
- Pull back alternating strips (the ones that stayed down last time) and place one strip perpendicular to the rest. Return the pulled back strips to where they were. Continue in this manner until you’ve covered the entire pie.
- Press the lattice strips to the edges of the pastry with your fingers or a fork and trim the excess pastry with a sharp knife – leave a teeny tiny overhang over the edge of the dish as pastry will shrink a little during baking.
- Combine glaze ingredients in a small bowl and glaze the lattice with a pastry brush. Wrap kitchen foil loosely around the egdes to prevent them from browing too fast.
- Bake for 30 minutes, then decrease the temperature to 190° C / 375° F and carry on baking until the pastry is golden and the filling bubbling – approximately another 30 minutes.
- Allow the pie to settle for 2-3 hrs before cutting. Consume on the day ideally or store in an air-tight container out of the fridge (at cool temperature) for up to 2 days if needed.
PIE PAN: I used 23 cm / 9″ pie pan that is 3 cm / 1.2″ deep. If using a deep pie pan, you will need to double the amount of filling.

Perfect for a rainy winter's night.
Thank you for your recipes and thorough instructions, they just don't disappoint!
I'm going to try this apple pie filling in your blackberry crumble bar recipe instead of the blackberries, as that's also something I'm craving and can make gluten-free easily.
Will be sure to leave another review too.
I'm glad that you've enjoyed this pie. As for the pastry, you are not doing anything wrong. You simply need to add a little more water as when doing the pastry by hand, you won't be able to cut the butter into flour as finely and precisely as a food processor, which means that there will be fewer bits of butter and therefore a little more water is needed - add it in tiny amounts (a teaspoon at a time) and add just enough till the dough sticks together but not so much that it is wet to the touch. This is why I always give the amount of water as a guide only because its amount depends on a lot of factors (if the dough is made in a machine or by hand, how absorbent the flour is, how accurately measured etc.). Hope your next attempt will be spot on. x Ania
I am delighted to hear that you enjoyed this pie so much and found it easy to make despite it being your first attempt (pie virginity made me laugh) - you should be proud of yourself! And thank you for taking the time to leave this lovely review, it really helps me out. x Ania
Also, I'm making this pie again tomorrow (for the 3rd time?) for a Christmas dinner with friends. Instead of the lattice top I've been cutting out stars and layering them - the result is very pretty 😍