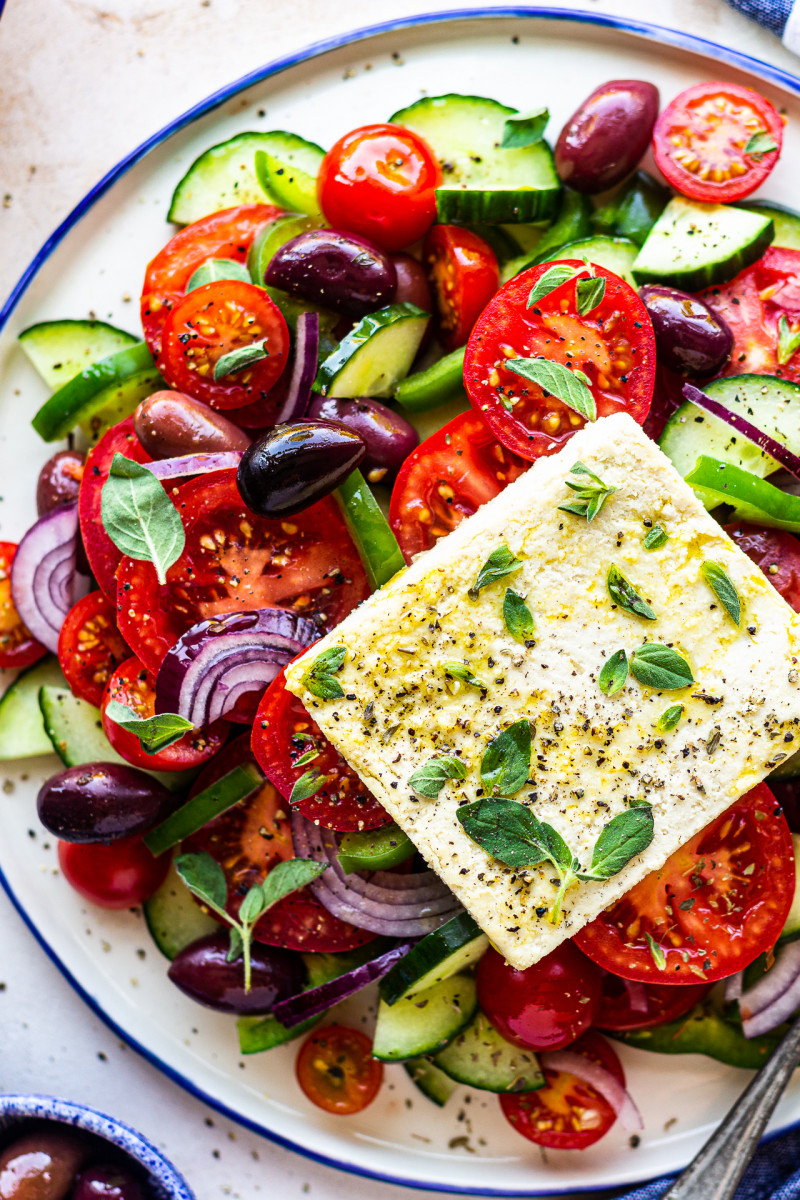
It is a bit ironic that my husband and I became vegan while living in Greece, where feta cheese is added to virtually everything. Unsurprisingly, we used to live on it before we decided to try going plant-based. One of our favourite dishes to make was a simple pasta (recipe coming soon) with a prolific amount of feta cheese and we missed it a lot until I tastebuds adjusted over time.
This simple nut-based vegan feta is what I have been making in one form or another for a while to satisfy our cravings and having not had feta for so long it does the job quite well, I must say. It adds this intensely salty and creamy element to dishes that we sometimes miss.
When I first started making it, vegan feta was not available to us as we lived on a small Greek island in the middle of nowhere and even the concept of vegan feta was sacrilege but nowadays there are some companies that have quite successfully replicated feta’s taste and texture (Greek company Violife is widely available) so you may not want to bother making your own.
While I use Violife’s feta sometimes, I feel like it’s better in some contexts than others (it doesn’t do well in hot applications at all). I am also not massively keen on the fact that it’s made out of coconut oil mainly (which is precisely why it doesn’t do well when heated – it turns in an oily mess) so on these occasions, this wholefood vegan feta is perfect.
MORE ABOUT THE INGREDIENTS
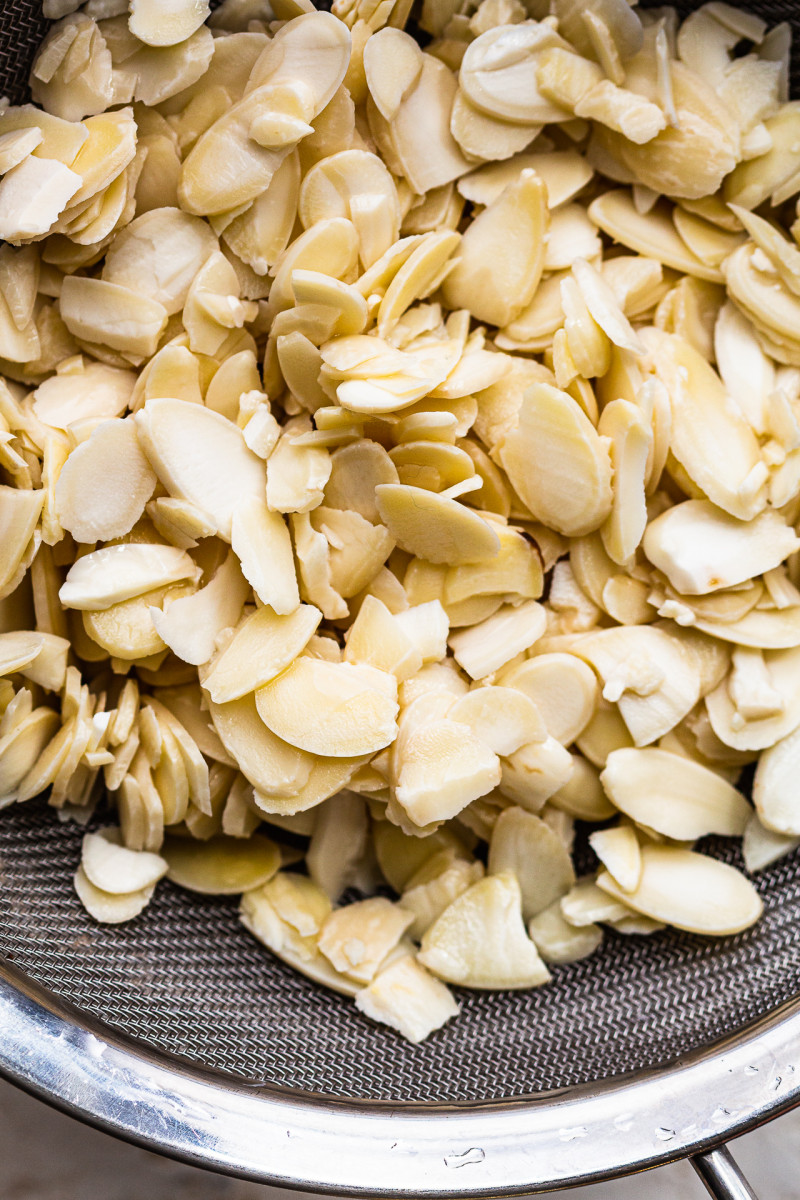
FLAKED ALMONDS – I used flaked blanched almonds to make this cheese and I would not recommend anything else. The reason I used flaked almonds over whole almonds is that this allows you to blend the mixture smooth without having to add extra moisture, which would compromise the texture of this vegan feta. I tried using almond flour – you don’t need a blender for it, you can just mix all of the ingredients in a bowl – but the result was sub par so I would not recommend it.
LEMON JUICE – Lemon juice is what gives this vegan feta it’s characteristic tanginess. I found that 2 tbsp of lemon juice were ideal for this amount of almonds. You could also use a probiotic tablet (like I did here) instead of lemon juice (plus extra plant milk to compensate for the loss of moisture) and leave the cheese at room temperature for 1-3 days to mature (like I did here).
SALT – I added a generous amount of salt to mimic dairy feta’s characteristic saltiness. Of course, you can adjust the amount to your personal taste.
GARLIC – Traditional dairy feta doesn’t, of course, use garlic, nutritional yeast or miso paste. The flavour is obtained by allowing a bacterial culture (Mesophilic) work its magic over time. This nut-based feta needs a bit of a helping hand – especially if you don’t use probiotic tablet to make it – so that’s why I used small amount of garlic, nutritional yeast and occasionally a little miso paste to inject it with more flavour.
MISO PASTE – See the point I made above. I add small amount of white miso paste – which is fermented soy paste – helps with the depth of flavour. It does make the cheese look more yellow so don’t add it if you want the resulting product to look as realistic as possible.
NUTRITIONAL YEAST – This staple vegan seasoning has a deeply cheesy flavour so it helps to make this vegan feta taste cheesy.
TAPIOCA STARCH – Tapioca starch is a thickener although I used to make this vegan feta without it (you can), I find that a little of it helps with texture after baking. Theoretically, other thickeners, like cornflour (UK) / cornstarch (US) and arrowroot powder should have a similar effect, but I have not used either of them here so I cannot guarantee they will work just as well.
AGAR AGAR – If you want an even firmer feta, set it with a small amount of agar agar before baking it. I recommend using agar agar powder over flakes, which never fully dissolve in my experience.
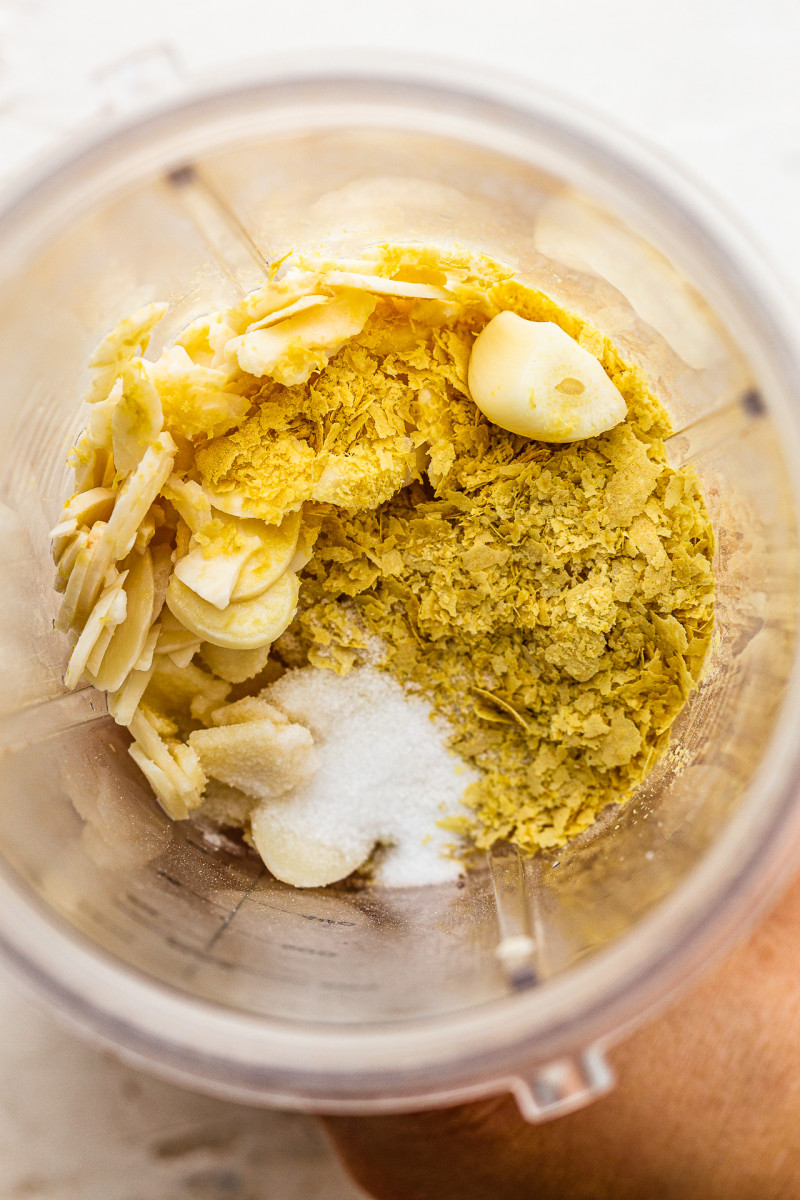
- 100 g / 3.5 oz flaked almonds (blanched)
- 30 ml / 2 tbsp lemon juice
- ½ tsp fine salt
- ½ garlic clove
- 1-2 tbsp nutritional yeast
- ½ tsp white miso (optional)*
- 1 tbsp tapioca starch or 2 tsp agar agar powder*
- Soak flaked almonds in cold water for 4-8 hours or for 30 minutes in boiling water. Drain, discard the water.
- If using agar powder, bloom it by sprinkling it in 60 ml (¼ cup) of water and setting aside for 10 minutes. Start on this just before you are ready to make this vegan feta.
- Place drained almonds in a small batch blender (I use Ninja for this) with all the ingredients apart from tapioca or activated agar agar.
- Add ¼ cup (60 ml) of water or neutral tasting plant milk and blend well, stopping the blender and using a spatula to bring all of the mixture near the blades if necessary.
- If using agar agar, activate it by bringing it to a boil and simmering until it becomes gelatinous – once it’s ready act quickly as the jelly hardens relatively fast. Otherwise skip to the next step.
- Add tapioca or activated agar agar and blend to incorporate evenly.
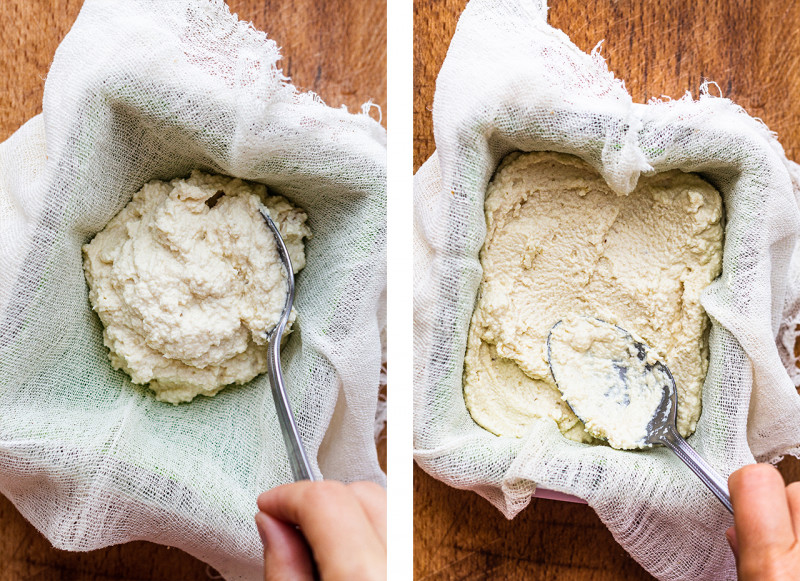
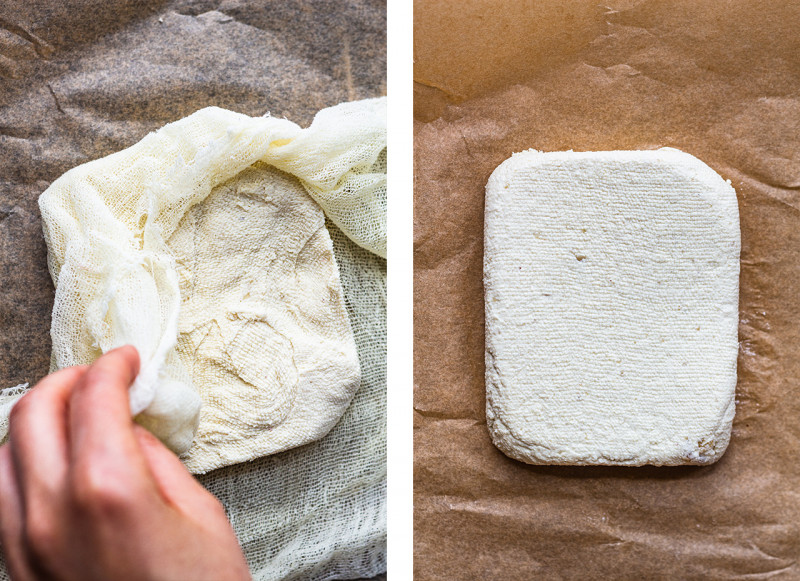
- Place the cheese mixture in a mould with holes – I used the inside of the tofu press – lined with muslin cloth. Place it in the fridge and allow it to set into shape for about 4 hours.
- Set the oven to 130°C / 265°F. Gently flip the ‘cheese’ (it will be very soft at this point) onto a long piece of baking paper. Wrap it on all sides and bake until firm, about 45 minutes – the longer you bake it the firmer (and drier it will become). Allow it to cool down then refrigerate for a few hours to firm up.
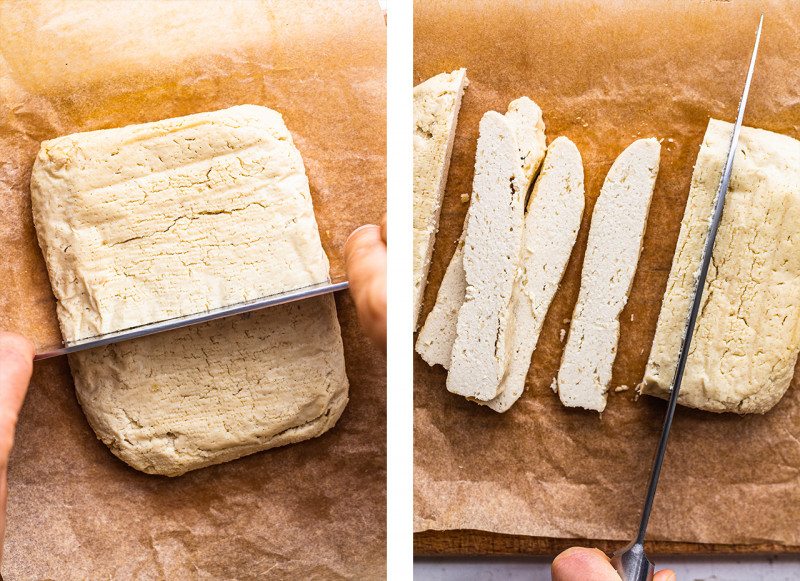
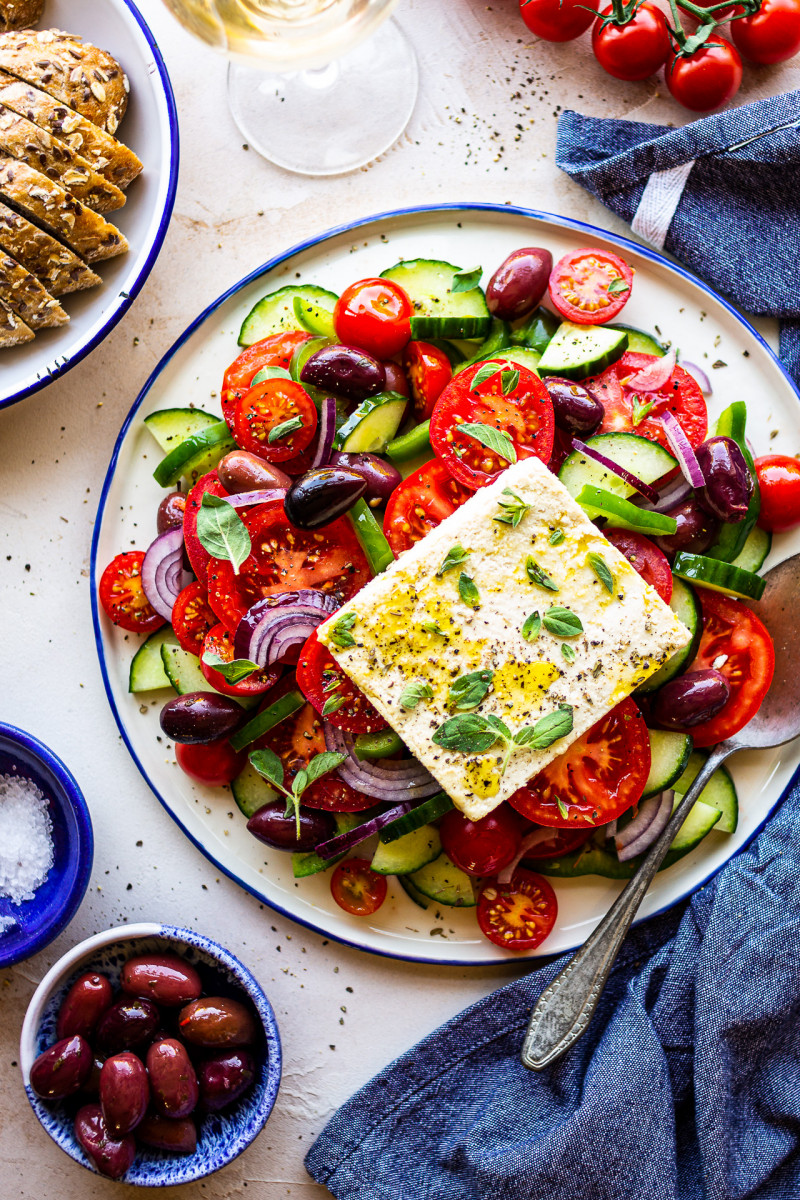
- Store in an air-tight box in the fridge or freeze for later. Use crumbled on salads, pasta or pizza.
*TAPIOCA STARCH/AGAR AGAR: You can skip these but the result will be less firm and more crumbly. Out of the two, I personally prefer agar agar as it makes for a firmer texture.


Did you place the blended mixture in the fridge to set into shape? For approximately how long?
Thanks!
Sorry for the delay – I was away on holidays. Yes, I place it in the fridge (I will add that in) and for 4 hours or so. Hope this helps! Ania
Hope you enjoyed your holidays.
Thanks, I am glad to hear that. Unfortunately, I have not tried making it with anything else although cashews will probably work just as well - you may need to chop them up after soaking so that the blender copes without having to add excess moisture. Hope this helps! Ania
Sorry for the delay - I was away on holidays. I wrap it all up otherwise it will yellow and dry out too much around the edges. Hope this helps! Ania