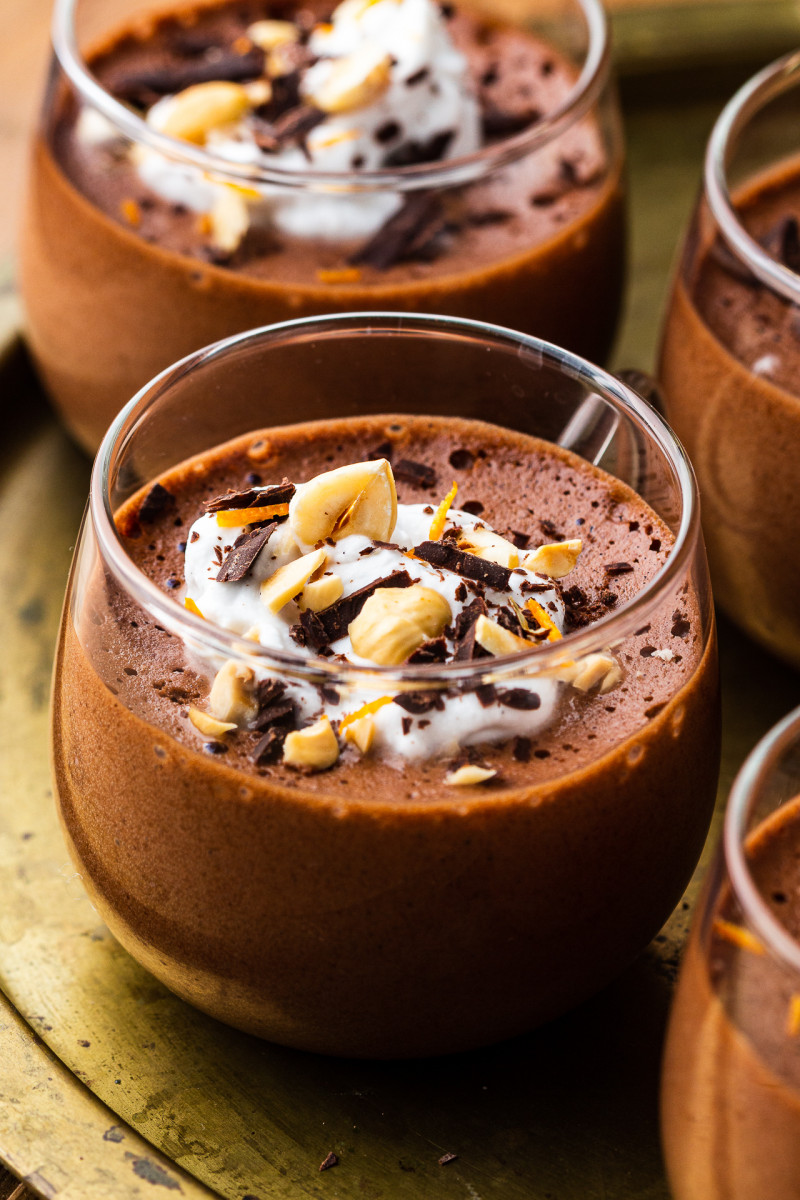
It may seem weird that Nutella – this iconic 80s hazelnut spread – reminds me of Christmas given that I grew up in a communist country whose empty shop shelves could only dream of such Western luxuries. One way or another, my maternal Gran – who was famous in my family for her love of nuts, chocolate and coffee (I have her tastebuds!) – always managed to get her hands on a couple of jars and Nutella is what I would often find under my Xmas tree or under my pillow on 6th of December (St Claus day).
One year, my brother, my cousins and I got Nutella jars as big as our heads and to everyone’s astonishment we polished them off in less than a week despite our parents trying to teach us a bit of moderation and pacing. It did not work and as this was our Xmas present, we got our way. I know most people spread it on toast, but we cut out the middle man and ate it with a spoon straight from the jar! This is perhaps why I still show little restraint around desserts – love in my family was the taste of a chocolate and hazelnut spread…
So when I was in London this past weekend, my friend introduced me to a vegan Nutella-like spread that she discovered and I was thrilled as I haven’t had anything like that in years. I got myself a jar under the guise of recipe development 😉 (I’ve hidden them from myself) and the flavour reminded me of a recipe I have had in my notes for ages, a Nutella-inspired chocolate mousse.
I considered making it with my purchase but then decided to make it from staple ingredients instead as I don’t want anyone who cannot get hold of a good vegan hazelnut chocolate spread to miss out, plus, their texture tends to rely on palm oil (which even if labelled as ‘sustainably sourced’ can be problematic) and I know that many people aren’t keen on it.
This mousse is an amalgamation of my earlier recipes (for peanut butter mousse, chocolate mousse and chocolate caramel mousse) so if hazelnuts and chocolate aren’t your thing (who are you!?) – check them out instead.
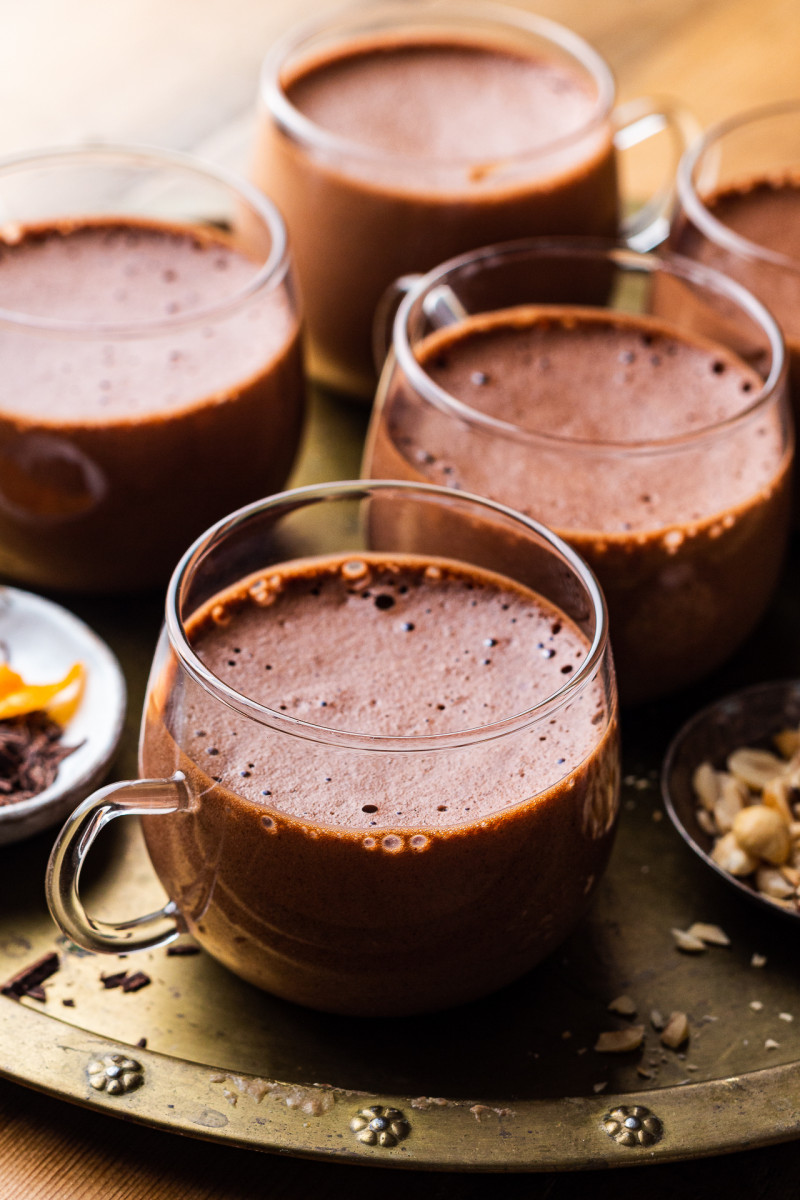
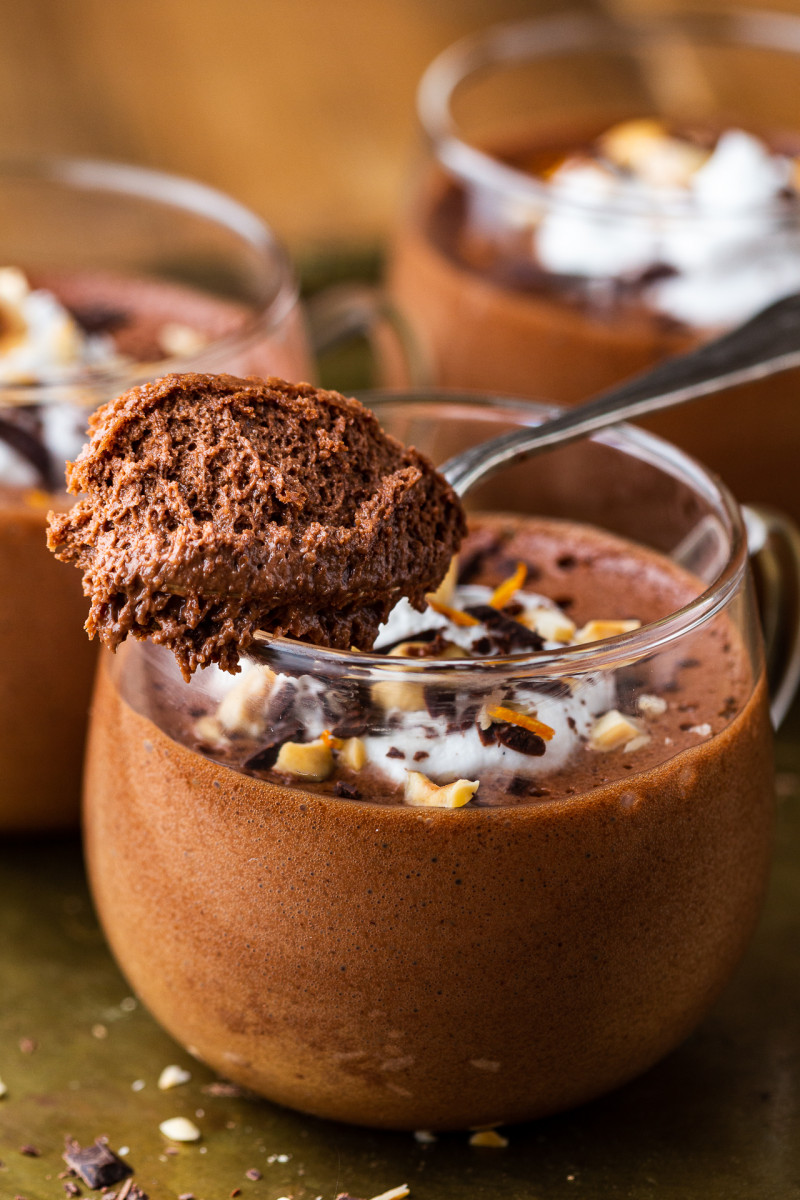
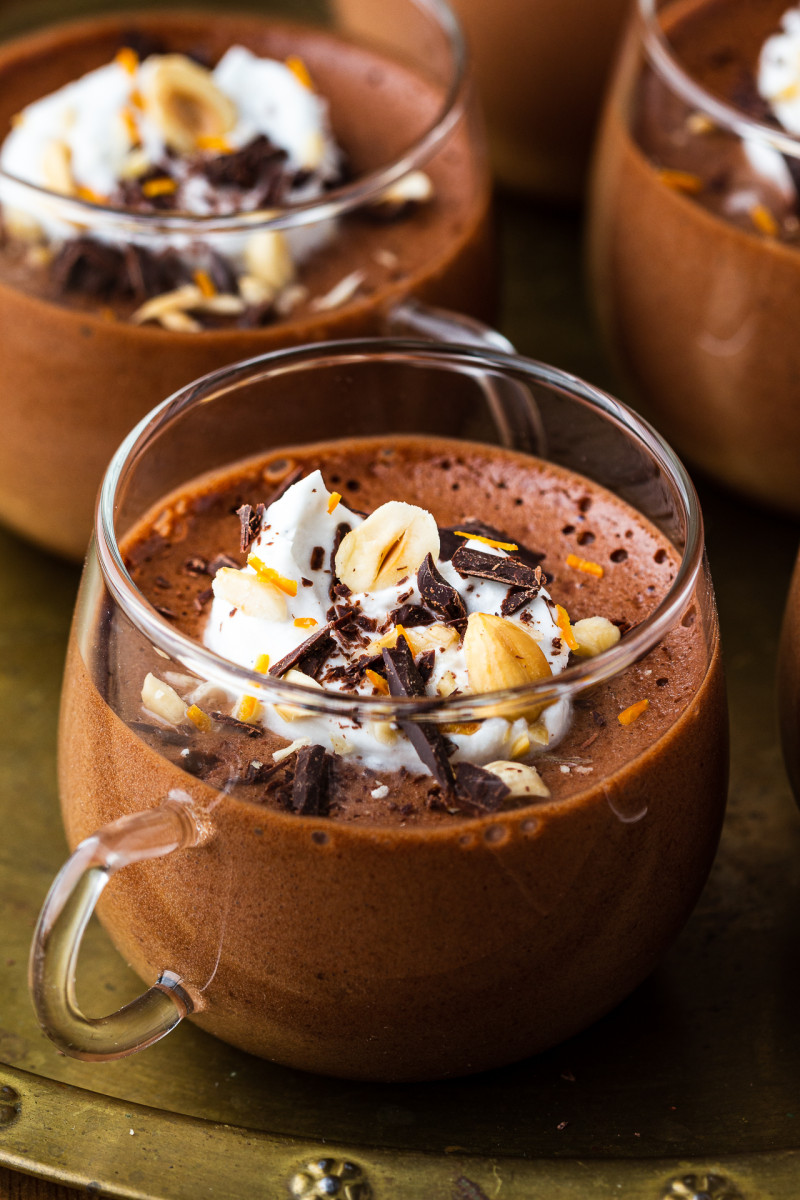
This dessert is airy and light yet deliciously nutty and chocolatey at the same time. It isn’t difficult to make and the two key skills are making a chocolate ganache and folding said ganache into whipped aquafaba with a bit of care. I’ve given you many helpful tips below, which, if you follow them, will enable you to knock this one out of the park (like my sport obsessed hubby tends to say) and wow your dinner guests, regardless of their stance on veganism.
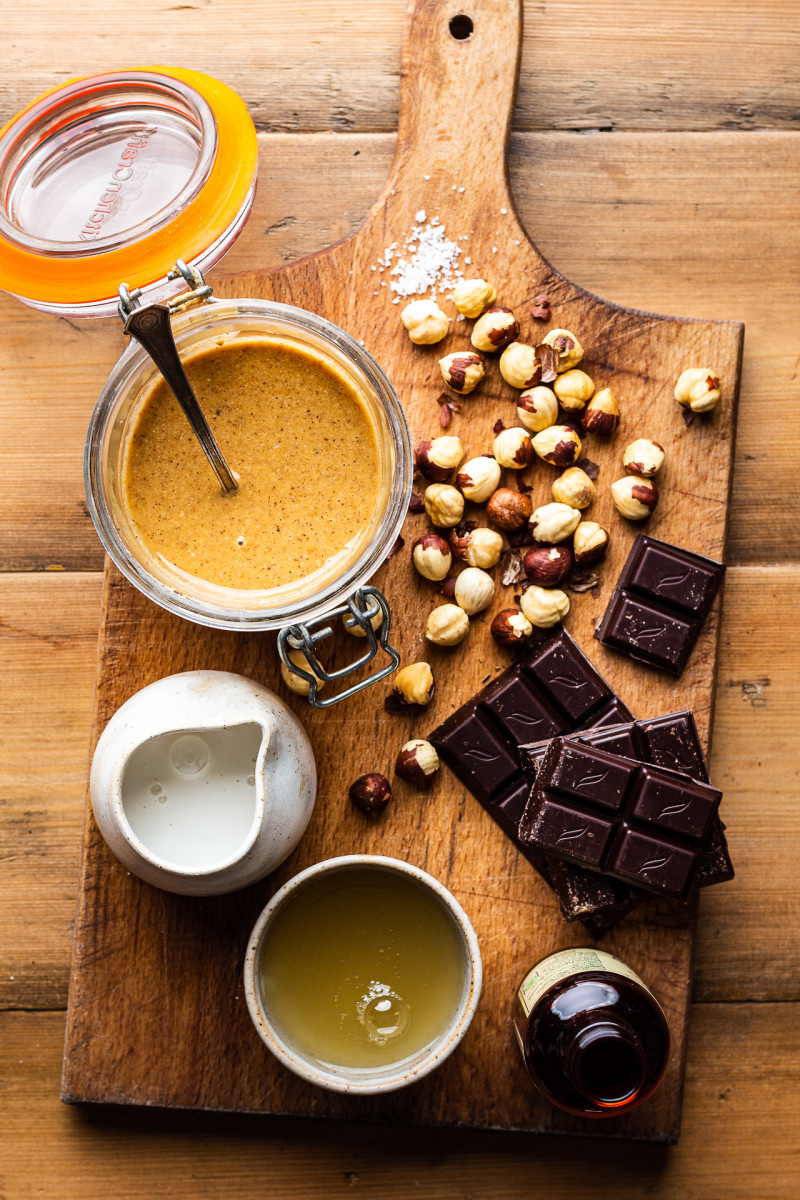
- 100 g / 3½ oz dark vegan chocolate* (I use 70% cacao)
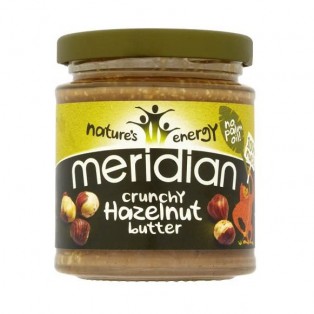
- 120 g / ½ cup smooth hazelnut butter, shop-bought or see below
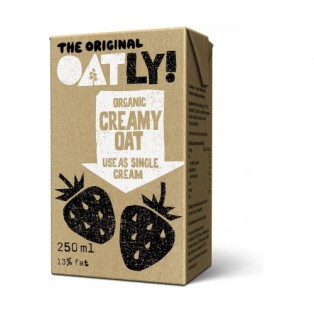
- 60 ml / ¼ cup vegan single cream (I used Oatly) or canned coconut milk (full fat)
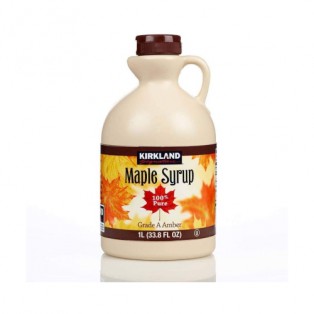
- 30-45 ml / 2-3 tbsp maple syrup or caster (superfine) sugar
- 160 ml / 2/3 cup aquafaba (chickpea brine)
- ½ tsp lemon juice or white vinegar
- a pinch of salt
DECORATION (optional)
- chopped hazelnuts
- chocolate shavings
- vegan whipped cream (like coconut cream), for example
HOMEMADE HAZELNUT BUTTER*
- 250 g / 8¾ oz unroasted hazelnuts
- Chop chocolate up finely and measure out hazelnut butter (make sure it’s room temperature) and keep it handy.
- Place chopped chocolate together with single cream and maple syrup (if using sugar, hold) in a metal or glass bowl suspended over a pot of water. Make sure the bottom of the bowl does not touch the water. Warm up the water on a very low heat (chocolate is very sensitive to overheating, which is why I don’t recommend using a microwave to melt it). When the water barely starts to simmer, switch the heat off but keep the bowl on the pot.
- Once the chocolate looks melted, very gently and slowly stir it into the other ingredient(s). Stir as little as you can (dark chocolate in particular is very sensitive to overstirring).
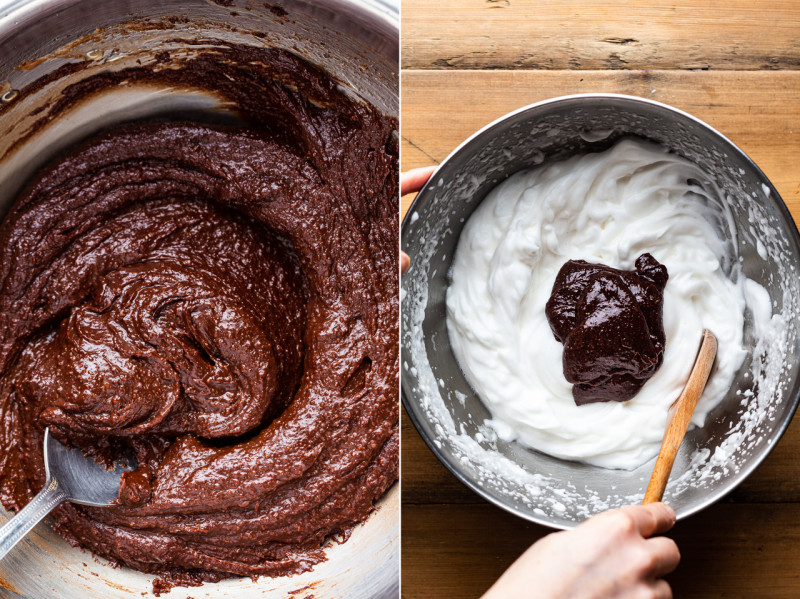
- Once incorporated, gently and slowly stir in hazelnut butter. You should end up with a shiny homogenous ganache (SEE NOTES for troubleshooting). Keep the bowl over the warm pot until ready to use.
- Put aquafaba, lemon juice and salt in a large, spotlessly clean (grease residue inhibits aquafaba from reaching stiff peaks) bowl. Using an electric mixer, whip aquafaba until it reaches stiff peaks – to check turn the bowl upside down and the mixture should not slide. It takes about 5 minutes with a handheld mixer.
- If using SUGAR (instead of maple syrup), whisk it into the whipped aquafaba at this point, tablespoon by tablespoon, whipping well after each addition so that the sugar melts into the meringue mixture.
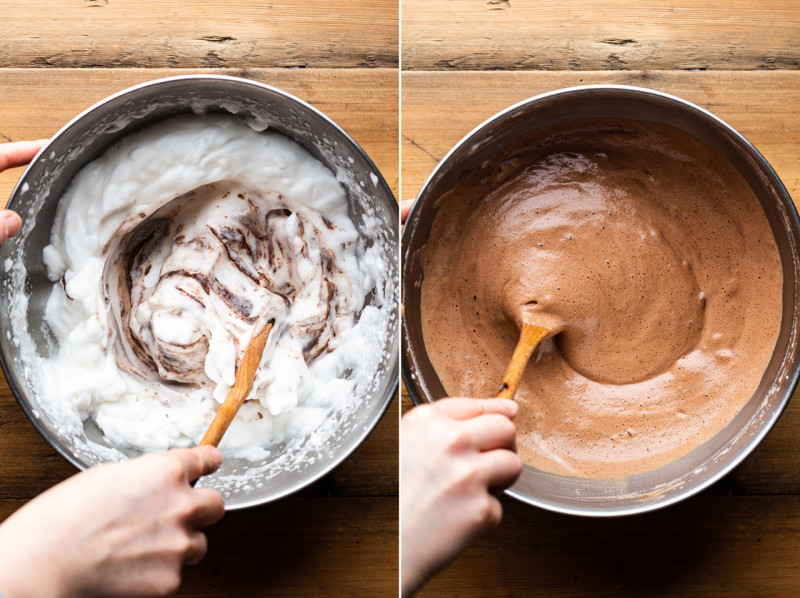
- Wipe the bottom of the bowl with ganache so that water droplets don’t end up in your aquafaba and ensure chocolate ganache is just barely warm. Add approximately a third of it to the bowl of aquafaba. Using a slow folding motion, incorporate the ganache into the aquafaba gently. Incorporate the other two thirds in the same manner, being very gentle and slow so that you don’t knock too much air out of the aquafaba. The mixture will deflate a fair bit before you are done – that’s normal – but it should still be very mousse-y and airy (full of tiny bubbles) when you are done.
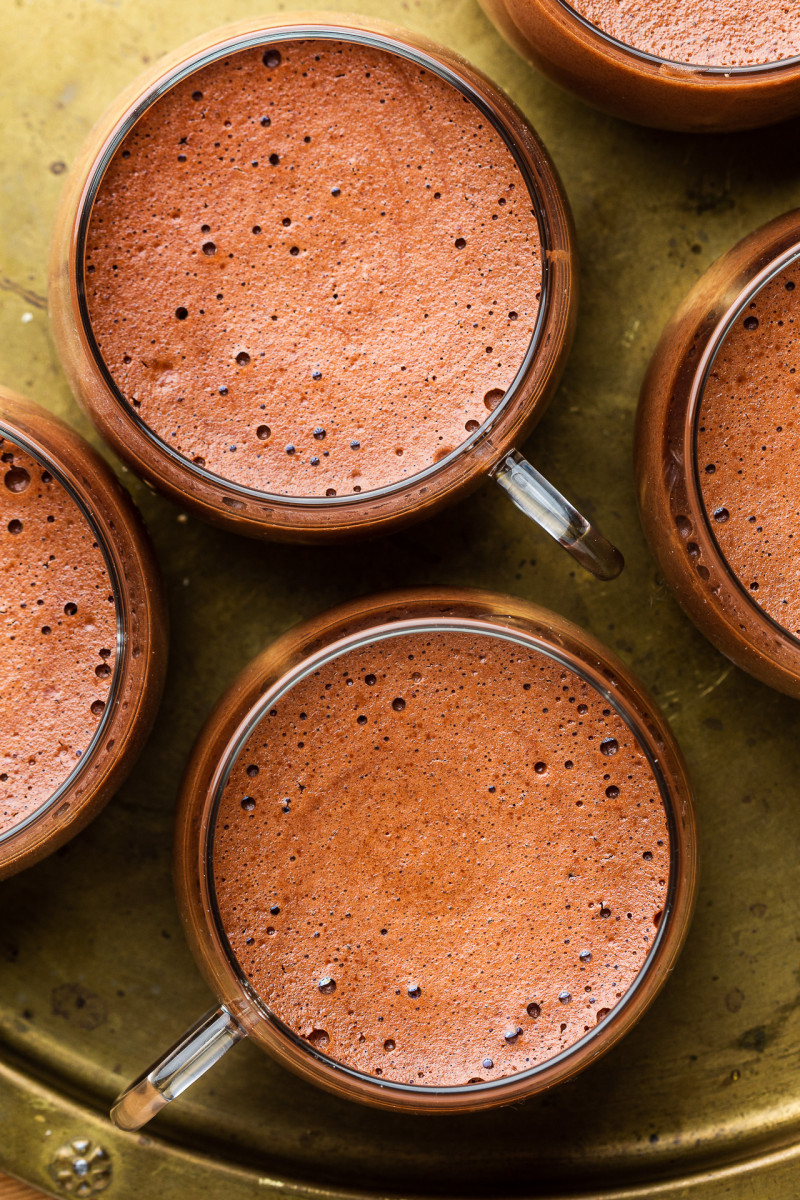
- Pour the mixture into glasses, giving the mixture a gentle stir between each portion. Once in glasses, use a toothpick to gently stir the mixture once more.
- Set in the fridge overnight (or 8 hours) to set.
- Decorate and serve. You can make it a day or two ahead but once set, keep in an air-tight container in the fridge or else the mousse will dry out too much.
HOMEMADE HAZELNUT BUTTER
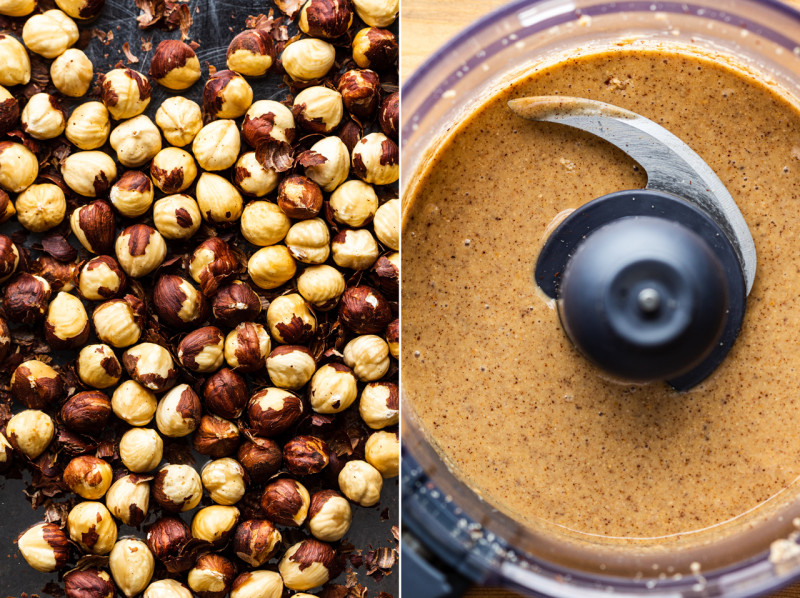
- Preheat the oven to 160° C / 320° F and spread hazelnuts on a large baking tray. Bake until fragrant, bursting out of their skins and lightly golden. Start checking after 12 minutes (they usually take about 15 but it depends on how dry the nuts were to begin with).
- Place warm hazelnuts inside a clean kitchen towel and rub between your hands to loosen up most of the skins. Pick out the hazelnuts and place in a food processor.
- Process hazelnuts, scraping down the sides from time to time, until they turn into hazelnut butter. In my old Kenwood, it takes about 8 minutes. Transfer to a jar and keep in the fridge.
*HAZELNUT BUTTER: 250 g / 8¾ oz of hazelnuts yields approximately 1 cup (240 g) of hazelnut butter. I found that this is a minimal amount of nuts that will allow your food processor (unless you have a mini one) to churn. If you love hazelnut butter, I recommend doubling the amount of nuts.
SEIZED CHOCOLATE: Chocolate, especially dark chocolate, is a very sensitive ingredient. It can seize (get lumpy, grainy and greasy) due to being heated too fast, for too long, due to too much stirring, due to coming in contact with water, due to the temperature difference between the ingredients or sometimes, annoyingly, for no reason at all. If your ganache seizes despite taking all of the precautions, you can bring it back by vigorously stirring a little bit (the less the better) of boiling water into it. I find that 2-4 tbsp does the trick usually. Start with 2 tbsp, add more if needed.
This recipe makes approximately: 5 x ¾ cup / 180 ml portions. The mousse is quite rich so it could easily stretch to 6 portions.

See point 2: Place chopped chocolate together with single cream and maple syrup (if using sugar, hold) in a metal or glass bowl suspended over a pot of water. Make sure the bottom of the bowl does not touch the water. Warm up the water on a very low heat (chocolate is very sensitive to overheating, which is why I don’t recommend using a microwave to melt it). When the water barely starts to simmer, switch the heat off but keep the bowl on the pot. - this is what you need to give a gentle stir once the chocolate looks melted. I hope this makes sense and that you'll enjoy it. Ania
Yes, I freequently freeze the excess and enjoy like ice-cream. x Ania
Yes, there is absolutely no shame in using shop-bought nut butter and I only just include the recipe for those people who cannot find it in shops where they live and because it is so easy to make. Re: food processors, you really don't need a top notch food processor for this. I, in fact, have quite an old and rickety Kenwood and it whips it up in 5 minutes tops so I would try (if you fancy it, of course) before writing it off. Roasting hazelnuts makes them less hard so they are easier to grind too. Anyhow, I hope you'll enjoy this indulgent dessert as much as we did. x Ania