Vegan lady fingers (gluten free option)
Vegan lady fingers (gluten free option)
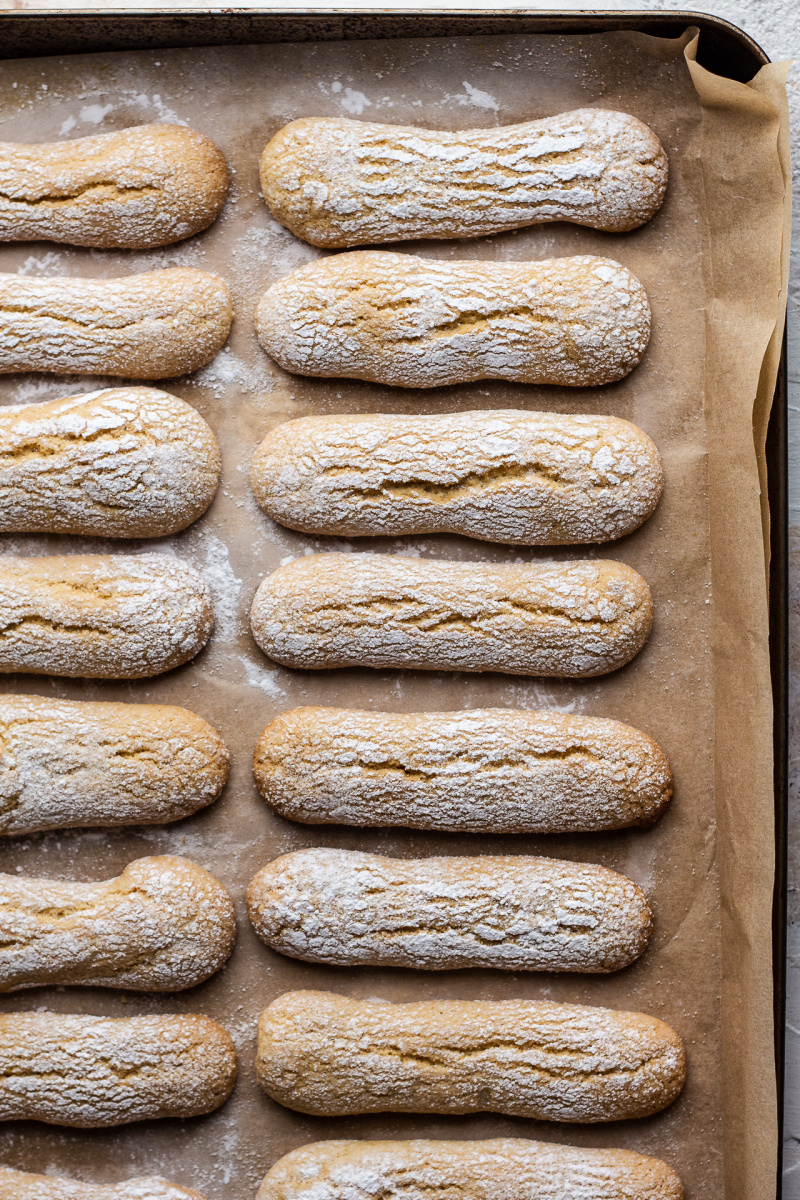
Ho ho ho, where did all the time go? (stunned face emoticon here). Once again, the proximity of the festive period has taken me completely by surprise this year. Well, not quite as I did mark it in my calendar so that I can focus my mind on festive recipe creation ahead of the time, but it still feels a touch too early to be baking all these cookies, coming up with impressive dinner centrepieces and flamboyant sides.
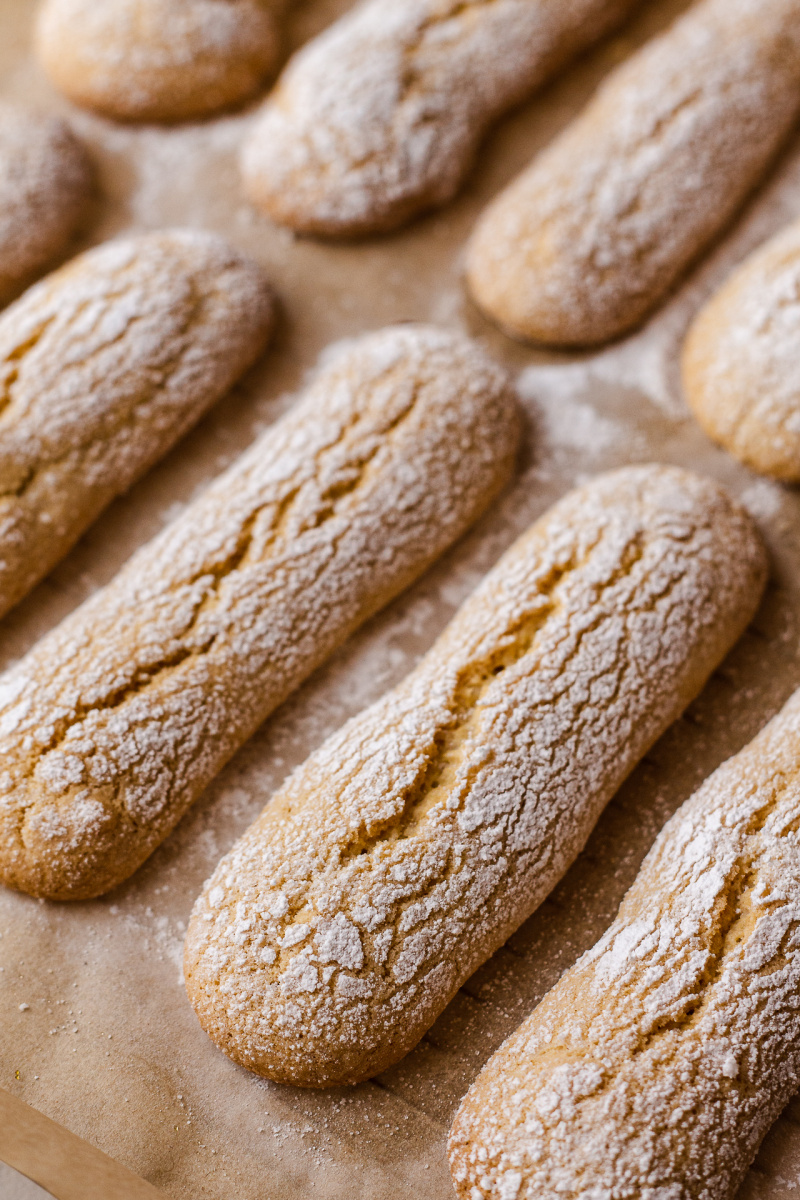
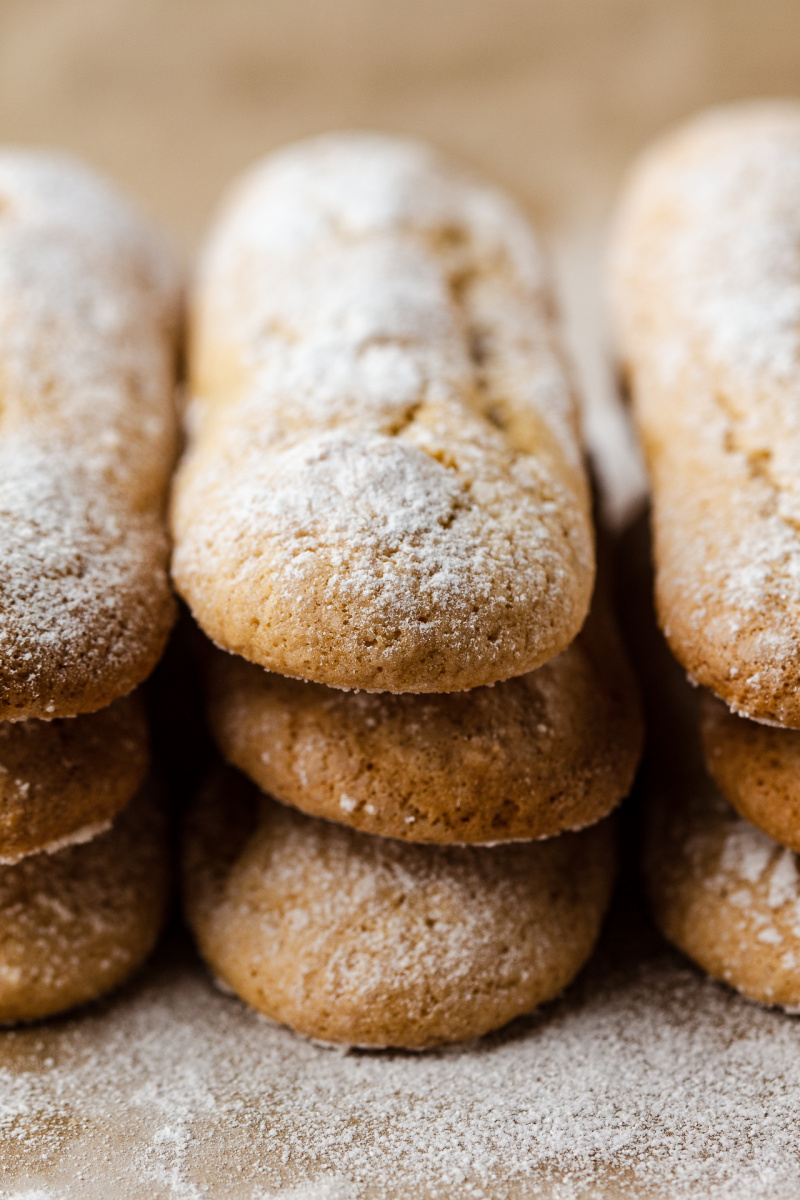
Today’s recipe is a bit of a tease. I’ve been working on vegan lady fingers also known as savoiardi biscuits on and off for two years or so and have plenty of failed biscuits, which turned into sad flat puddles, under my belt. This year I’ve decided that I really want to make a proper vegan tiramisu for the blog (recipe now live, here), so before I do I’ve got to put this recipe to bed. And I am pleased to report that after countless sinks of washing up (that’s the least fun part of recipe creation), I have come up with a vegan lady fingers recipe I am happy with.
They are not hard to make – the key skill here is being able to fold ingredients into each other super gently – and the best thing about them is that they keep for ages provided you lock them away from any source of humidity. This means that if you plan to make tiramisu for your Thanksgiving or Xmas meal, you can make the lady fingers two or even three weeks in advance and lock them away safely until the time to get on with the cream comes. Just make sure that no one is sneaking up to your hiding place at around afternoon coffee time on a daily basis 😉 .
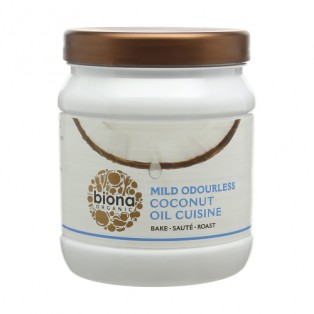
- 50 g / ¼ cup vegan butter (I used Naturli) or odourless coconut oil
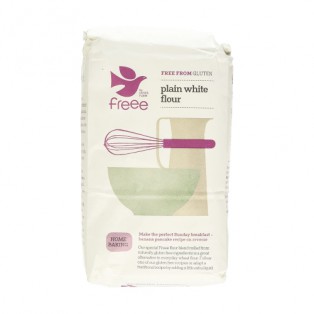
- 185 g / 1½ cups plain all purpose flour
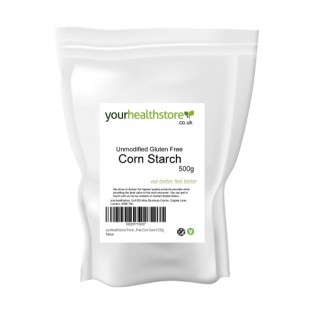
- 60 g / ½ cup cornflour / cornstarch or potato starch
- 1 tsp baking powder
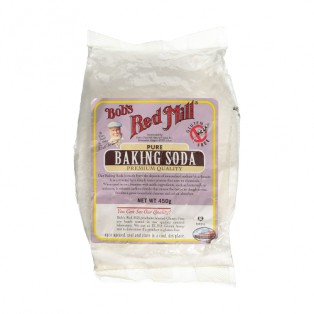
- ¼ tsp baking soda
- ¼ tsp salt
- 80 ml / 1/3 cup aquafaba / chickpea brine
- 5 ml / 1 tsp lemon or lime juice
- 125 g / ½ cup + 2 tbsp caster sugar, plus more to sprinkle
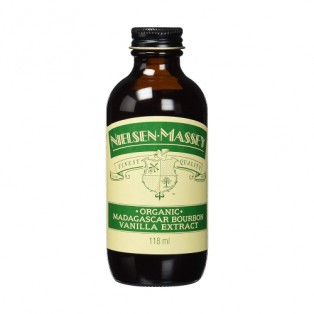
- 10 ml / 2 tsp vanilla extract*
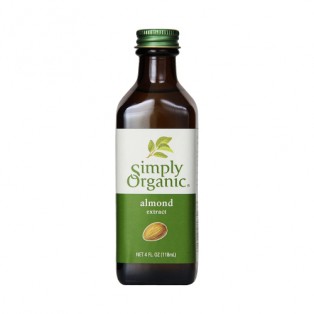
- 2.5 ml / ½ tsp almond essence
- icing sugar, to sprinkle
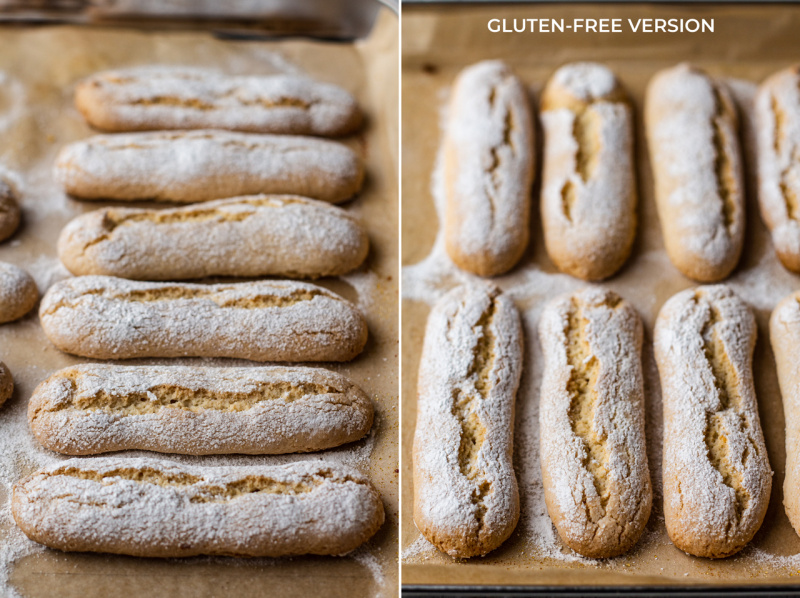
GLUTEN-FREE VERSION
- 50 g / ¼ cup vegan butter (I used Naturli) or odourless coconut oil
- 185 g / 1½ cups plain gluten-free flour mix (I used this one)
- 60 g / ½ cup cornflour / cornstarch or potato starch
- 1 tsp baking powder
- ¼ tsp baking soda
- ¼ tsp salt
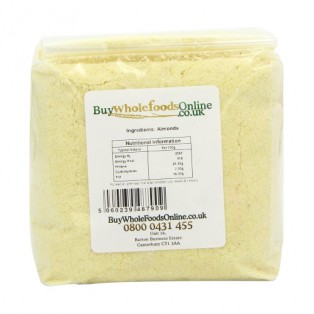
- 25 g / 2 tbsp almond flour / meal
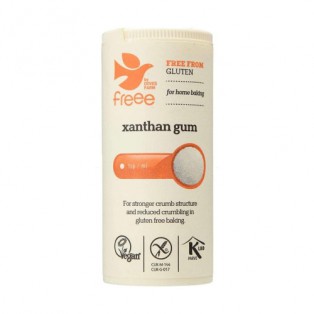
- ½ tsp xanthan gum
- 80 ml / 1/3 cup aquafaba / chickpea brine
- 5 ml / 1 tsp lemon or lime juice
- 125 g / ½ cup + 2 tbsp caster sugar, plus more to sprinkle
- 10 ml / 2 tsp vanilla extract*
- 2.5 ml / ½ tsp almond extract
- icing sugar, to sprinkle
- Preheat the oven to 200° C / 390° F and line two baking trays with baking paper. Prepare a piping bag with a plain 1.25 cm / ½” nozzle – if you only have a smaller one, like I do, pipe double lines instead. Place the piping bag in a very tall glass for easy filling.
- Melt vegan butter and allow it to cool down. I tend to put it in a metal bowl, which I place in the oven while it is heating up for about 4 minutes to melt.
- Combine flour, cornflour / cornstarch, both baking agents and salt in a separate bowl and get a fine sieve ready. If making the gluten-free version, include almond meal and xanthan gum.
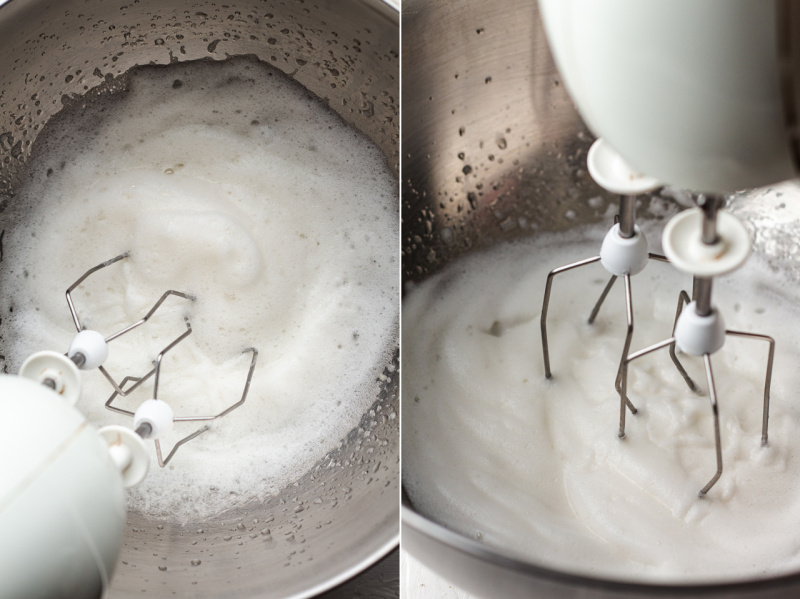
- Put aquafaba and lemon juice in a large, spotlessly clean (grease residue inhibits aquafaba from reaching stiff peaks) bowl. Using an electric mixer, whip aquafaba until it reaches stiff peaks.
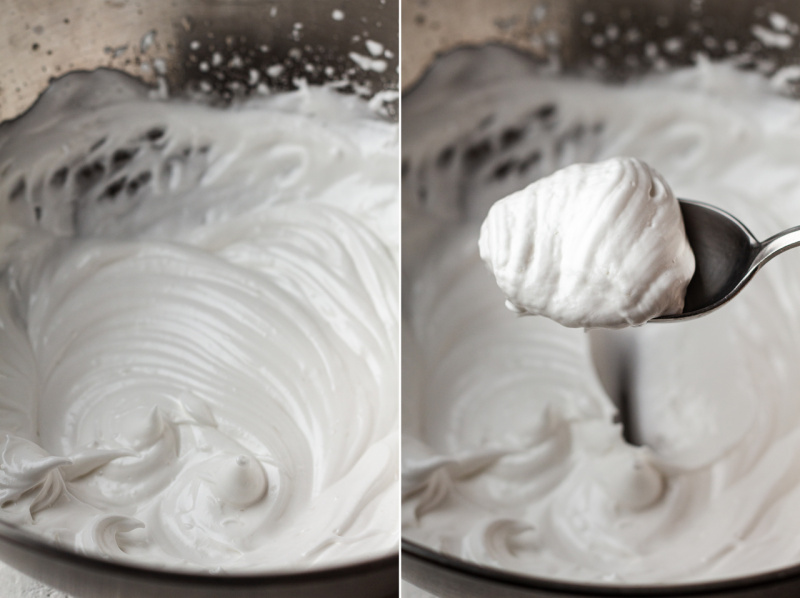
- Once you reach stiff peaks (turn the bowl upside down to check) start adding sugar (tablespoon after tablespoon), whipping the whole time until you’ve used up all of the sugar and your meringue mixture is glossy and thick (see the photo of the spoon).
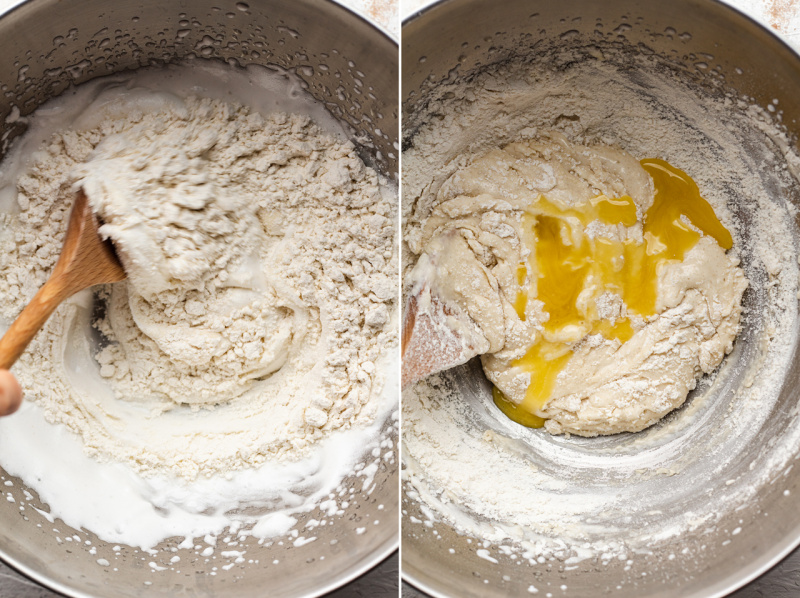
- Place a sieve over the bowl with the meringue and sift approximately a quarter of the dry ingredients through. Fold sifted ingredients into the meringue very slowly and gently so that you don’t knock too much air out of the mixture. Proceed with the next two batches of the dry ingredients in the same manner.
- Just before you fold in the last batch, fold in vanilla and almond extract and melted (but cooled) vegan butter. Fold these liquids in slowly and gradually so that the mixture stays nicely aerated. Finally fold in the final portion of dry ingredients.
- Once everything is just incorporated – the batter should be very thick – transfer the batter to the piping bag.
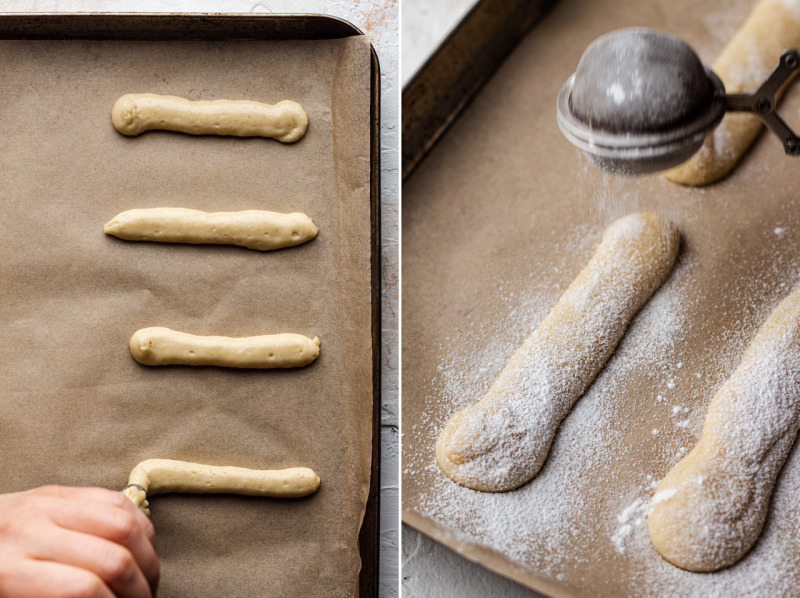
- Pipe 10 cm / 4″ long cookies on the two baking trays leaving some space around each cookie.
- Sprinkle each cookie with caster sugar first (use fingers), followed by icing sugar (use a sieve).
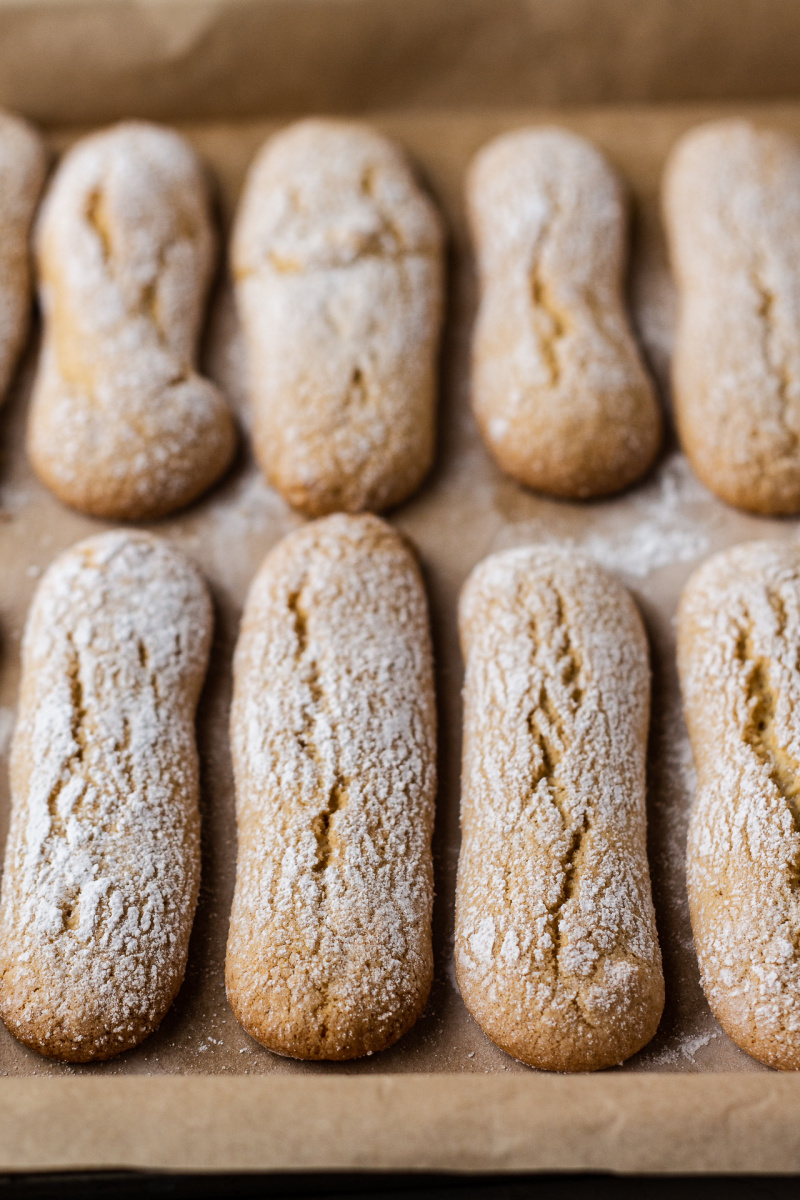
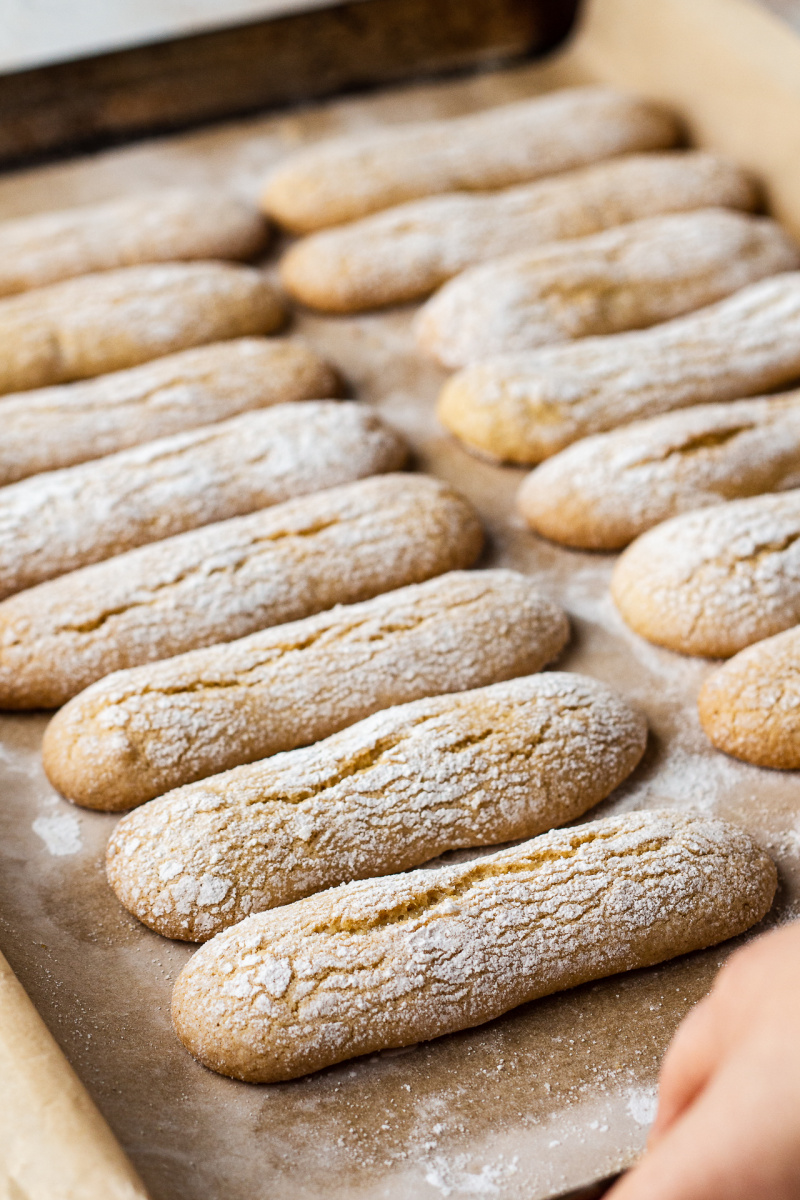
- Bake for about 10 minutes, then open the oven for a few seconds to let the steam out, close the door and continue baking for another 2-4 minutes – until lightly golden. The longer you bake them the crunchier they’ll become.
- Allow the cookies to cool down before transferring them to a drying rack. Once completely cool, store them in an airtight container. They will last 2-3 weeks.
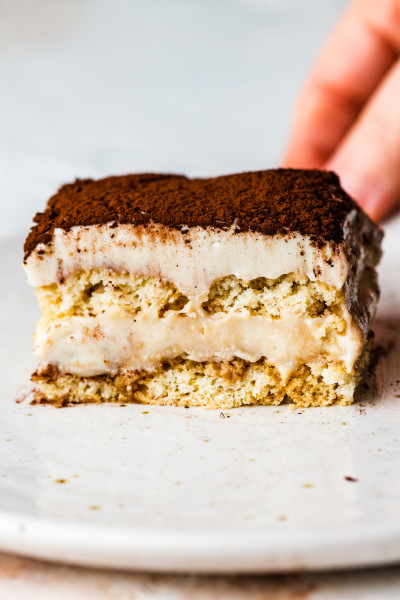
My tiramisu recipe is available here.

Unfortunately, these will not work without sugar and I have not tried any sugar replacements so I am not able to suggest anything with any certainty. Ania
Oh no, I am sorry to hear that. It's hard for me to say, it could be a lot of different things like mismeasurement or aquafaba wasn't stiff enough or you knocked too much air out of it when incorporating. What mix of gluten-free flours did you use? Ania
Thank you so much for such a great recipe that meets the dietary requirements of all my friends. The only note I will make is that these were dense and needed to be soaked in coffee longer than just a couple seconds otherwise the coffee didn't absorb but dripped off the cookie.
Thank you for the recipe!
I also tried the gluten free version but the dough was way too dry - impossible to push through the piping bag. Probably my gluten free mix works a bit differently than the one you use, how would you solve this problem? Thank you!
Thank you, I am glad you enjoyed the regular version. As for the gluten-free one, yes, it does sound like maybe your mix had a higher percentage of starches so the mixture ended up too thick (I am assuming you used scales so there is little chance of any mismeasuring). You can simply add a small amount of plant milk or whip up more aquafaba to bring it to a pipeable consistency. Hope this helps x Ania
They came out super nice. Crunchier than expected as the color was still very light, but perfect for tiramisu. I can't wait to eat the tiramisu tomorrow! Definitely a very good recipe, five stars from me!
I have one question though. Regular ladyfingers with eggs would require way more aquafaba (probably almost double) for the amount of flour/cornstarch you use. I assume you tried this and it didn't work out? Because the texture is very different from non-vegan ladyfingers, just was curious.
The ingredients are things you would normally have in your cupboard, so I didn’t even have to venture out and pluck the red flower from the highest mountain top in Peru - although that would be an experience in itself!
The recipe is very well written and comes together exactly as indicated. I needed help with the piping as I didn’t have a big enough nozzle and the dough is very thick. My suggestion is to get a large nozzle. My husband ended up adapting a nozzle I never use to be bigger, and those biscuits came out very pretty.
Oven temperature- this depends a bit more on your oven, if you are a baker and you know your oven then adjust to how you normally bake biscuits, my first batch I made exactly as written and they came out a bit overdone, so on the second batch I lowered the temp a bit and they were perfect.
They don’t take long to make either, the longest part is whipping the aquafaba (chickpea water) and the baking…
These biscuits are delicious on their own too with tea, so if you don’t want tiramisu then bake them because you can. I think they will work really well for a trifle too!
What are you waiting for? Go on, you know you want to!
I made the biscuits a few weeks back and they came out beautifully. Then used them for your tiramisu recipe. Everything got wiped out clean in no time. Thank you so much for all the efforts you put in to make these perfect recipes. Love from India. ❤️
I'm happy to report that following your feedback we added print function to the mobile version too. Hope you'll enjoy using our new website! x Ania
Thank you! ❤