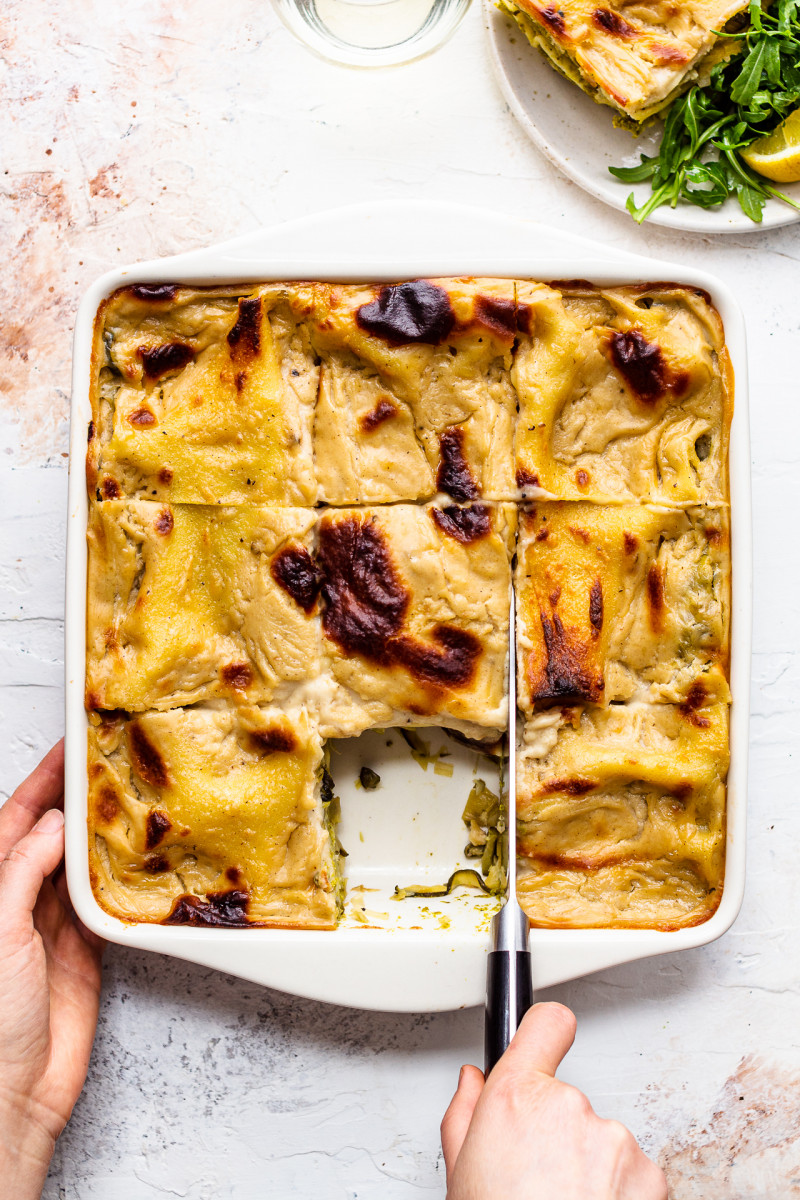
Hope you are doing well and enjoying this, long if you live in the UK, weekend. I’ve had a bit of a challenging week recipe-wise, on Friday just as I sat down to edit the photos for this recipe, my computer has had a malfunction and I lots a bunch of photographs for this recipe.
Initially, I wasn’t so panicked as I was convinced to have them on my memory card, but luck wasn’t on my side. For some reason, I must have switched that option off by mistake and the photos were lost forever. I roped in Duncan to help, but we have not managed to recover them unfortunately. This is why this recipe is missing a few photos of the ingredients and filling preparation, I’m really sorry. Luckily, the process is so straight forward that they are not that necessary anyway.
Today’s dish is a simple Spring inspired lasagna (known as lasagne primavera in Italian) with bags of flavour and as little process as it could possibly get away with given the nature of the dish. My initial recipe was a little more complex and more involved, but then I decided to simplify it to create something anyone could make. I’ve made several versions of this dish and it has been a huge hit in my house. In fact, Duncan is kayaking all weekend and I sent him away with an entire tray of this lasagna – he was overjoyed as it’s delicious, really filling and involved no prep on his part, which is ideal after you’ve been trashing yourself in the freezing cold water all day. I hope you’ll agree.
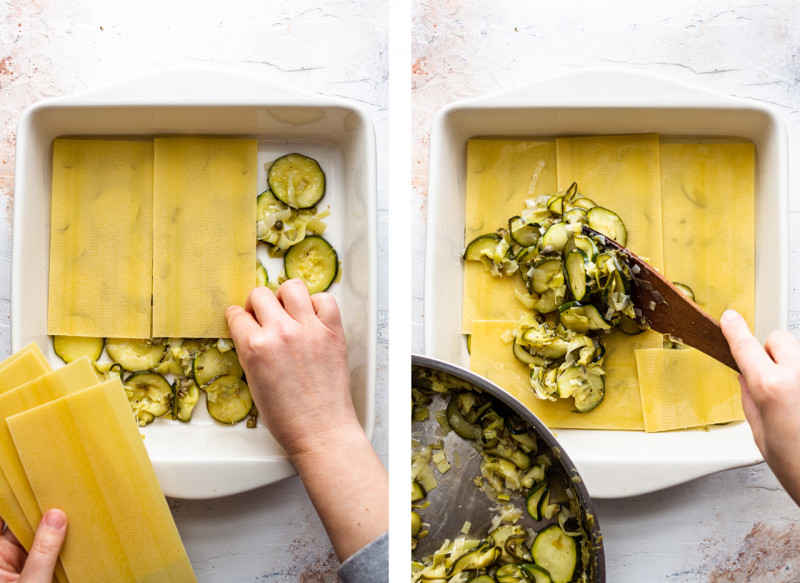
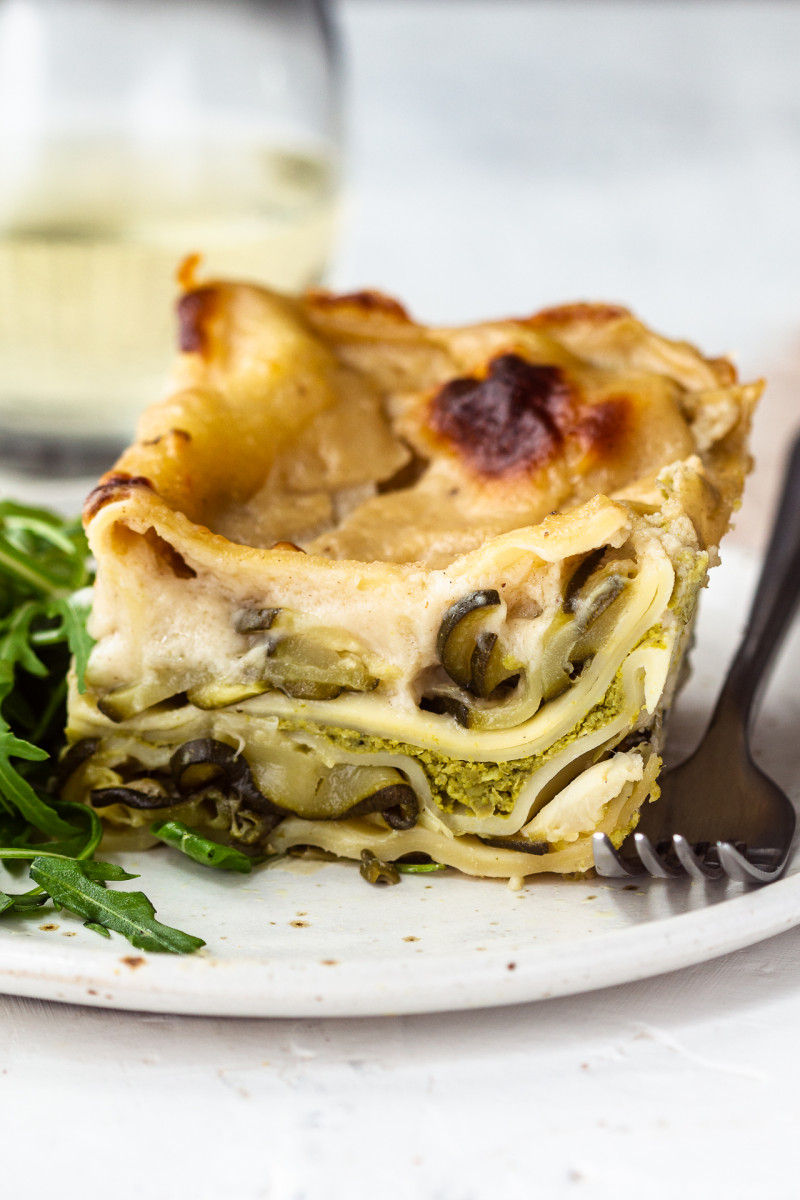
Start off with a thin layer of zucchini mixture followed by a layer of pasta. Next, spread half of the remaining zucchini mixture over the pasta.
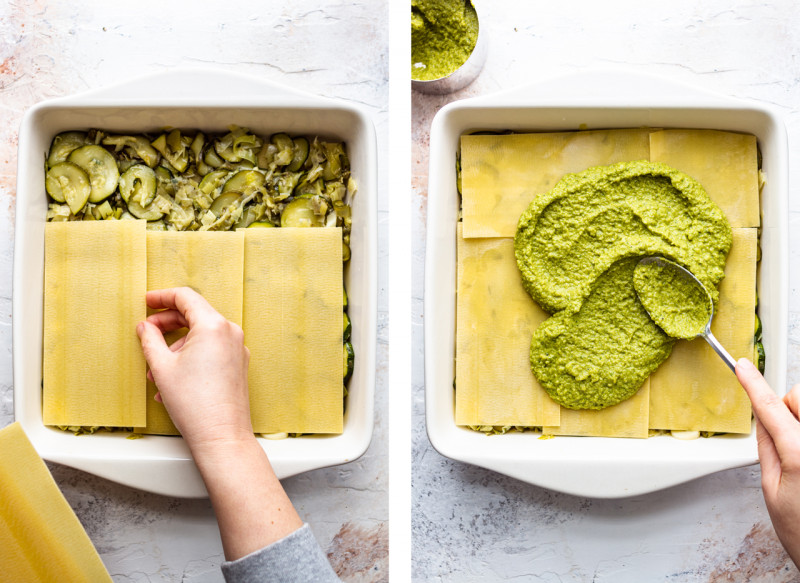
Cover with another layer of pasta and all of the green pea mixture.
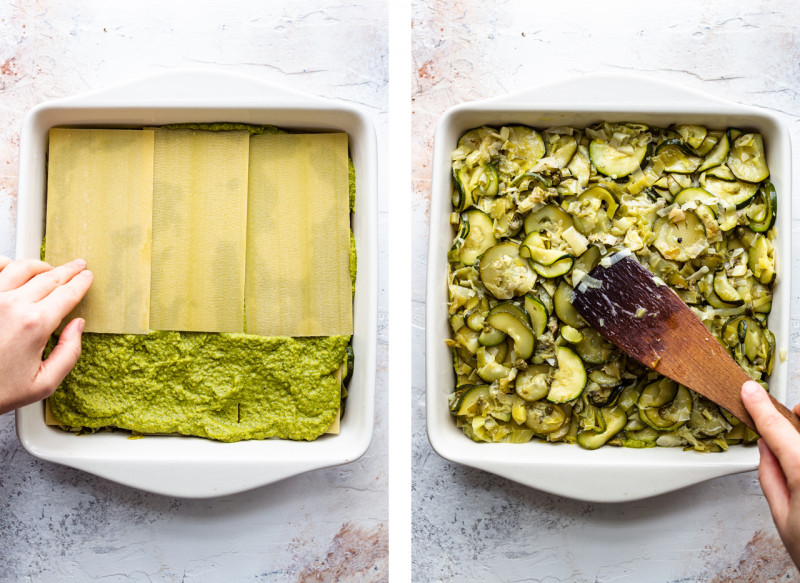
Cover green pea layer with another layer of pasta and the other half of the zucchini mixture.
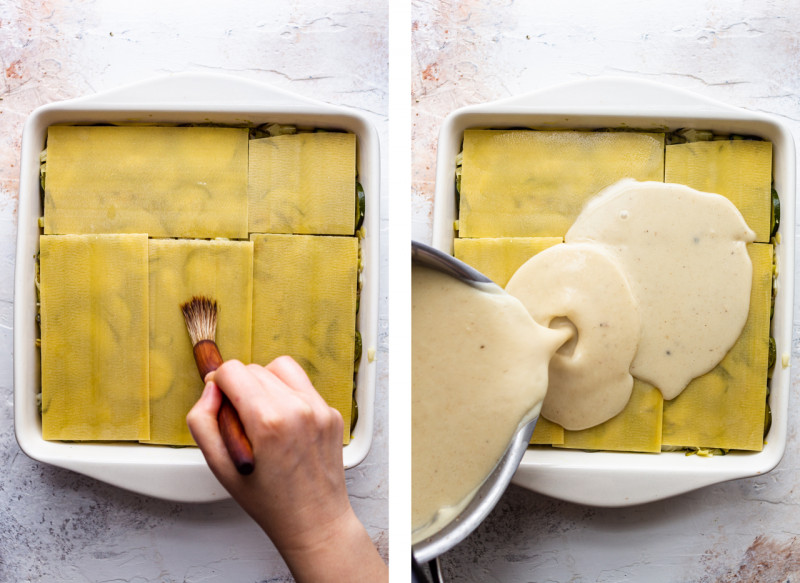
Finally, put the last layer of pasta on, brush some water onto the pasta so that it doesn’t suck out too much moisture from the bechamel and spread bechamel on top. Bake for 40 minutes!

- 500 g / 17½ oz vegan lasagne sheets* (GF if needed)
ZUCCHINI & LEEK LAYER
- 3 medium leeks
- 30 ml / 2 tbsp olive oil
- 1.4 kg / 50 oz zucchini (4 big zucchini)
- 180 ml / ¾ cup white wine*
- 3 tbsp capers, chopped
- salt and pepper to taste
GREEN PEA LAYER
- 400 g / 3 cups frozen petit pois or green peas
- 2 small garlic cloves
- 15 fresh mint leaves
- pinch of chilli (optional)
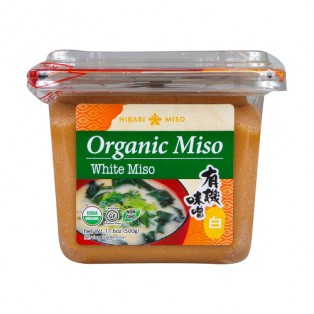
- ½ tbsp white miso paste
- 30-45 ml / 2-3 tbsp lemon juice + zest of 1 lemon
- salt and pepper, to taste
BECHAMEL (or alternative bechamel)
- 780 ml / 3¼ cups oat milk (I recommend Oatly original) or other plant milk
- 1 head of roasted garlic*
- 2 tsp white miso paste
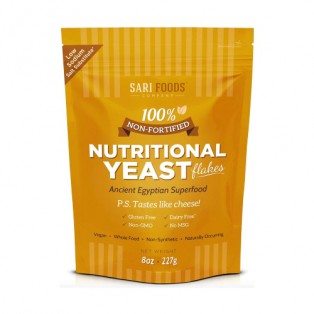
- 2 tbsp nutritional yeast
- 80 ml / 1/3 cup mild olive oil (or 100 g / 3½ oz vegan butter)
- 85 g / 2/3 cup AP flour (or GF flour mix)
- 1 tsp salt, adjust to taste
- ¼ tsp pepper, adjust to taste
- freshly ground nutmeg (I used 1/3 whole nutmeg), to taste
- Cut the dark green section of the leeks off an discard (keep the white and light green part). Clean leeks well (they tend to have soil in between layers) and slice them thinly. Slice zucchini/courgettes really thinly, using a mandolin or a sharp knife.
- Heat up olive oil in a very large frying pan. Add the leeks and sauté until soft and creamy, stirring from time to time. Remove the leeks from the pan and set aside.
- Deglaze the pan with half of the wine and add half of the zucchini slices (you are likely to have to do that in two batches as it’s a lot of volume) and sauté them just until softened.
- Once the first batch is done, take it out of the pan, add the rest of the wine and zucchini. Carry on sautéing until soft.
- Return sautéed leeks and zucchini back to the pan, stir through chopped capers, season with salt and pepper and set aside.
GREEN PEA LAYER
- Boil a small pot of water and get a bowl of cold water ready.
- Once the water comes to a boil, plunge frozen petit pois (or green peas) into it and cook according to the packet instructions. I used petit pois and they took 3 minutes from the point the water came to the boiling point again.
- Drain and plunge into cold water to preserve the colour. Drain again.
- Place drained petit pois in a food processor, add garlic, mint, chilli, miso, lemon juice and zest. Process until smooth – you may need to add a tablespoon or so of water as you want the puree to fairly loose (see assembly photo) so that it doesn’t dry out too much in the oven. Season to taste.
BECHAMEL
- Measure out the milk. Blend roasted garlic cloves, miso paste and nutritional yeast with 240 ml / 1 cup of the oat milk allocated for the béchamel sauce.
- Slowly heat up olive oil in a large saucepan (stainless steel works best for this). Once the oil starts to shimmer, gradually whisk in flour. Keep whisking until the mixture is super smooth. Allow the mixture to bubble gently, whisking the whole time, for a few minutes so that there is no raw flour taste in your béchamel, but make sure it doesn’t colour.
- Next, reduce the heat to low and start adding in oat milk while whisking the whole time. Initially the mixture may thicken really quickly and look a bit lumpy – don’t worry, it will recover once all the milk has been whisked in. Continue adding in the rest of your milk, including the batch you’ve whizzed up with garlic, miso and nutritional yeast. Simmer only just enough for the sauce to thicken then season with salt, pepper and nutmeg to taste.
ASSEMBLY
- Preheat the oven to 180° C / 355° F (or 160° C / 320° F on a fan setting).
- Spread a thin layer of the zucchini mixture at the bottom of the dish, follow up with a single layer of pasta sheets, breaking them in half in necessary to fill awkwardly shaped gaps.
- Spread half of the remaining zucchini mixture on top, followed up by a single layer of pasta sheets.
- Next spread all of the green pea mixture on top, followed up by a single layer of pasta sheets.
- Spread the rest of the zucchini mixture on top and cover it tightly with a layer of pasta. I like to brush some water (1 tbsp) onto this final layer of pasta so that it doesn’t absorb too much moisture from my bechamel, making it dry.
- Finally, spread bechamel on top.
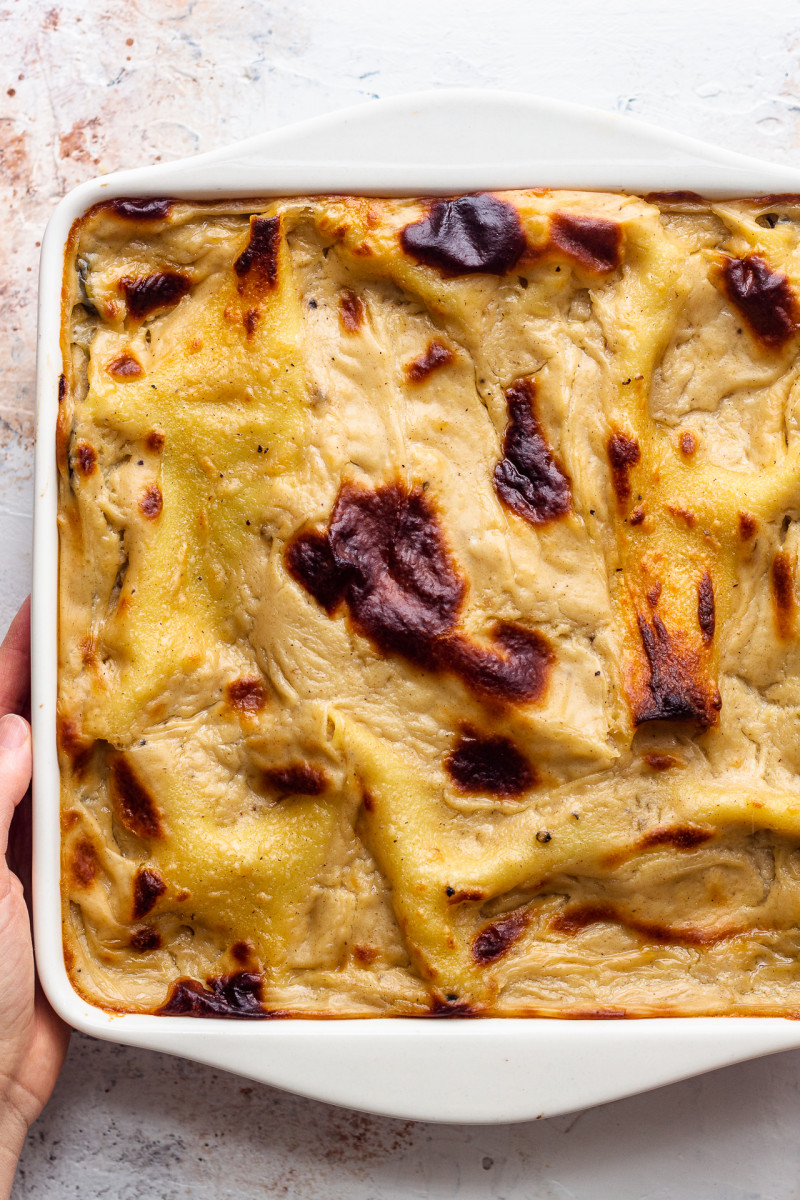
- Bake for about 30 minutes, then increase the oven temperature to 220° C / 425° F for the last 10 minutes of baking time to speed up browning.
- Allow the dish to set for at least an hour or else the slices will come out messy, although I do recommend waiting to consume until the following day – the flavours will mellow and the dish will taste even better. Store the leftovers for up to 5 days in the fridge or freeze in airtight containers.
*WHITE WINE: if you avoid alcohol, use veggie stock and a squeeze of lemon juice instead.
*ROASTED GARLIC: To roast the garlic, cut the top of the garlic head off (I recommend roasting 2-3 at the same time) and drizzle the exposed cloves with a small amount of olive oil. Wrap the garlic in a piece of kitchen foil (or a few layers of baking paper) and bake for about 30 minutes in a 200° C / 390° F, until the cloves are soft and sticky.
The baking dish I used is a square 25 cm / 10″ dish, but another shape dish of similar surface area will work just as well.

I love to cook vegan 🌱
Thank you so much
Anna
Next time I am going to replace the garden peas with broad beans (not a real fan of peas 🤷🏻♀️).
The bechamel is amazing!
I used vegan mozarella on top combined with some of the pea cream instead of the bechamel. Worked well but will try next time with the bechamel.
How about spring onions/scallions and perhaps a little less as they are more pungent than leeks. I fear that onion may be too strong so you could certainly use one but not I would be hesitant to use more in this dish although feel free to override me. Hope this helps! Ania
You could make a spinach and 'ricotta' filling instead, like here, for example. If you love leeks, you could do leeks on their own but I personally would find it too much leeks, I think. Hope this helps! Ania