Vegan nasi goreng with ginger tofu
Vegan nasi goreng with ginger tofu
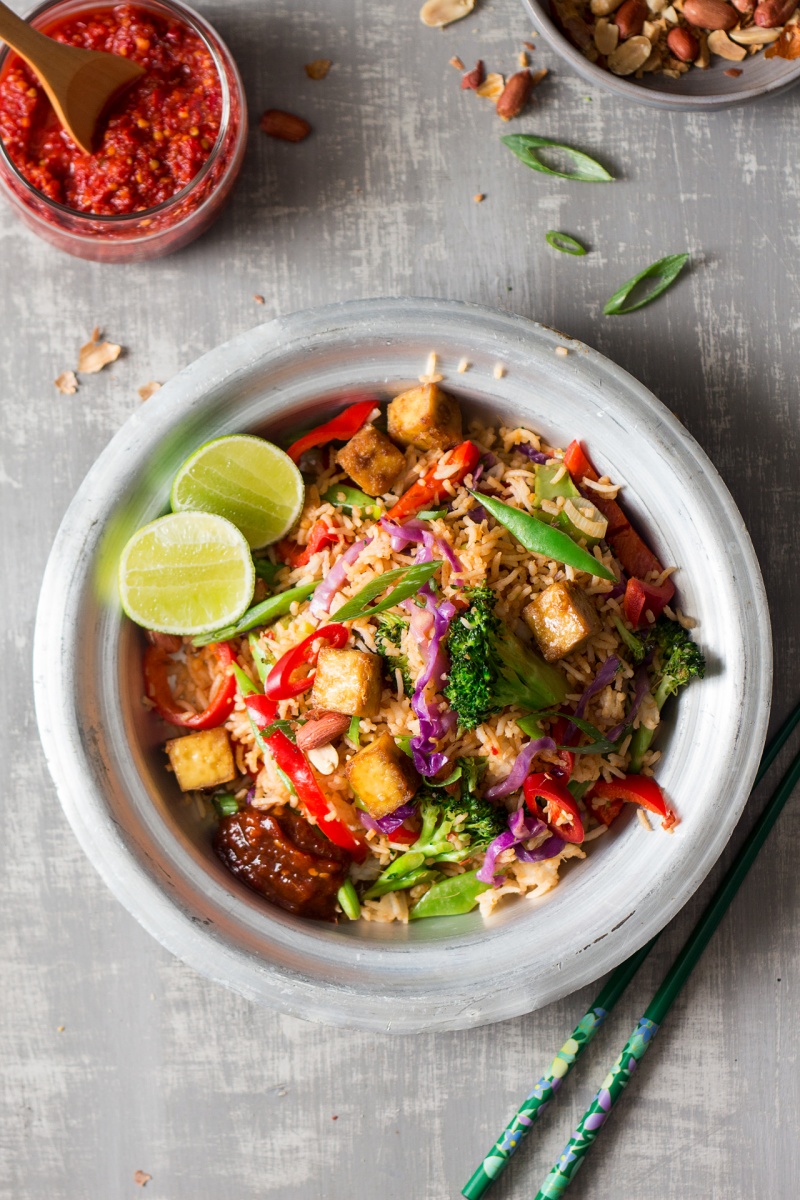
Nasi goreng simply means ‘fried rice’ and despite its unassuming name, it is a cracking dish – filling and immensely satisfying! I have a particularly soft spot for it as it reminds me of one of my favourite holidays – in Bali – where we spent an entire month living off this stuff.
This was years before we went vegan, which was somewhat lucky as despite nasi goreng being fairly easily veganised, traditional versions almost always feature fried eggs and the ubiquitous fish sauce.
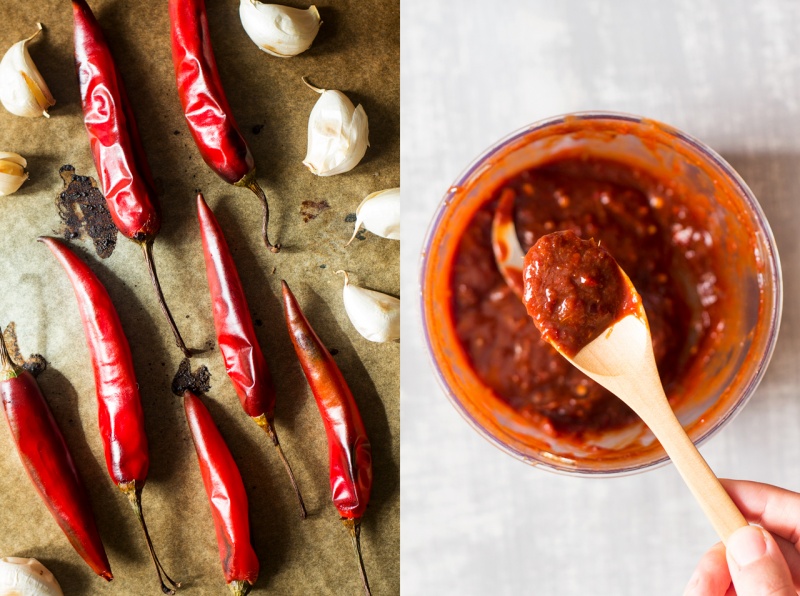
This version has neither of these ingredients but just as much of a depth of flavour. To intensify the flavour of the sauce I followed a great tip from Jackie Kearney’s book Vegan Street Food and roasted all the aromatics before blending them into a rich, sticky and spicy sauce. I know, I know, it’s a bit of a pain but it’s totally worth it, trust me!
You can always double, triple or even quadruple (yup, that’s my thing 🙂 ) the sauce ingredients and make yourself a big vat of it that will set you up for an entire week of vegan nasi goreng. You know that saying ‘measure twice, cut once?’…Well, my current thing is ‘make once, eat for the rest of the week’ 😉

- 4 garlic cloves, unpeeled
- 2-3 red chillies
- 5 cm / 2″ fresh ginger, unpeeled
- 3 tbsp tamari (if GF) or soy sauce
- 2 tbsp coconut sugar (or 3-4 tsp dark brown sugar)
- 2 tsp lime juice
- 2 tsp sambal oelek (chilli paste), adjust to taste
TOFU
- 400 g firm tofu (SEE NOTES)*
- 2 tbsp finely grated (on a microplane) ginger
- 1 tsp toasted sesame oil
- 2 tsp neutral tasting oil
- salt
REMAINING INGREDIENTS
- 1½ cups basmati rice**, cooked a day before (without salt)
- 2 tbsp peanut oil (or other high smoke point oil)
- 3 spring onions, sliced
- a large handful of flat green beans, cut diagonally
- 1 red pepper, finely sliced
- a wedge of red cabbage, finely sliced
- ½ large broccoli head, divided into florets
- ¼ cup roasted peanuts, chopped
- 1 lime cut into quarters, (optional), to serve
- Set the oven to 220° C / 425° F. Place chillies on a lined baking sheet and bake for 5 minutes. Add unpeeled garlic cloves and a piece of ginger. Bake for a further 12 minutes, until garlic cloves turn sticky, chillies start to blacken and ginger turns soft. You may need to remove the chillies and garlic from the tray and leave the ginger in for a further 5-10 mins longer to soften it.
- Decrease the oven temperature to 180° C / 350° F.
- Cut chilli stalks off, peel garlic cloves, peel and slice ginger. Put roasted aromatics and remaining sauce ingredients (apart from sambal oelek) in a small blender or a chopper and blitz them into a paste. Adjust spiciness to your liking by adding sambal oelek and blending until smooth.
TOFU
- Cut tofu into cubes. Mix grated ginger with oils and a generous amount of salt. Rub the marinade into the tofu cubes.
- Place marinated tofu on a lined baking sheet and bake until golden and crispy, about 30 min.
ASSEMBLY
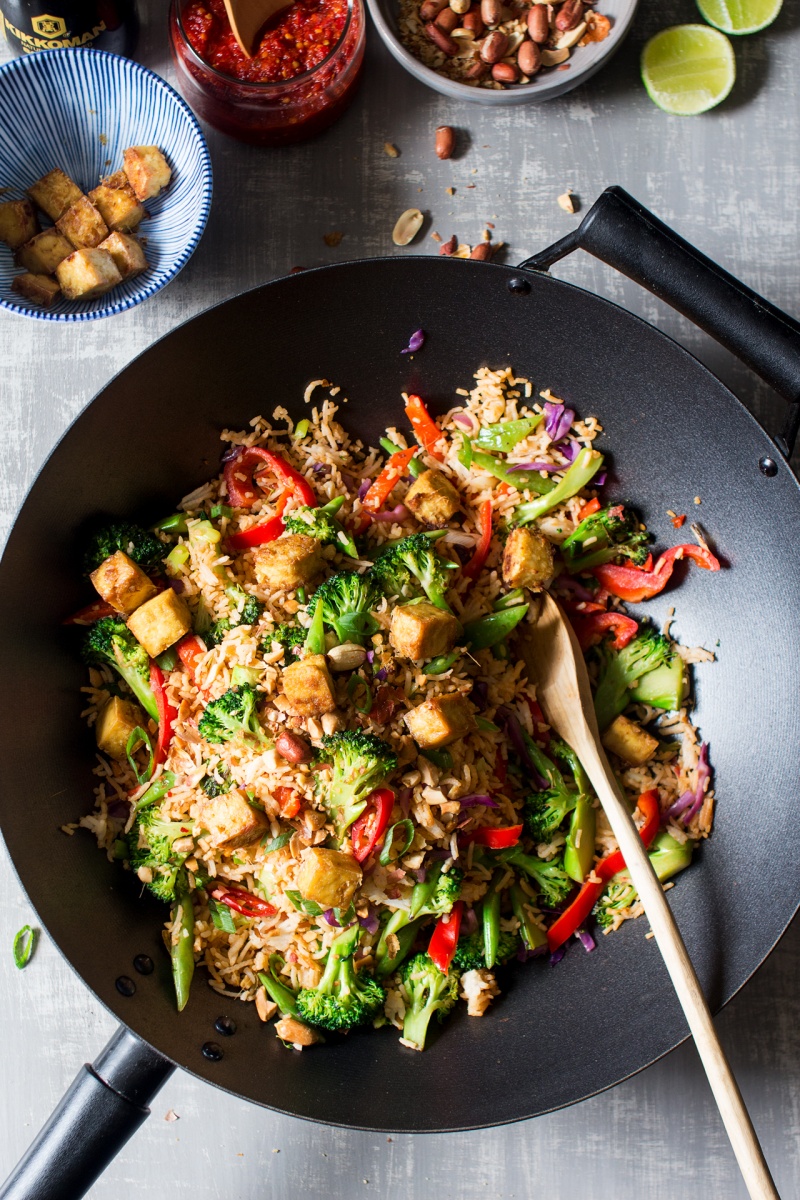
- Heat up a wok or a large frying pan. Pour 1 tbsp of oil into the wok and heat it up until it is almost smoking. Add sliced spring onions reserving most of the green part for serving. Stir-fry until spring onions soften. Transfer to a separate plate, leaving as much oil in the wok as you can.
- Heat up another tablespoon of oil and stir-fry your veggies in the following order (leaving about a minute between each new addition): broccoli florets, beans, red pepper and cabbage. Transfer the veggies onto a plate and set aside.
- Decrease the heat to low or, if you have an electric hob, turn the heat off completely but leave the wok on a hot hob. Pour the sauce you prepared earlier into the wok/pan with a splash of water. Cook it on a low-medium heat for about 1-2 minutes, stirring from time to time.
- Break cold rice with your hands and add it to the sauce. Mix it in well. Return spring onions and fried veggies back to the pan. Stir-fry on a low-medium heat until everything is coated in the sauce and piping hot.
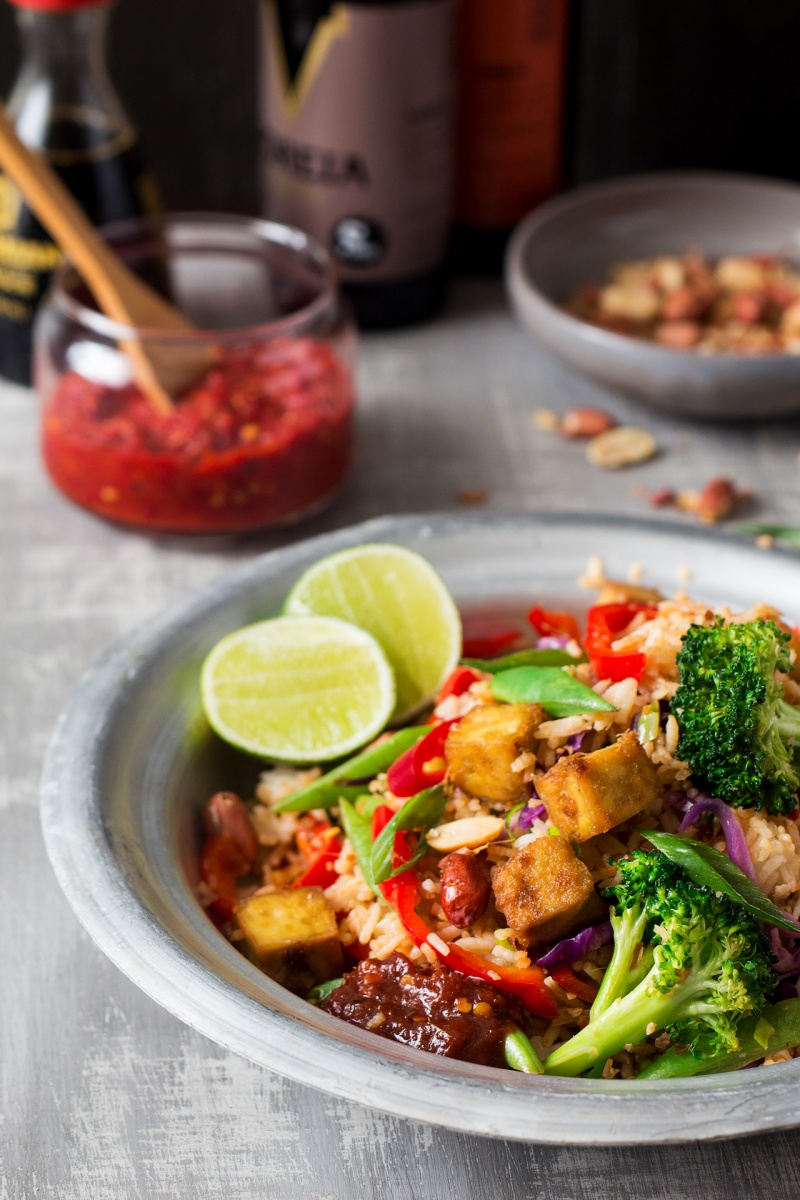
- Divide between plates, top with roasted peanuts, baked tofu and raw spring onion slices. Serve with lime wedges and sambal oelek on the side.
** My foolproof way to cook basmati rice is to rinse it well, place it in a pot for which you have a see-through lid and cover with 2¼ cups of water (I use 1:1.25 rice to water ratio for basmati). Cover with a lid and bring to a gentle boil. Once the water boils, decrease the heat to low (I use setting 2 out of 6) and let the rice absorb all the water – do not lift the lid. Once the water gets absorbed (to check, tilt the pot slightly and see if any water seeps out), turn off the heat and let the rice finish cooking in its own steam for another 5 minutes.
This recipe has been adapted from the Nasi Goreng recipe from this fabulous vegan cookbook.

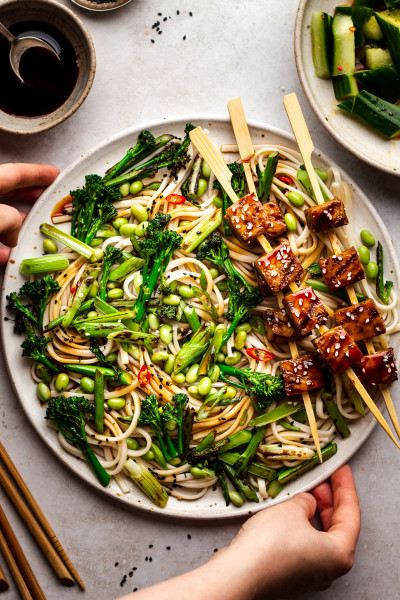

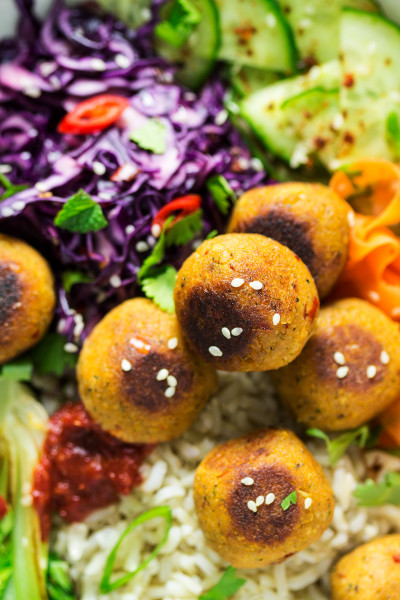

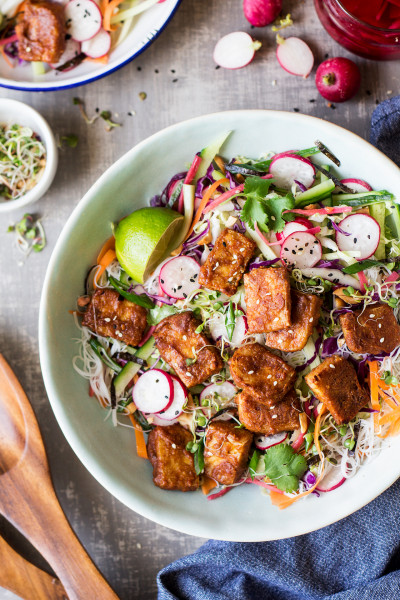

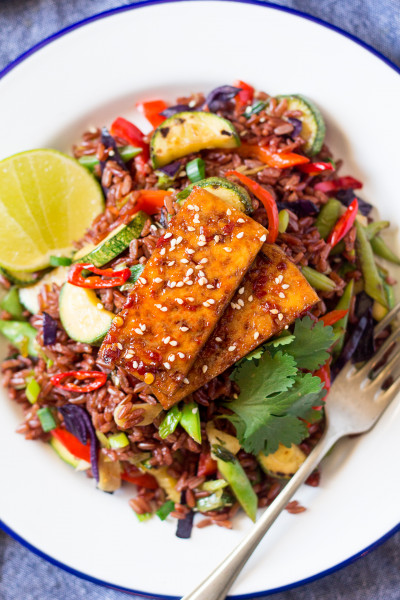




Thanks!
Yes, the sauce and the recipe can be made in advance absolutely (just make sure you cool the rice quickly - spread it on a large tray to cool - and refrigerate it straight away to be sure it's safe to eat), but the tofu won't stay crispy if made in advance. It really needs to be eaten fresh of the pan ideally. You can, however, press, cube and marinate the tofu the day before. Hope this helps! Ania
Thanks! Greetings from the Netherlands
This one did ot work for me and I wonder what happened. The chiles got completely fried at 425 for five minutes and then I decided to just soak some more of them and roast the garlic and ginger. The ginger got hard and unworkable and the garlic browned but did not soften. Any ideas? Yours look great.
Thanks, Sita
Thanks so much, I'm happy to hear that you like my recipes.
As for the issue you describe I am not sure what to advise as the temperature specified and baking time is definitely correct. Do you have any issues with your oven when making cakes, for example? Did you perhaps had it on a fan function? My chilles took about 17 mins to get to the colour you see in the photos, garlic cloves took about 12 minutes to get lightly browned on the outside and soft and fragrant on the inside and ginger took about 20 minutes all in all and it definitely got softer not harder. Sorry I cannot be of any more help!
Ania