Vegan peanut butter mousse and jelly tart
Vegan peanut butter mousse and jelly tart
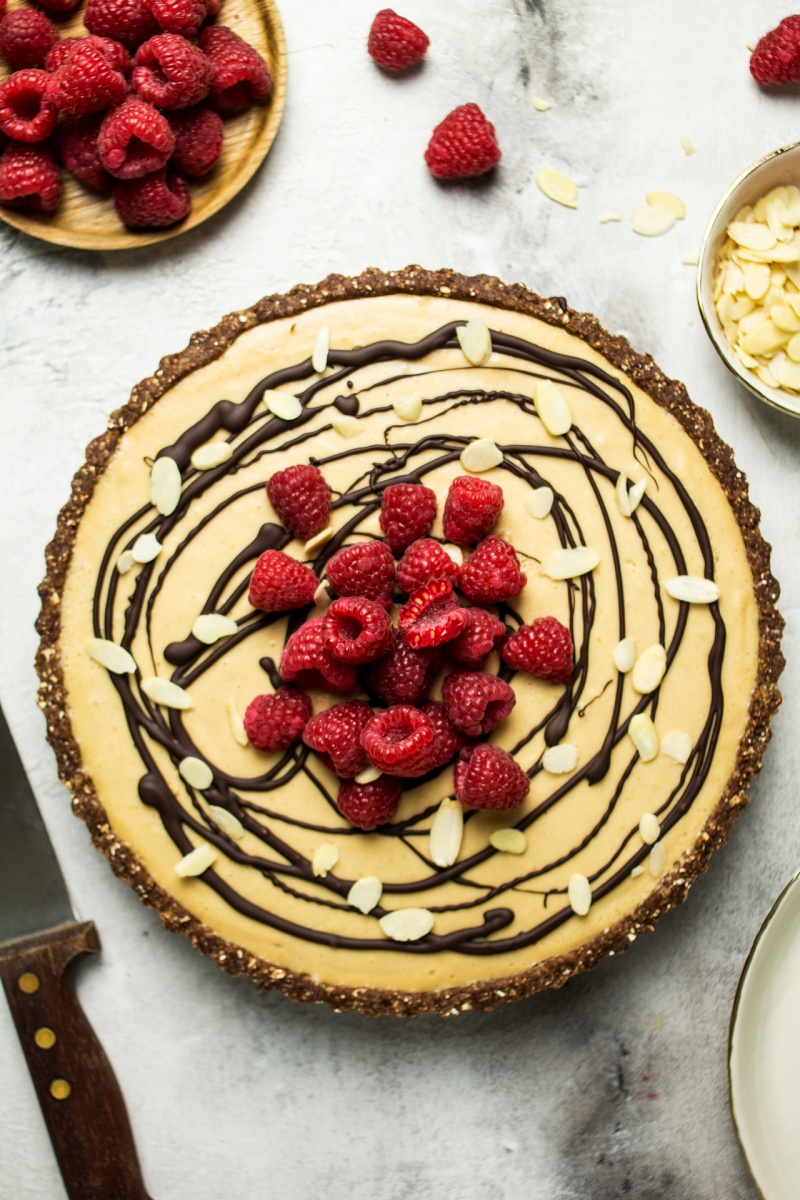
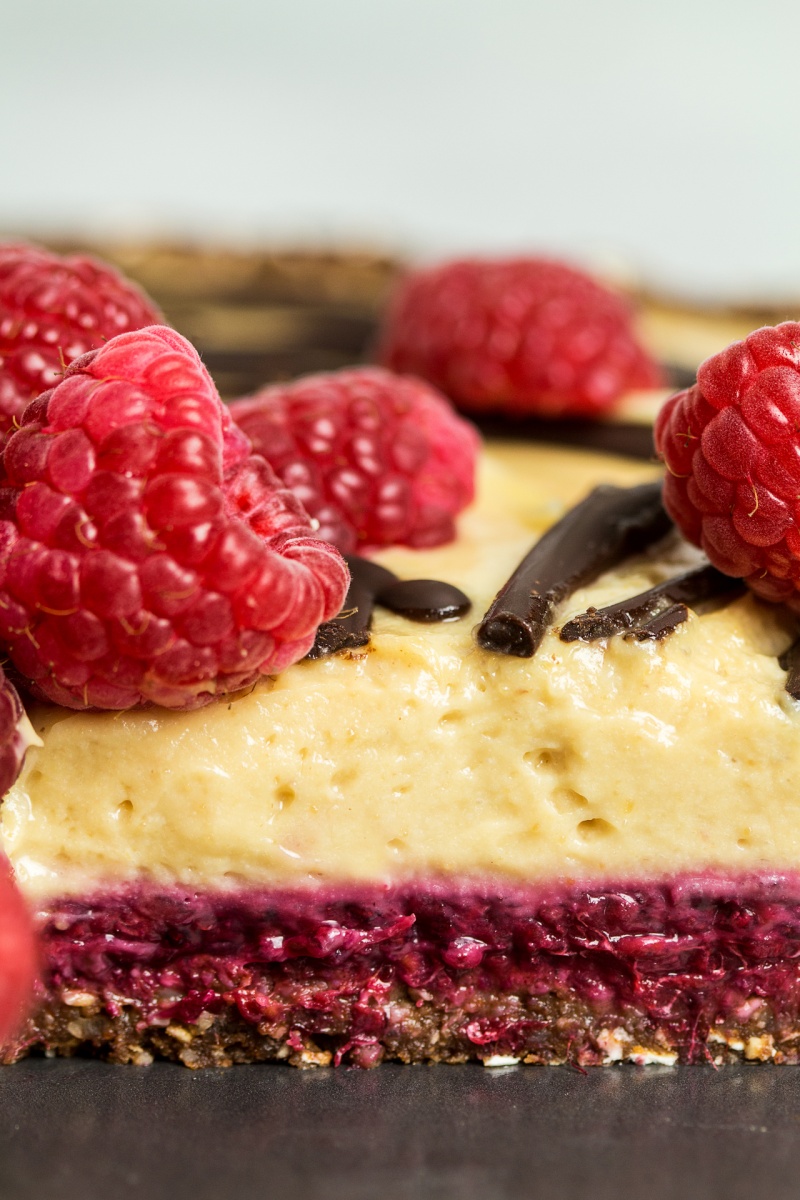
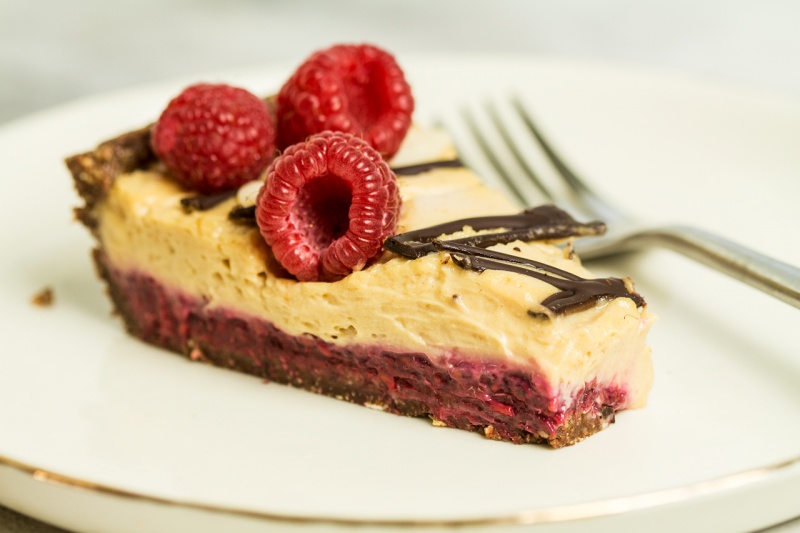
With another Valentine’s Day just days away (it’s on Wednesday, you remember, right?) and the fact that I’ve starved myself (and you guys too) of any dessert recipes throughout January, I’ve decided to bring out the big guns – enter this insanely decadent (yet no bake and almost raw) peanut butter mousse and jelly tart 🙂 .
Peanut butter and jelly is something I came to appreciate later in life as I did not get the appeal of it for years. These days one of my favourite quick breakfasts is my take on this very combination – roasted almond butter and rasberry jam on a cinammon bagel with a black coffee 🙂 Yum!! Anytime…
I also like peanut butter, but I think I may have a very mild allergy to it so I don’t have it often. Special occasions call for special measures though, plus there are plenty of peanut butter aficionados around so I’ve decided to make a peanut butter mousse version of my last year’s tart.
This time it has a sugar free rasberry jam and a refined sugar free peanut mousse filling with an optional chocolate drizzle. I personally find the combination of tangy raspberries, peanut butter AND chocolate simply irresistible and I’m quietly hoping you and your loved ones will too 😉 . Happy Valentines! xoxo
- 200 g / 1 heaped cup dates, pitted
- 140 g / 1 cup almonds
- 135 g / 1½ cup oats (GF certified if required)
- 3 tbsp cacao powder
- ¼ tsp fine sea salt
RASPBERRY JAM FILLING
- 450 g / 1 lb bag of frozen or fresh raspberries*
- 3 tbsp ground chia (or flax seeds)
PEANUT MOUSSE FILLING (a video recipe here)
- 240 ml / 1 cup smooth sugar-free peanut butter (I used this brand)**
- 90 ml / ¼ cup + 2 tbsp maple syrup, adjust to taste***
- 120 ml / ½ cup coconut cream (from a tin of full fat coconut milk)
- 240 ml / 1 cup aquafaba
- 2/3 tsp vinegar or lemon juice
DECORATION (optional)
- 30 g / 1 oz vegan dark chocolate
- fresh or freeze-dried raspberries
- Place pitted dates in a small bowl and cover with boiling water. Leave them for 10 minutes to soften.
- Squeeze excess moisture out of the dates and place them in the food processor together with the remaining base ingredients. Process until you get a smooth, sticky mixture.
- Line a tart tin with a piece of baking paper and line the tin with the dough you’ve just made. Make sure you press it really well so that it’s compacted and holds together well. Pop into the freezer for 10 mins.
RASPBERRY JAM FILLING
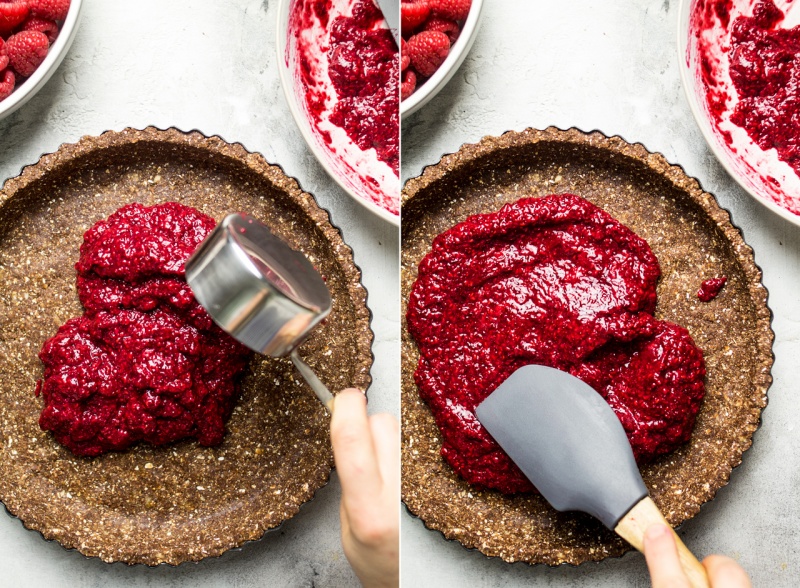
- Allow rasberries to thaw by leaving them at room temperature for a few hours. Once thawed, mash them up with a fork.
- Mix chia seeds in and allow the ‘jam’ to stand for about 10-20 minutes so that it has a chance to thicken. Give it a stir from time to time to incorporate the juice that pools at the sides back into the jam.
- Once thickened, spread the jam at the bottom of the set tart base. You’ll need about 1½ cups of jam, there will be a bit left over (use it to top your porridge with, for example).
PEANUT MOUSSE FILLING
- Place smooth peanut butter, maple syrup and coconut cream in a medium bowl. Whisk with a wire whisk until you obtain a uniform mixture, but don’t overwisk as the mixture may start releasing oil. Don’t panic if the mixture appears to seize halfway through, it happened to me on two occasions but more vigorous mixing recovered it. If mixing doesn’t help, add a tiny splash of hot water and whisk some more.
- Place aquafaba in a clean (that’s very important as any grease residue will prevent the aquafaba from foaming) glass or metal bowl. Add vinegar (or lemon juice). Whip it with an electric hand mixer until you achieve stiff peaks – you should be able to invert the bowl and the whipped aquafaba should not budge an inch. If it does it means that it hasn’t been whipped enough.
- Fold stiff aquafaba into the peanut mixture with a clean spatula until the two are well incorporated. Do it VERY GENTLY as you don’t want to knock too much air out but thoroughly (peanut mixture is heavy so tends to drop to the bottom initially). The mixture will deflate a fair bit, don’t worry, that’s normal. Fill the tart with the peanut mousse mixture and place in the fridge for about 6-8 hours (or overnight) to allow the mousse to set.
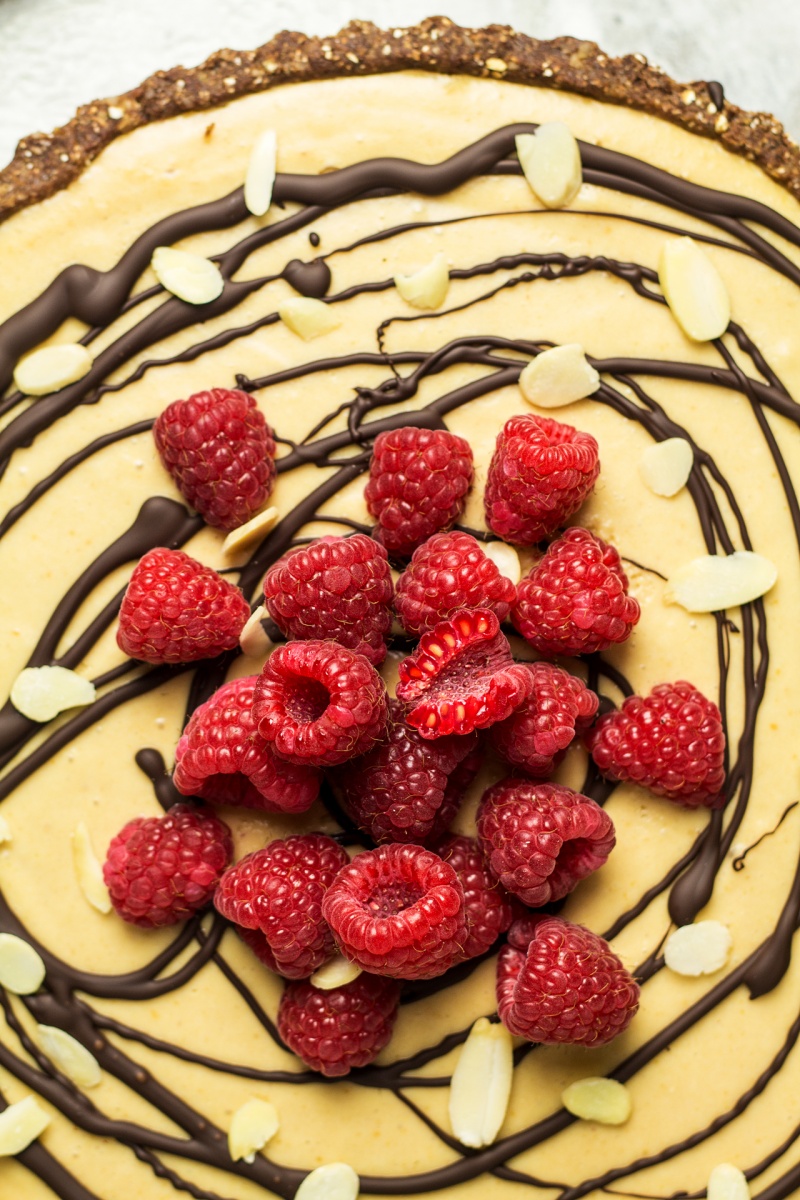
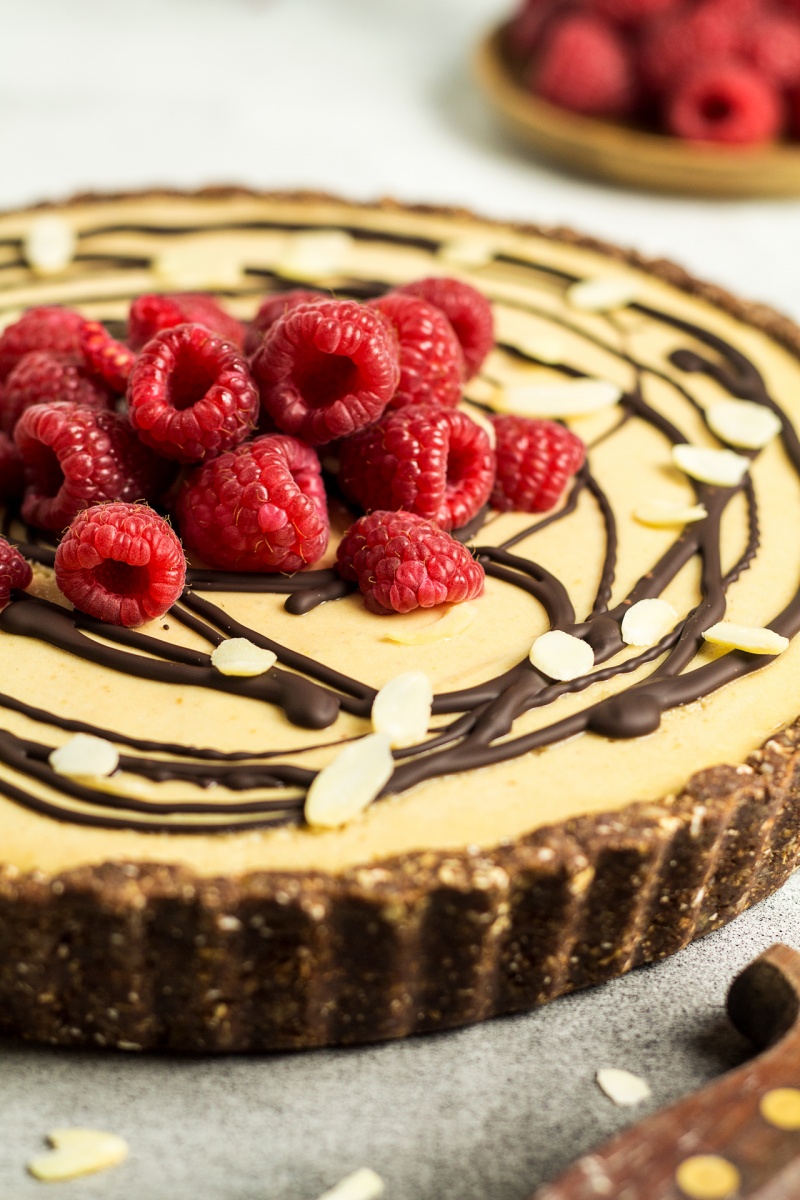
- Once the mousse has had a chance to set, decorate the tart some dark chocolate and some fresh raspberries. Even though I drizzled my cake with melted chocolate for the photos, I recommend decorating it with chocolate shavings instead. Once drizzled chocolate sets, it becomes hard and it cuts into delicate mousse layer once you attempt to slice the tart, producing messy looking results.
**I used unsweetened peanut butter for this (I used the Sun-Pat Smooth no added sugar). I have not tried making this mousse with any other brands, but I know that some of my readers have with success.
***I also tested the peanut butter mousse filling with double the amount of coconut cream (240 ml / 1 cup) and it works well – renders more creamy and less peanutty result.
The exact dimension of my tart tin are top: 25 cm / 10 inches , bottom 22 cm / 8.5 inches and side 3.5 cm / 1.4 inches.

I'm sorry to hear that the tart did not work for you. It feels like something has gone wrong either during the whipping up stage or incorporating of the ingredients. In this recipe aquafaba sets thanks to the fat in peanut butter and coconut cream, it won't unless both of these are present in exact quantities. What is also key here is that aquafaba is at stiff peaks before the remaining ingredients are folded in very gently (as in the video under this recipe) so that the air does not get knocked out of it. From your description of the final product, it feels to me that incorporating remaining ingredients deflated aquafaba too much and turned the whole thing into liquid. It's a delicate ingredient to work with, but it works for sure. I've done hundreds of version of aquafaba mousse and have many of my readers' versions on Instagram as well. Persevere, it will work, promise. Ania
I see you recommend a particular brand of peanut butter ... is this because it's shown to have reduced levels of aflatoxin?
Thanks! :)
No, not at all. I recommend it purely because that's the brand I used for my mousse and it worked very well. Hope that helps! Ania