
After over 2 weeks of silence, I am so happy to be able to bring you a new recipe! Finally! You may know already, but we’ve had our second brush with Covid at the end of March and it knocked me out for over two weeks. I won’t bore you with details but long story short, I was quite ill and in no state to work.
We are both overjoyed to be finally on the mend. In the last few days, we’ve been going for short walks to our local woods in a bid to get a small amount of exercise and help our lungs recover from the virus. As wild garlic season is upon us, I decided that it will be a perfect, Spring-inspired ingredient to hero in my first, post-illness, recipe.
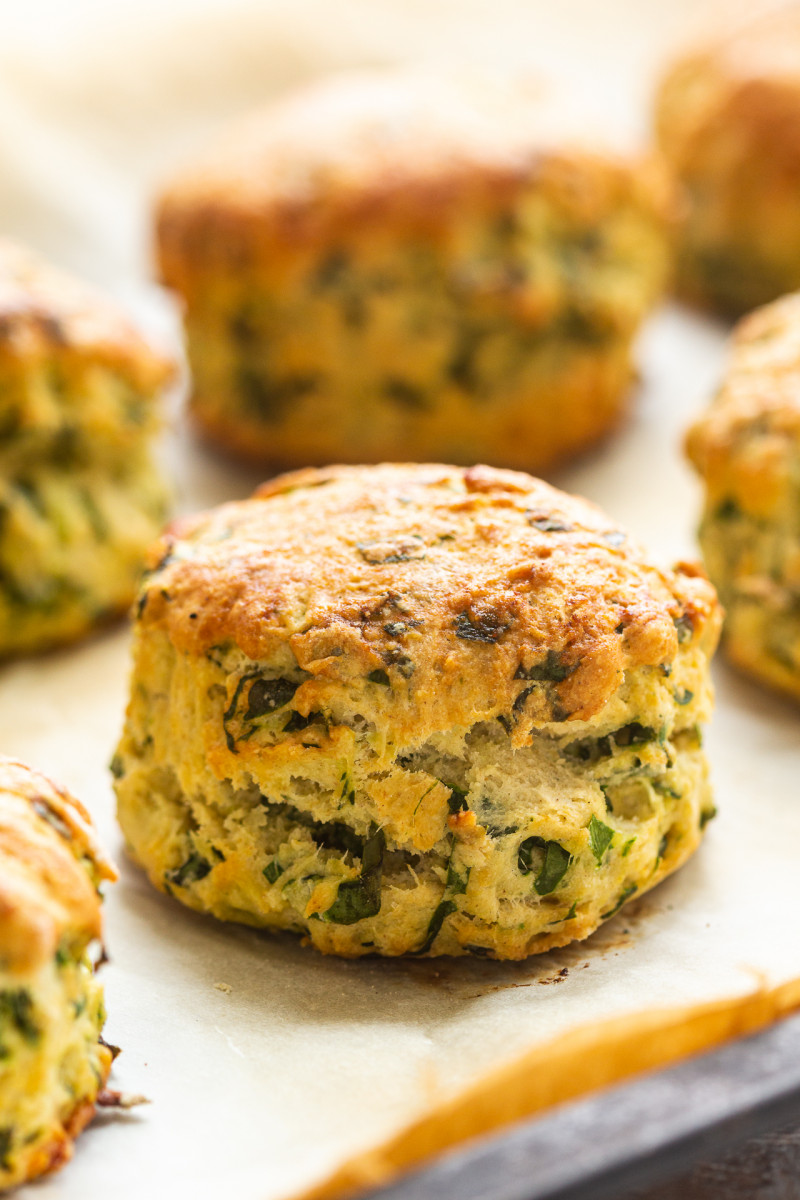
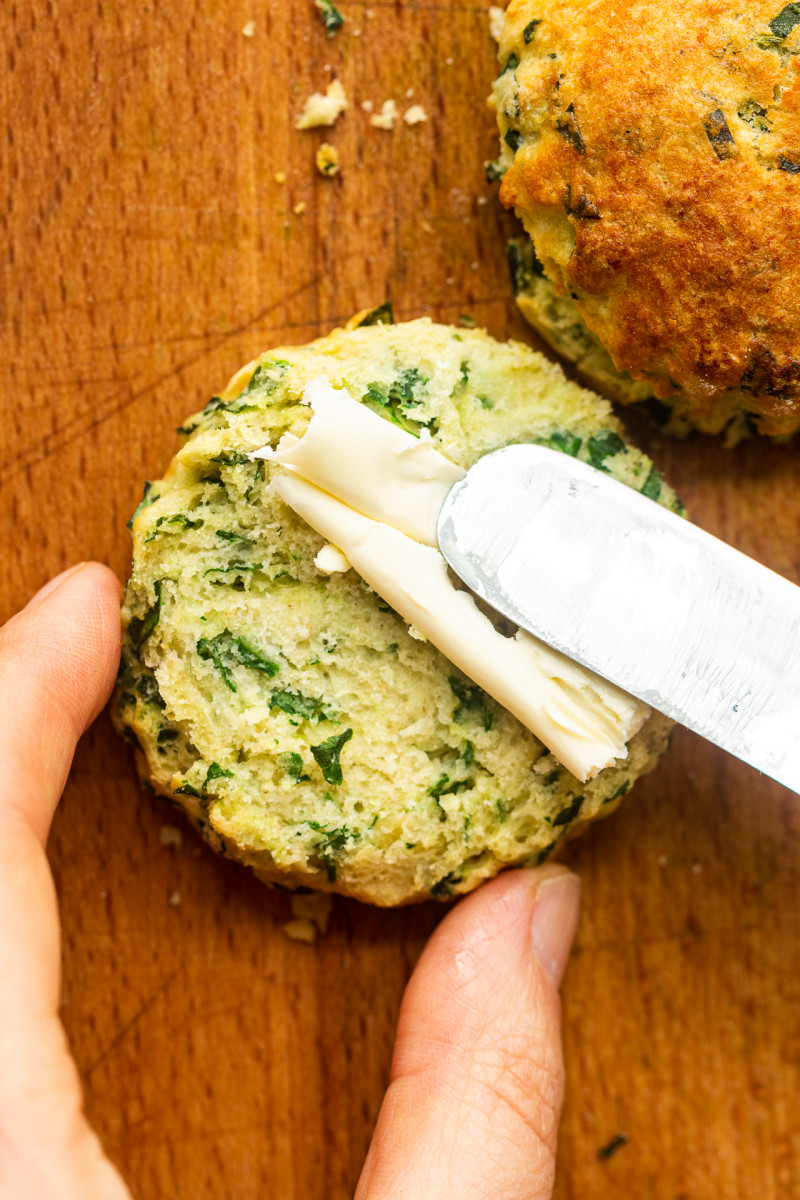
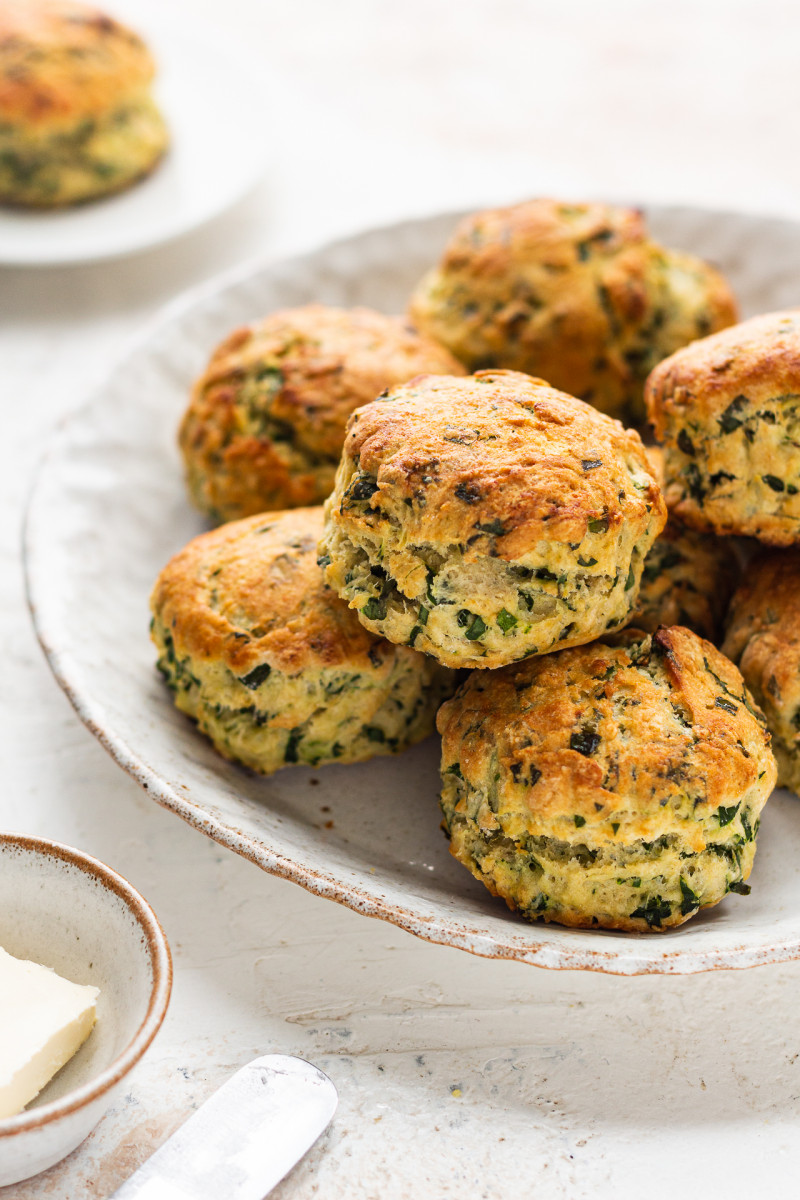
I used locally foraged wild garlic alongside some cupboard staples – flour, plant milk, vegan block – to put together some savoury vegan scones. They are really easy to make, tender and full of flavour. They make a perfect side to a spring soup or a salad. They would also not be amiss on an Easter table if you are having people round.
Scones (or biscuits as they are known in the US) have a reputation for being difficult to make, but I think they are fairly straightforward as long as you memorise a few simple rules:
1) Handle the dough as little as possible
When it comes to scones, the more rustic they look the nicer they are to eat so if you are a bit of a perfectionist (talking to myself here too 😉 ) resist the urge to get the dough looking smooth. As long as it holds together, that’s enough. Working the dough will develop gluten strands in the flour and that will make for unpleasant to eat, chewy scones. Good scones just need a light touch, that’s it.
2) Chop your add-ins very finely
Chop your add-ins, wild garlic in this case, really well as you do not want big ribbons of it breaking up your dough. I bunch it all together, chop it finely one way, then rotate the chopping board and go over it again at a different angle.
3) Add just the right amount of liquid
The amount of liquid given is just a guide as it really depends on your flour – different flours have different absorbency levels – and how dry your garlic leaves are. Trickle it in slowly while working it into the dry ingredients with the blade of a butter knife (a blunt knife) and towards the end use your hands to get a feel for how much more liquid is needed just to bring the dough together, without making it too wet.
4) Don’t twist the cutter when cutting them out
Push the cutter into the rolled out dough in a straight line, do not twist it as it inhibits rising. It’s a good idea to dip the cutter into some flour first before cutting the scones out.
5) Bake in a really hot oven
Don’t be afraid to bake them at high temperature oven, it will help you get well risen, golden brown scones.
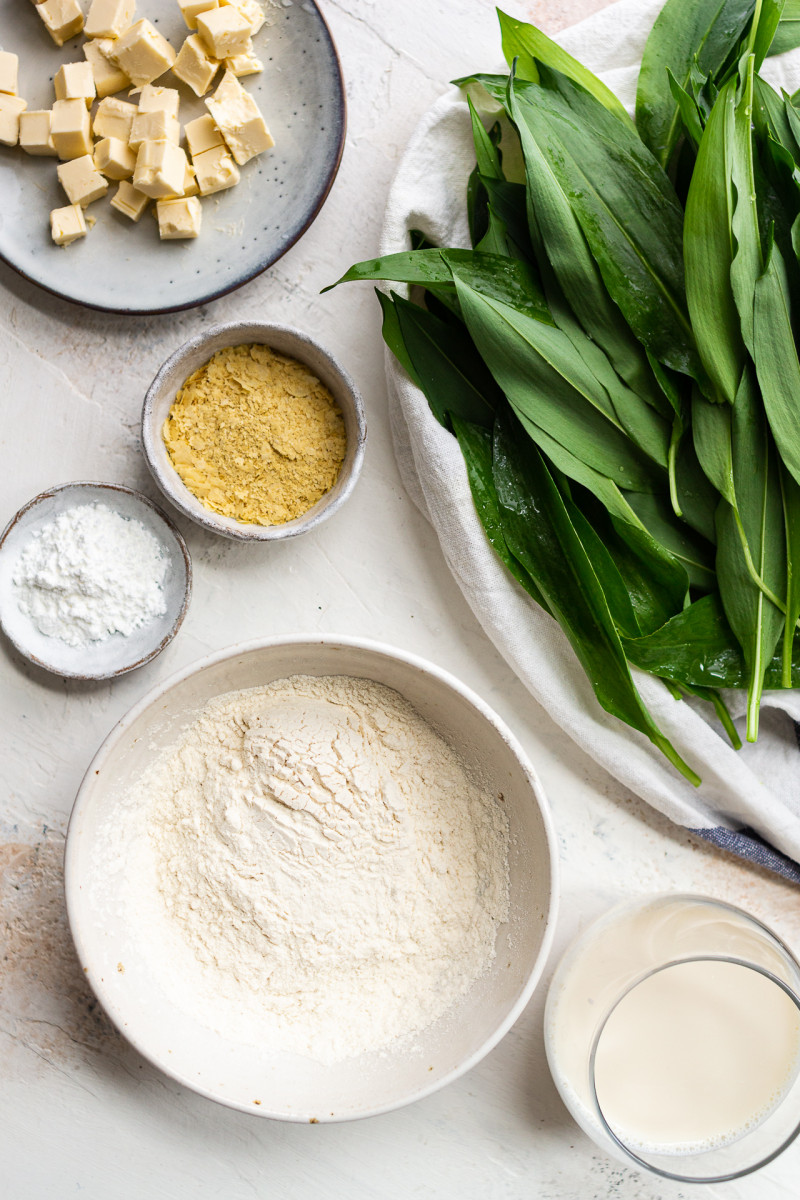



- 250 g / 2 cups plain flour*
- 3 level tsp baking powder
- scant 1 tsp fine salt
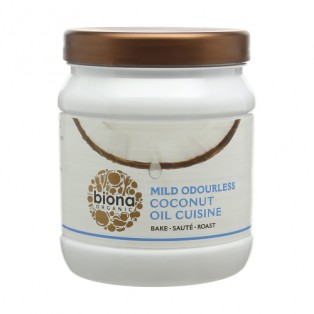
- 50 g / 1¾ oz vegan butter (I used Naturli) or fragrance-free coconut oil (I use this one)
- 50 g / 1¾ oz wild garlic leaves, washed and dried well
- 4 tbsp / ¼ cup nutritional yeast*
- 180 ml / ¾ cup soy milk (or any other thin plant milk)
GLAZE
- 10 ml / 2 tsp soy (or other thin plant) milk
- 2.5 ml / ½ tsp maple syrup
- 10 ml / 2 tsp olive oil
- 1 tsp nutritional yeast* (optional)
- Sift flour, baking powder and salt into a large bowl. If using salted vegan block, you may want to add a little less salt.
- Dice vegan butter (or coconut oil) small and add it to the flour.
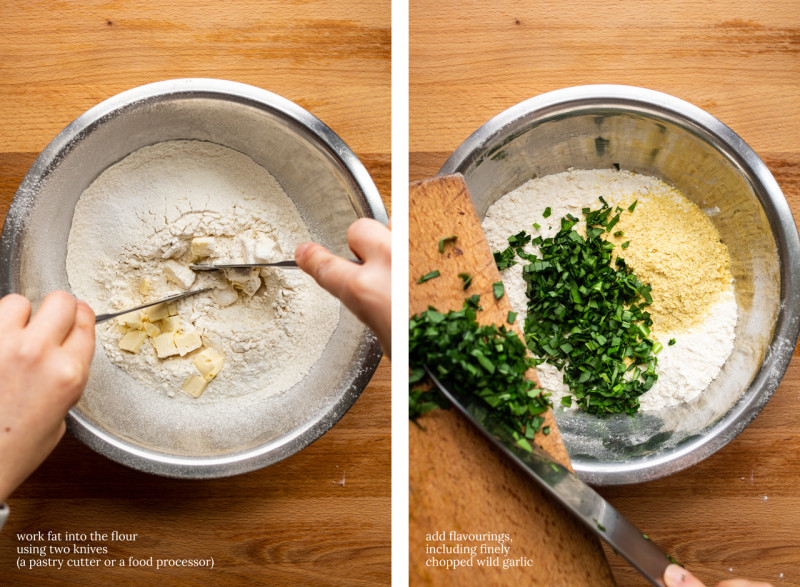
- Using a pastry cutter or two knives (or a pulse function in a food processor) incorporate fat into flour until there are no big chunks left.
- Gently shake the bowl to check for big lumps of fat – they will rise to the surface. If any pop to the surface, rub them into the flour with your fingers.
- Make sure the wild garlic leaves are dry, then chop them really finely before adding to the flour. Add nutritional yeast and mix really well.
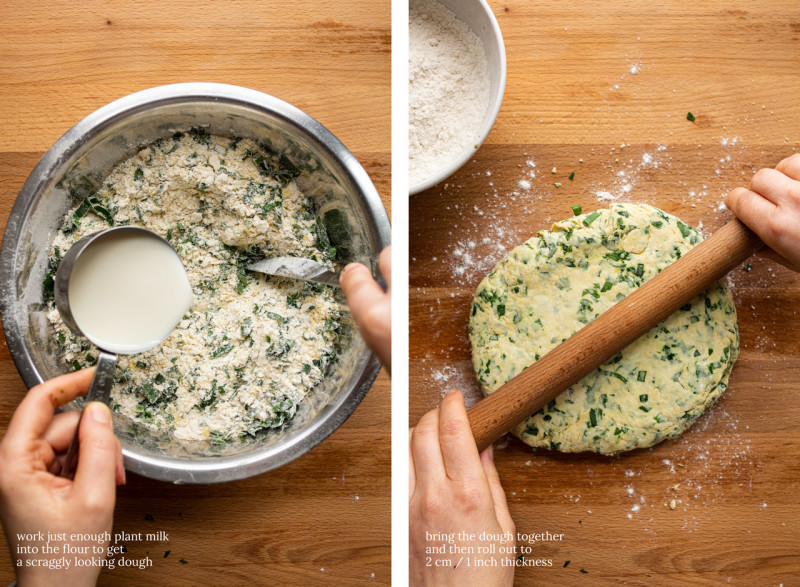
- Slowly start adding plant milk while bringing the dough together with a knife. Hold some of the milk back to begin with, you may not need all of it – it depends on how absorbent your flour is and how dry your garlic is. Once you get a scraggly dough with no dry pockets, transfer it to the workbench and gently bring it together – do not knead. Do not handle the dough too much, just until it’s combined and stays together – do not worry about the dough being smooth, rustic looking scones are nicer to eat.
- Preheat the oven temperature to 220° C / 425° F (or 200° C / 390° F with fan) and line a baking tray with a piece of baking paper.
- Gently roll the dough out on a lightly floured surface. Keep the dough thick (2 cm / ¾”) for fluffy scones.
- Use a fluted cookie cutter that is 5 cm / 2″ in diameter to cut circles out of the dough. Do not twist the cutter as that inhibits rising, simply apply a lot of pressure to the cutter and then lift the cutter with the scone inside. Place over the baking tray and gently pop the scone out onto the tray. I found that dipping the cutter in flour first and then shaking the excess off helps a lot when it comes to releasing the scones onto the tray.
- Bring any dough leftovers very gently into a ball and cut out some more – they won’t be as good as the first batch, but if you handle the dough super gently, they will still be very tasty.
- Place the scones on the prepared baking tray, making sure there is some space around each one. Mix all the glaze ingredients together in a small bowl and glaze the tops of the scones with a pastry brush.
- Bake for about 14-15 minutes, rotating the tray for the last 2 minutes if they aren’t browning evenly.
- Let the scones cool down a little before cutting them in half with a serrated knife and spreading some vegan butter on them.
*NUTRITIONAL YEAST – Adds a hint of cheesy flavour. Alternatively, you could try using a grated vegan cheese that performs well when baked.







I am sorry for the delay, I wasn't at my computer for a couple of days. It's really hard for me to say, but I am a strong advocate of using scales as opposed to cups when baking. Baking is a science and it requires precision without the doubts that you may have over or under measured something. Is you baking powder definitely fresh, sometimes stale baking powder can be the culprit. Also you need to make sure butter is worked into the flour really well to minimise the need for extra liquid - although it sounds like you are experienced baker so I am sure that was all done well. Once liquid is added the dough needs to be handled as little as possible as overworking the dough will also make them dense and not well risen, again, I am sure you are very aware of that already. I am really sorry, but these are all ideas I have. I hope you will give them another go. Ania
I have never made scones with wholemeal flour and they are meant to be quite light in texture so not 100% sure that wholemeal flour will render good enough results so certainly worth a try. I would recommend going half half to begin with. The amount of baking powder should be the same. Hope you'll enjoy them. Ania
If you're a wild garlic fiend, try also with wild garlic butter :).
You could use chives or green parts of spring onions, but I would use a little less first time round as they seem to me more pungent. Hope you'll enjoy them! x Ania
Thank you, I hope you'll enjoy these if you decide to try them. My suggestion would be to chives or green parts of spring onions, but I would use a little less first time round as they seem to me more pungent. x Ania
It's simply vegan butter. Due to the pressure from dairy industry, they are not allowed to call it vegan butter here (in Europe) so it is often called 'vegan block'. I will adjust it to make it clear. Ania